Wood is one of the most versatile and classic materials for flooring. However, having a damaged section of wooden floorboard and cutting it out for replacement can be daunting. Do you need to cut and repair your floorboard? If you need help, we have done research to provide you with stress-free steps to cut out a section of your floorboard.
You can definitely cut a section of a floorboard by yourself, but bear in mind that this is a challenging task and should be done with extreme care. Here are the steps for you to follow:
- Find the floor joist.
- Mark the area along the joist for cutting.
- Use a circular saw, a multi-tool, or a jigsaw to cut the section.
- Pry the board out with a floorboard chisel and a hammer.
These are easy-to-follow instructions on cutting out a section of your floorboard for repair. In this post, we will talk about each step in detail. We will also discuss which tools are the best for the cutting job, and we will also give you tips on how to replace the boards. Read on to find out more information on this subject.
![Laminate floor linking, close up , How To Cut Out A Section Of Floorboard [And Best Tools For The Job]](https://houseunderfoot.com/wp-content/uploads/2022/09/70.-How-To-Cut-Out-A-Section-Of-Floorboard-And-Best-Tools-For-The-Job.jpg)
How to Cut The Floor Board
If you haven’t tried this before, be extremely careful or seek assistance, as you’ll deal with sharp tools that may cause you a trip to the E.R. if not handled properly.
Cutting out a section of the floorboard requires exact measurements to keep the other planks unscathed. To get a clean cut, use the correct tools for cutting. Here’s how to do it in easy steps:
1. Find The Floor Joist
First, mark the section that you need to cut. Find the joist or the floor support to know where to put the markings. If you find a line of nails or screws, then that is where you need to make a mark.
2. Mark The Area For Cutting
Mark a vertical line along the nails. Make the marks as close to the nails as possible. In this process, you have to know the measurement of the joist and the thickness of the board. This is to avoid damaging the joist when you cut along the vertical lines.
3. Cut The Section
Cut the board along the vertical marks. After that, cut along the seams of the floorboard that you are replacing. Be careful not to touch the nearby boards. Make another vertical cut at the center to make an “H”. This will make it easier to pull out the planks later.
You will find a discussion on appropriate cutting tools in the next section.
4. Pry And Lift The Board
The last thing you need to do is use a floorboard chisel to pry out the board. Wedge the chisel into the seams of the board. Use a hammer to tap it. Once the board has loosened a bit, pry the board from the vertical cut at the center. This will prevent more damage to the nearby boards.
After lifting the board, you will see a clean cut. Only the damaged piece will be removed.
What’s the Best Tool For Cutting Wood Flooring?
The right floor saw will make it easy for you to finish the project of cutting the floorboard’s section. It is also important to have a clean cut, since you’re only aiming to remove a portion of the floor. Here are the tools you can use for your floorboards.
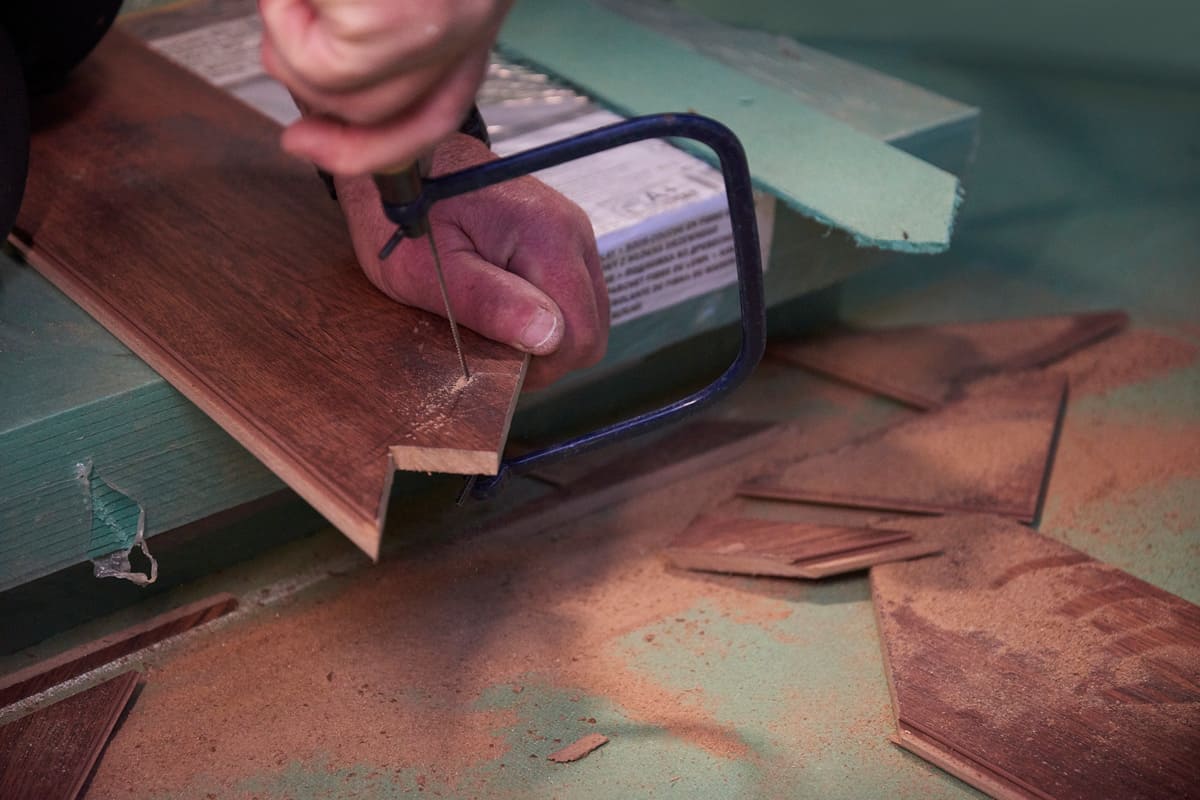
A Floorboard Saw
This saw is designed for floorboards such as wood, vinyl planks, or engineered wood. A floorboard saw has a curved nose, which makes it easier to turn upside down. The shape of this saw helps cut floors that are already laid floors.
The floorboard saw has small blades and shallow gullet, which removes less material per stroke. Most floorboard saws are push stroke only.
Click here to see this floorboard saw on Amazon.
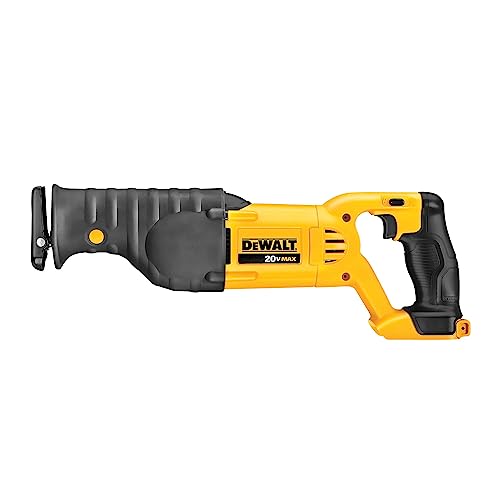
A Reciprocating Saw
This is also known as an oscillating saw. This is a machine-powered tool with blades that push and pull to make a cutting motion. Reciprocating saws are hand-held. They can be used on many materials.
Because a reciprocating saw doesn't have a flat base, you can easily use it in different areas. Cordless reciprocating saws are perfect for working in areas without power outlets.
Click here to see this reciprocating saw on Amazon.
A Jigsaw
A jigsaw should be used if you’re cutting shapes and curves on wood. A jigsaw can cut stencils too. The saw also is good for narrow and rounded areas. It has a thin blade that goes up and down as you switch it.
Although a jigsaw is a powerful tool, controllability is an issue with it because its lower end is unsupported. The thin blade is also vulnerable to breakage.
Click here to see this jigsaw on Amazon.
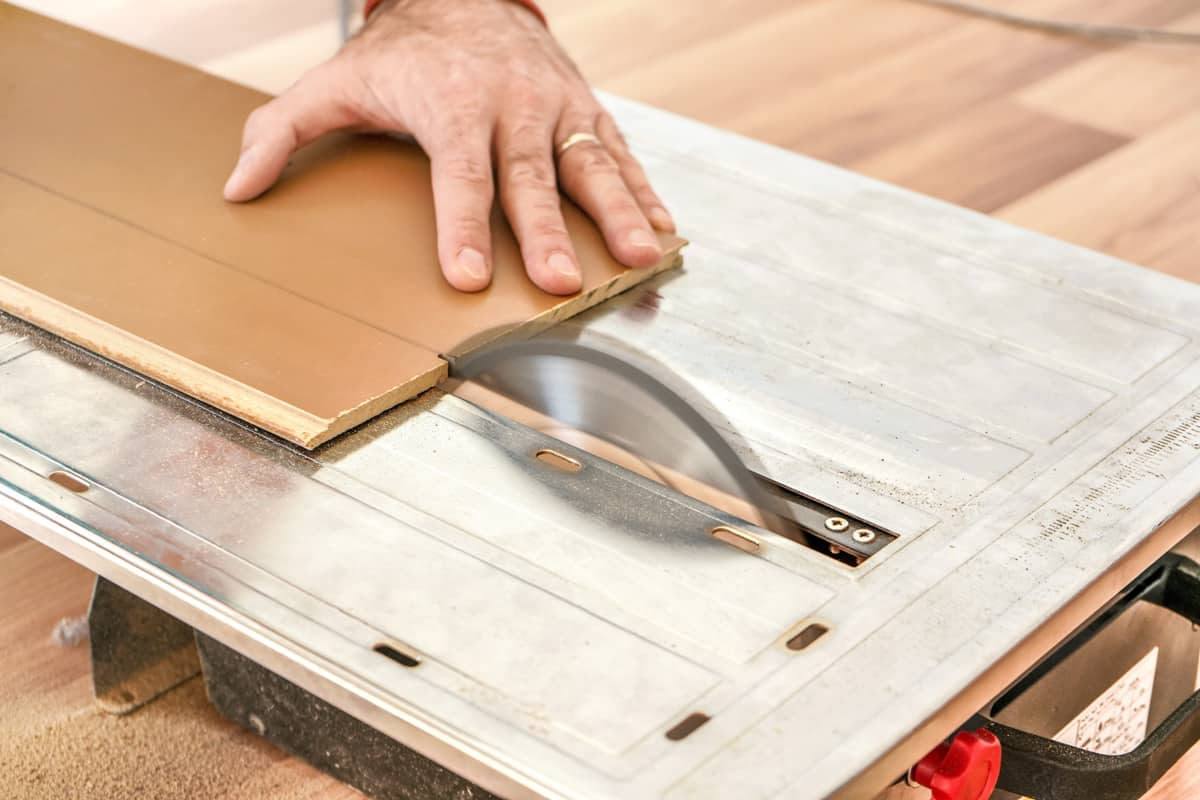
A Circular Saw
A circular saw uses a disk to cut through wood, masonry, plastic, and other materials. It may be hand-held or mounted. Cordless circular saws that are portable and good for use in floor repairs. A circular saw is the right tool for cutting floors lengthwise or along the seams.
Click here to see this circular saw on Amazon.
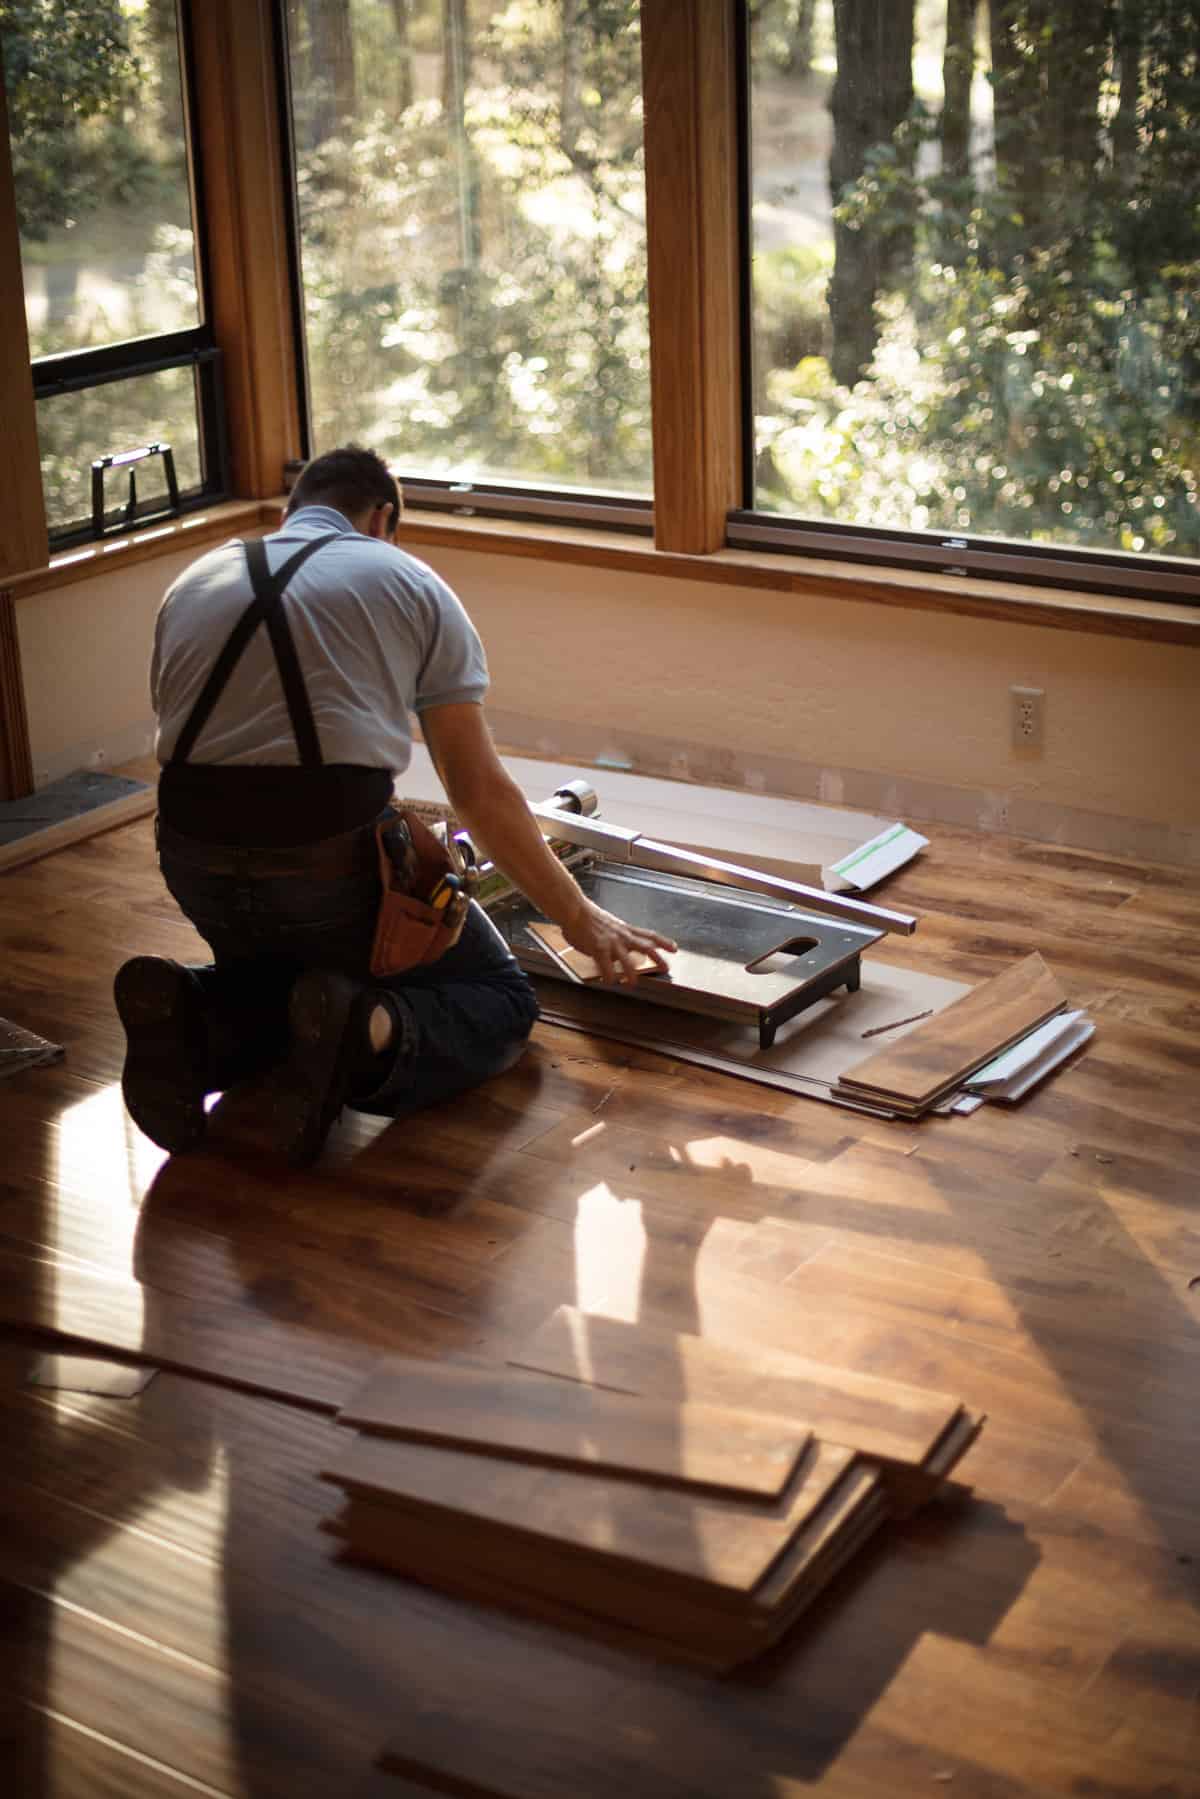
A Mitre Saw
This saw is used to make precise cuts mostly on wood, but it can also cut through metal, plastics, and masonry. Its blade looks like the disk of a circular saw. When cutting, position the blade at an angle and lower it into the board. This tool also has a backstop called a fence.
Click here to see this mitre saw on Amazon
These tools are all versatile and can do the job of cutting the floorboard accurately. Choosing one depends on your expertise or which one you think you’ll be comfortable using. Although when cutting floorboards, a portable circular saw or a mitre saw are recommended.
What Types of Blade Should Be Used to Cut Hardwood Flooring?
Some cutting tools can accommodate different types of blades depending on the function. For cutting floorboards, it is best to use a blade that is appropriate for making rip cuts.
A rip cut is cutting the wood horizontally or parallel to the wood.
Rip Blade
A rip blade is a good choice for ripping hardwood. It moves through wood quickly and leaves a clean cut.
Click here to see this rip blade on Amazon.
General Purpose Blade
As the name suggests, this is a multi-purpose blade that works well with plywood, laminated wood, and even melamine.
Click here to see this general-purpose blade on Amazon.
Cross-Cut Blade
The opposite of a ripping blade, this blade is made to cut against the wood grain. Moreover, the blade makes clean finishes or cuts across the grains of all types of wood.
Click here to see this cross-cut blade on Amazon.
How To Replace Damaged Floorboard
Now that you know how to cut the floorboard. The next thing to do is replace it. Cutting is the hard part, so replacing it should be a walk in the park.
First, measure the replacement piece. You should use a miter saw when cutting it.
Next, lay the new board in place. You may nail or screw each end of the board to secure it in the joist.
Finally, apply a wood putty or filler over the nail heads. Allow it to dry before sanding. This will hide the nails.
Click here to see this wood putty on Amazon.
Your floorboard should be as good as new.
In Summary
The good thing about floorboards is that you can replace a piece or section without damaging the rest of the floor. When it is time for repair, and you want to do it yourself, be cautious as you complete this intimidating task. Remember that you should handle cutting tools with care.
The type of cutting materials you decide to use will also make your life easier. Consider using a circular saw for the job.
Finally, now that you know how to properly cut a floorboard’s section, replacing it will be a piece of cake.
If you found this post helpful, please check out these other articles.
Floorboard Nails Keep Popping Up – What To Do?
How To Remove Nails From Floorboards

