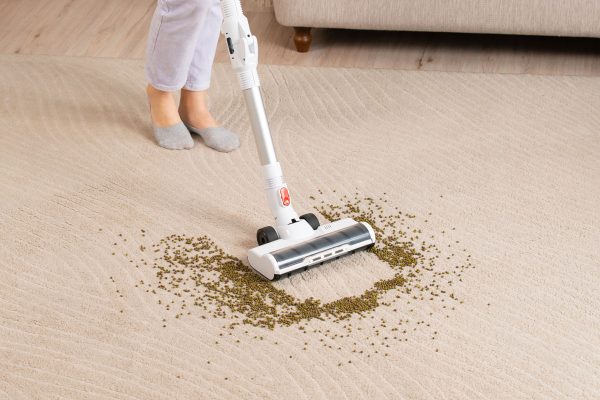
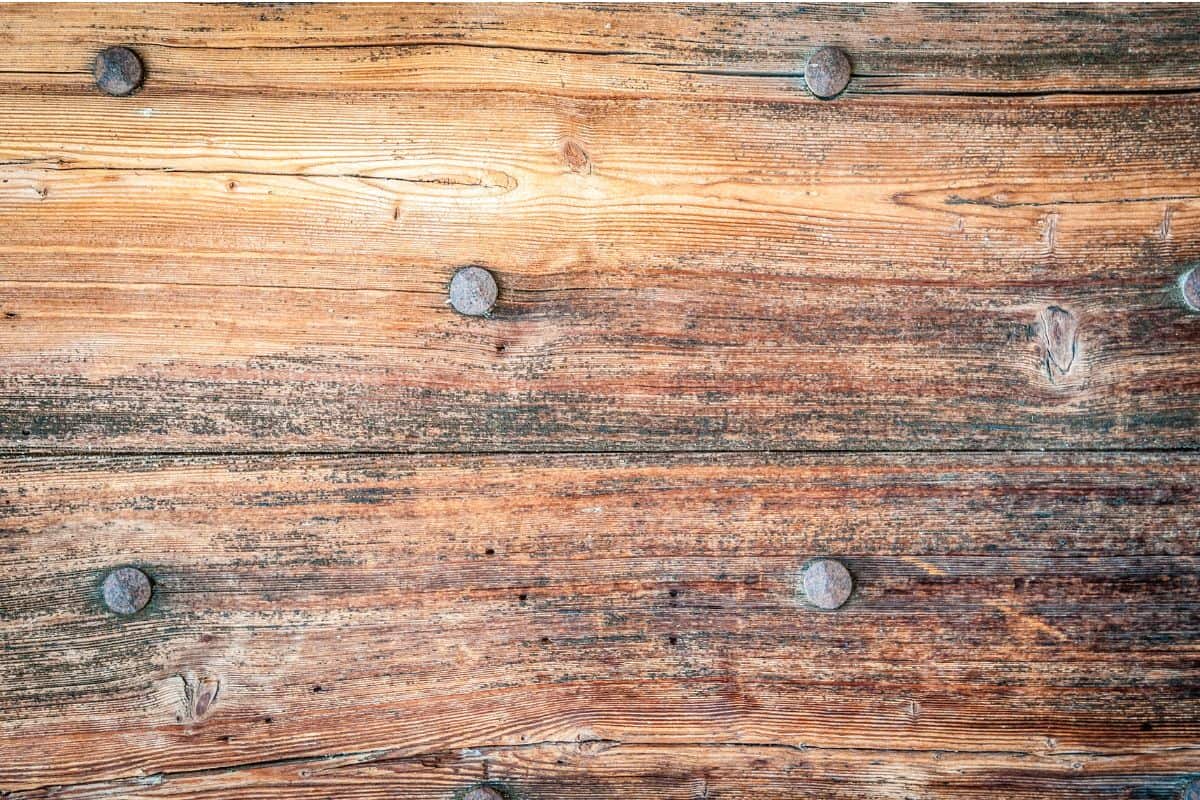
You may notice sharp or rusted nails on the floorboards when walking around your house. These nails are a ticking time bomb since they make you and your household susceptible to injuries from the nails or a collapsing floorboard. So, how can you remove the nails from the floorboards? We did comprehensive research to provide you with an answer.
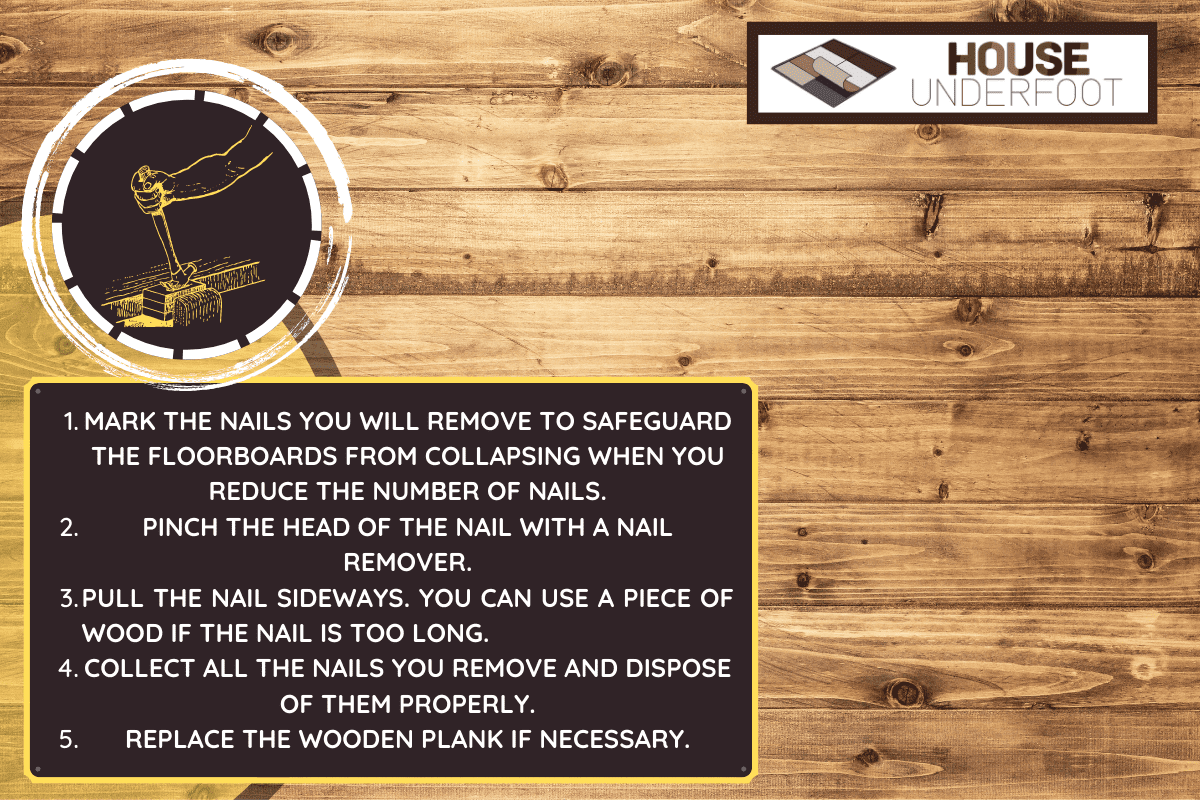
Removing the protruding nails from floorboards helps avoid probable accidents if you trip on them. To remove the nails, follow these steps:
- Mark the nails you will remove to safeguard the floorboards from collapsing when you reduce the number of nails.
- Pinch the head of the nail with a nail remover.
- Pull the nail sideways. You can use a piece of wood if the nail is too long.
- Collect all the nails you remove and dispose of them properly.
- Replace the wooden plank if necessary.
Throughout this article, we'll discuss everything about floorboards. You'll learn more about the tools you require to remove the nails. We'll also share the steps to follow when installing and repairing the floorboards. So, continue reading!
How to Remove Nails From Floorboards
Removing nails is easy since you only need a tool to pull out the nails. Taking out defective nails minimizes your exposure to accidents while walking on the floorboards.
However, you may need to replace the wooden plank if it is damaged. We'll discuss how to replace the floorboard later.
We elaborate on the tools and applicable techniques for removing nails below.
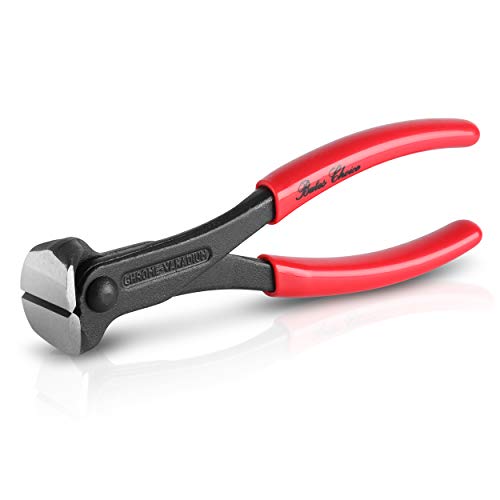
Nail Remover
A nail remover is a tool used for pinching and pulling out nails. It has a sharp edge that cuts the wood slightly to make space for twisting the nail's head. Just be careful not to cut the nails while pulling them out.
![]()
See this nail remover on Amazon.
Hammer's Tail
A hammer's tail is the other side of a hammer that looks like a fork with two teeth. It's a classic tool for removing nails. However, the hammer's tail may be unsuitable for deeply pierced nails. But you can scratch the wood around the nail's head to pull out the nail.
Screwdrivers
You can also use two screwdrivers to remove the nails. Simply thump the screwdriver with a hammer near the nail's head until there's enough space. Then use the other screwdriver to pull the nail from its head.
Please watch this video for a demonstration:
Wood Cutter and Crowbar
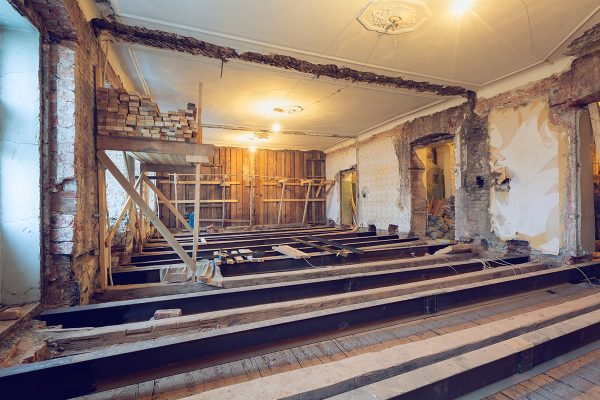
If there are protruding nails and you'll replace the damaged wood, cutting the entire wood is practical to minimize the effort. A woodcutter, or any multi-purpose cutter, is ideal for cutting the surface without damaging the adjacent objects. Further, use a crowbar to detach the cut object with a lifting force.
Refer to the steps below:
- Locate the damaged wood and trace a line for cutting. Wear gloves for safety.
- Start cutting by the edges to ensure that the wood will be easy to lift.
- Cut along the marked line.
- Insert the crowbar into the gap of the cut floorboard, then apply force to lift its edge.
- Change the position of the crowbar to lift the wood entirely.
- After removing the wood, look for protruded nails piercing the opposite side.
- Remove the nails before you dispose of the wood. You may use a hammer to thump the nails from their pointed end.
With regard to step number 7, you can watch a short clip here:
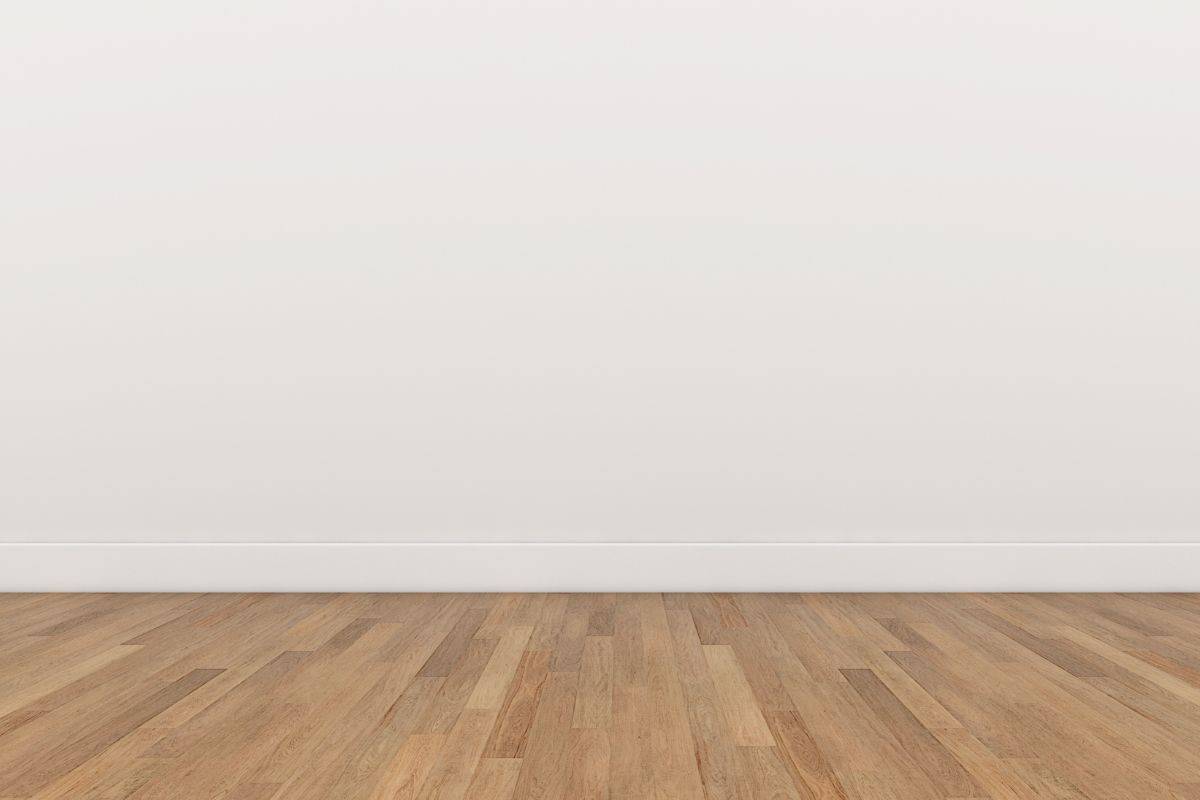
Factors to Consider in Installing Floorboards
Consider the factors below before installing floorboards, also known as hardwood flooring.
Area
Ensure that the area is clean and in good condition. You may need to repair some damages first, like cracks and holes on the floor.
Measure the floor area in terms of length, width, and depth. The depth will depend on the space allocated for installing the floorboards. You'll use that measurement to find the right size of wood.
However, you must ensure that installing the floorboards will not cause any inconveniences. So, test whether the room has enough depth to accommodate the floorboards. To do this, check whether you can close the door when you install the floorboards.
You can seek help from a professional for further assessment of the area.
Quality of Wood
Once you get the measurement of the area, proceed to find the best kind of wood to use. Hardwood is typically used as floorboards, compared to softwood, which is common in furniture and window frames. Also, hardwood is heavier, which makes it ideal for floors and any other low level of the house.
You can use interlocking hardwood for easier installation and fitting. This will prevent misalignment and dislocation.
Tools
Aside from wood, you will need the following tools for the installation:
- Hammer and nails
- Driller
- Woodcutter
- Angle nailer
- Baseboard (for trimming edges)

![]()
See this hammer and nails set on Amazon.

![]()

![]()
Check out this woodcutter on Amazon.
How to Install Floorboards
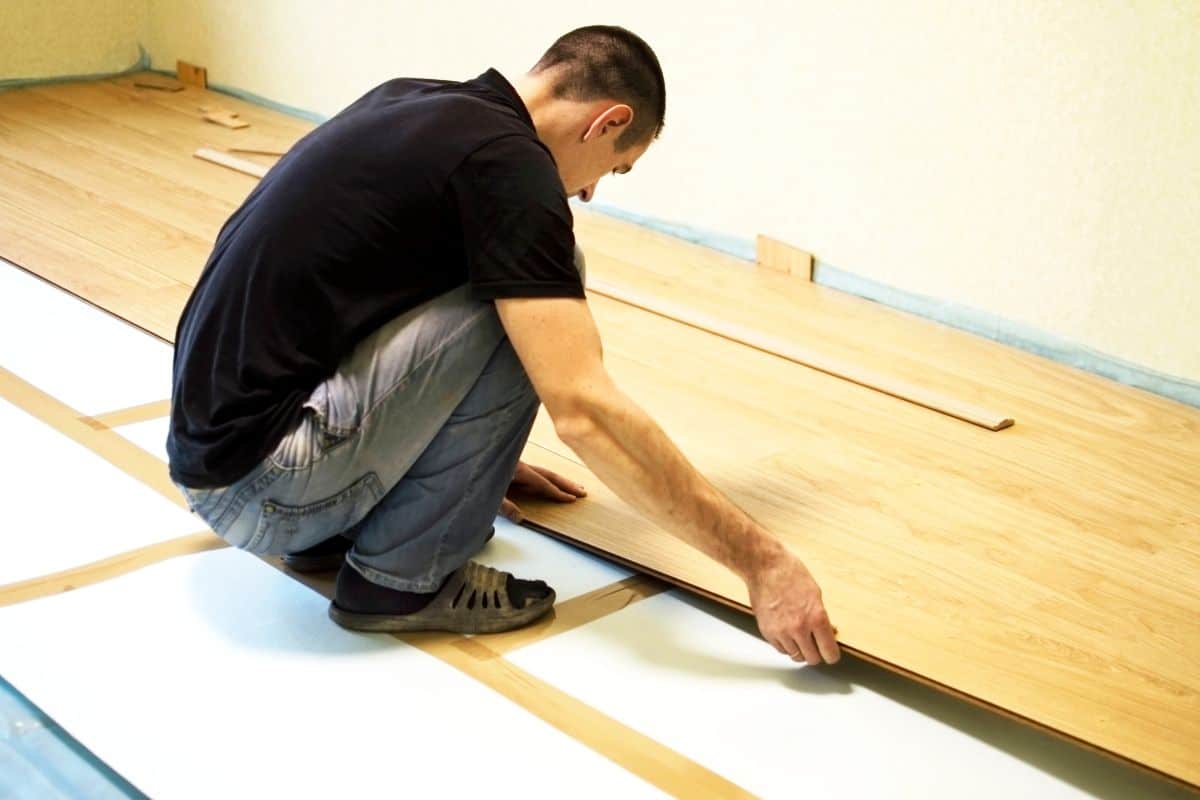
If you assessed the area well and you have the tools ready, you can now install the floorboards. Please note that it's better to seek help from a professional to guide you. However, you can follow the steps below:
- Lay down a few pieces of wood along the edge of the room. Please ensure they're appropriately aligned and the tongued edge is facing outward.
- Nail the woods on the subfloor.
- Make three rows of wood to prevent misalignment. Cut out the excess portions to fit in pieces.
- Use the angle-nailer to nail the tongue of the last row at a 45° angle.
- Repeat steps 1-4 until you cover the entire floor area.
- Install the baseboard along the edges of the wood to trim them. You can also cut the door's bottom edge to ensure it opens smoothly.
- Dust off the area after installation.
Can You Cover Floorboards?
Most homeowners leave floorboards without any cover. There is nothing wrong with exposed floorboards, given that they will always be dry and clean.
Covering the floorboards makes their texture less rough and lets you avoid splinters. It also prevents insects from living between the gaps. See below for some cover options.
Linoleum
Linoleum is a flexible material made from pine resin, cork dust, and solid linseed oil. It's able to restrict water from passing through the floorboards. A single roll of linoleum has a smooth texture and basic design patterns. However, linoleum's color can fade over time.
Follow these steps to install the linoleum:
- Clean the floorboards and resolve minor issues like holes and exposed nails.
- Measure the area, then mark cutting lines on the linoleum.
- Cut and lay the linoleum on the floorboards.
- Apply an adhesive beneath the linoleum.
- Use a roller to ensure the linoleum holds firmly onto the floorboards.
- Apply a silicon caulk to the gaps between the linoleum, then wait for a day before you place anything on the area.
Carpet
A carpet is a good option if you want some rough yet comfortable texture under your feet. Unlike linoleum, carpet may absorb water. Therefore, you may need to clean the carpet more often than the linoleum.
One advantage of carpet over linoleum is its easier installation. Most manufacturers offer carpets in squares, allowing you to arrange them like a flexible tiles.
Paint
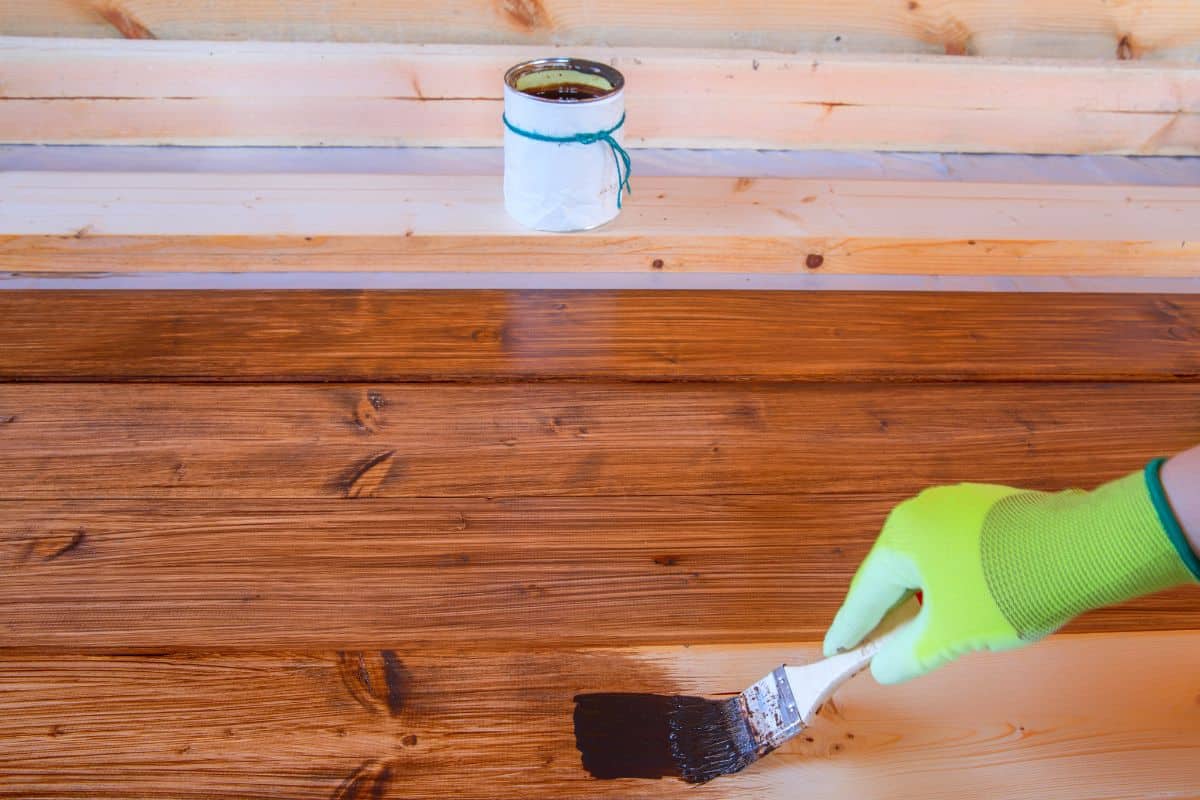
If you want a more customizable color for the floorboards, consider painting them. Painting takes more time to finish compared to the two options above.
Epoxy resin is a good choice, as its texture smoothens the wooden surface. You can use epoxy resin, then apply a house paint of any color you desire. However, epoxy resin alone is more attractive, especially if you want to retain the color of the floorboards.
How Much Weight Can the Floorboard Carry?
Floorboards can carry around 40 pounds per square foot. Estimating the load of objects in a room is vital to keep the floor from collapsing. It's advisable to use lightweight furniture and relocate heavy machines to a sturdier floor, like concrete.
Conclusion
In this article, we tackled how to remove nails from floorboards. We also provided insights on some tools you can use at your convenience. Then, we shared the step on how to install floorboards. We hope these insights will prove helpful in your next floorboard DIY project.
Are you ready for more essential articles like this? Visit us here: