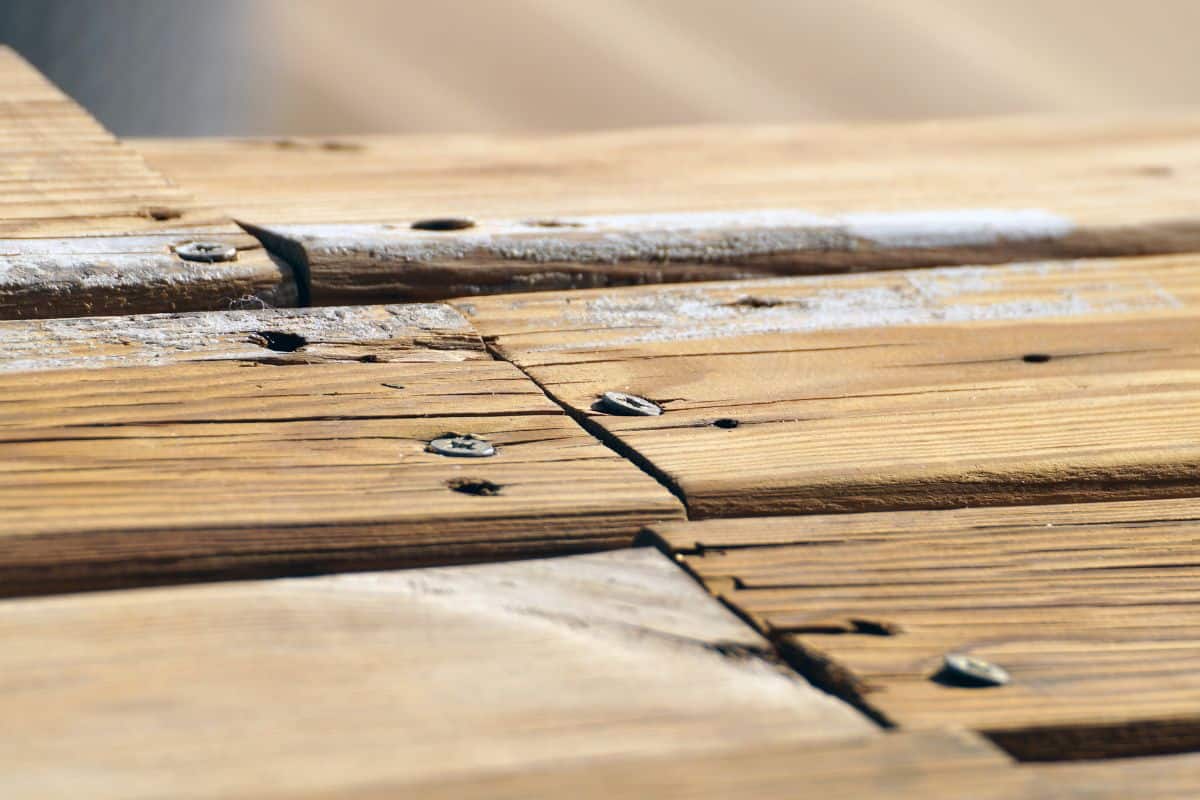
Popped nails are dangerous and ugly. They not only detract from the appearance of your floor but also put you in danger of falling and let liquid and dirt through your flooring. So if you're wondering how to fix floorboard popped nails, we searched for the answers for you. And here is what we found.
You can follow these steps to repair popped floorboard nails:
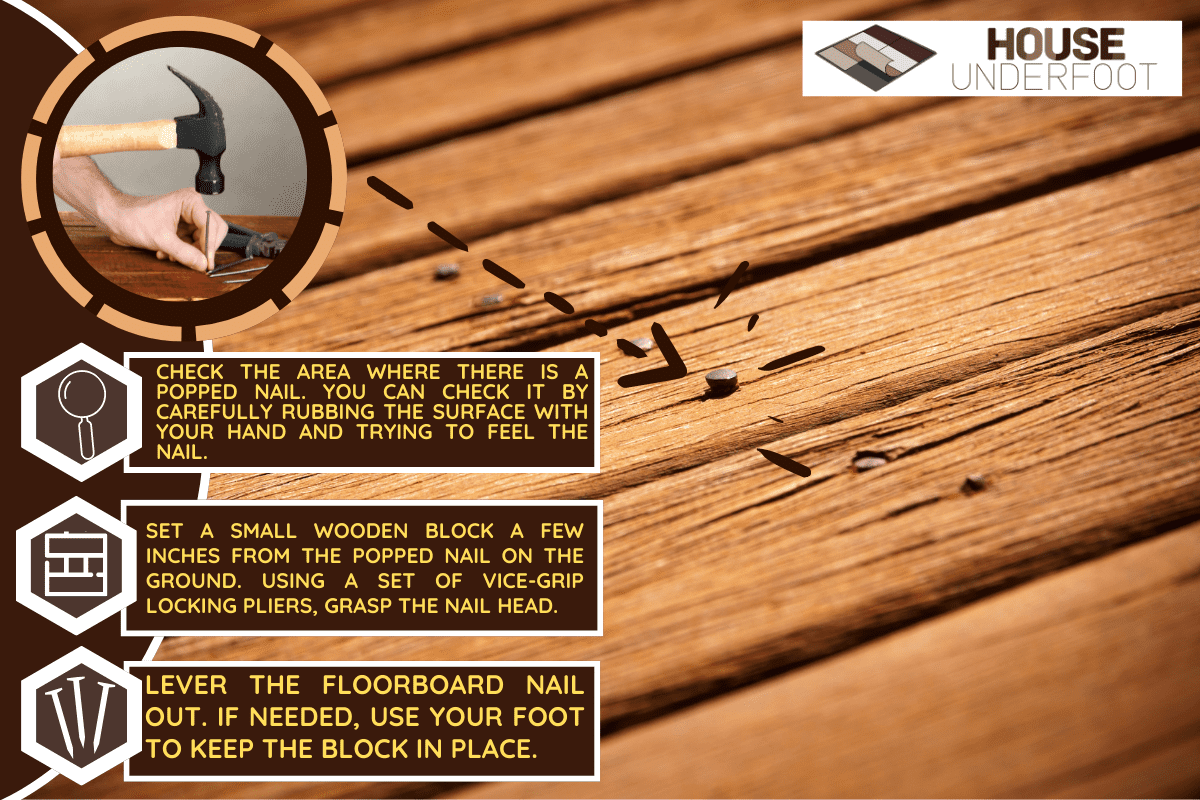
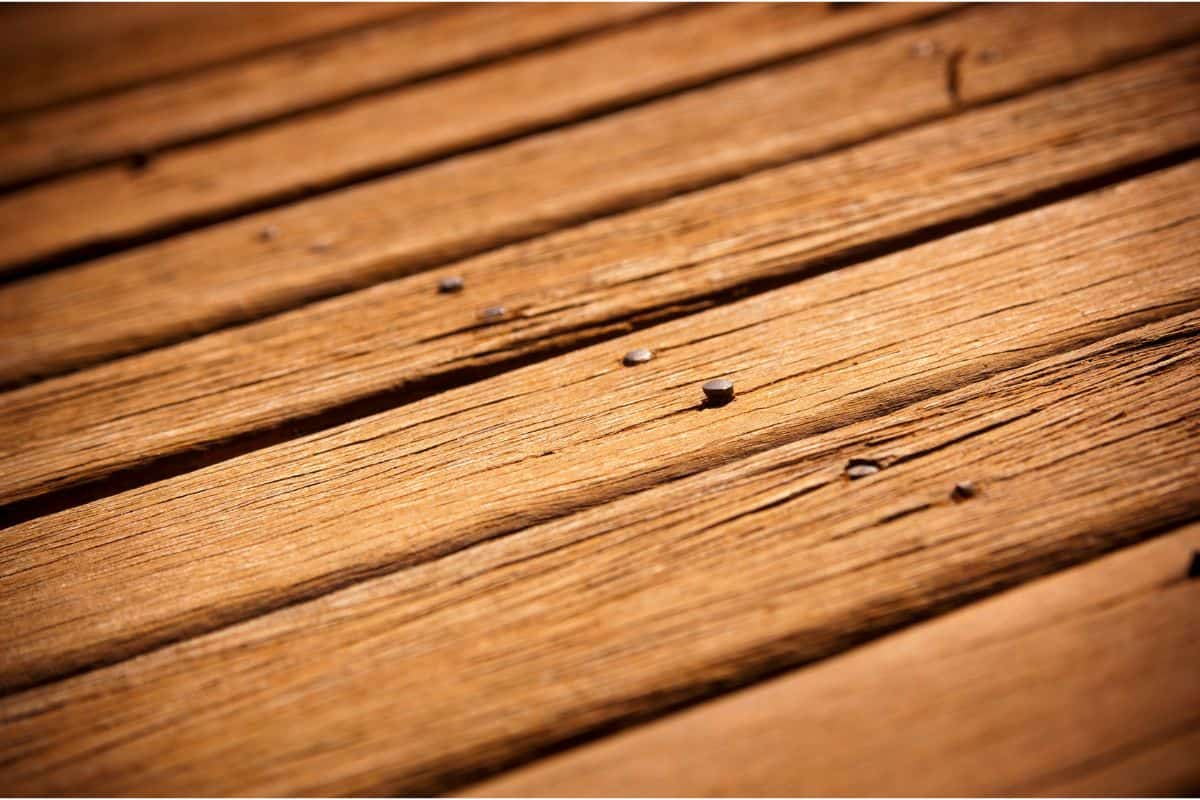
- Check the area where there is a popped nail. You can check it by carefully rubbing the surface with your hand and trying to feel the nail.
- Set a small wooden block a few inches from the popped nail on the ground. Using a set of vice-grip locking pliers, grasp the nail head. For leverage, place the pliers' handles against the wood block.
- Lever the floorboard nail out. If needed, use your foot to keep the block in place.
- To match the nail's length, use a trim screw. Once its head is just below the level of the wood, screw it into the old nail hole.
- Onto your finger, put a small amount of wood filler. Fill the gap left by the screw head by smearing it over it. Let it slightly overfill the dimple.
- Let the filler dry out. Apply a second layer smoothly and wait for it to dry if it shrinks as it dries.
- Till the filler is level with the floor's surface, lightly sand it with a fine-grit sandpaper.
- Repeat the process for all the remaining popped nails.
In the coming sections, we'll list down the things you need for this task. We'll also discuss why your nails keep popping and how to prevent them. So keep reading!
Why Do Nails Keep Popping Up?
Several different reasons might cause nails to protrude from wooden floors:
- The nail head appears to jump out of the wood because it expands as it slides into the board and is forced outward.
- The expansion of the boards below forces the nail head inward, where it pops back forth.
- When the weight of carpet or furniture pushes the nails in your floor back into the subfloor, nail pops may occur. If you don't fix them, they will eventually do additional harm to your floor and structure.
- Because they were not intended to pierce deeply into softwoods like hardwood floors, nails frequently pop out of the floor.
What Materials Do You Need To Repair Popped Nails?
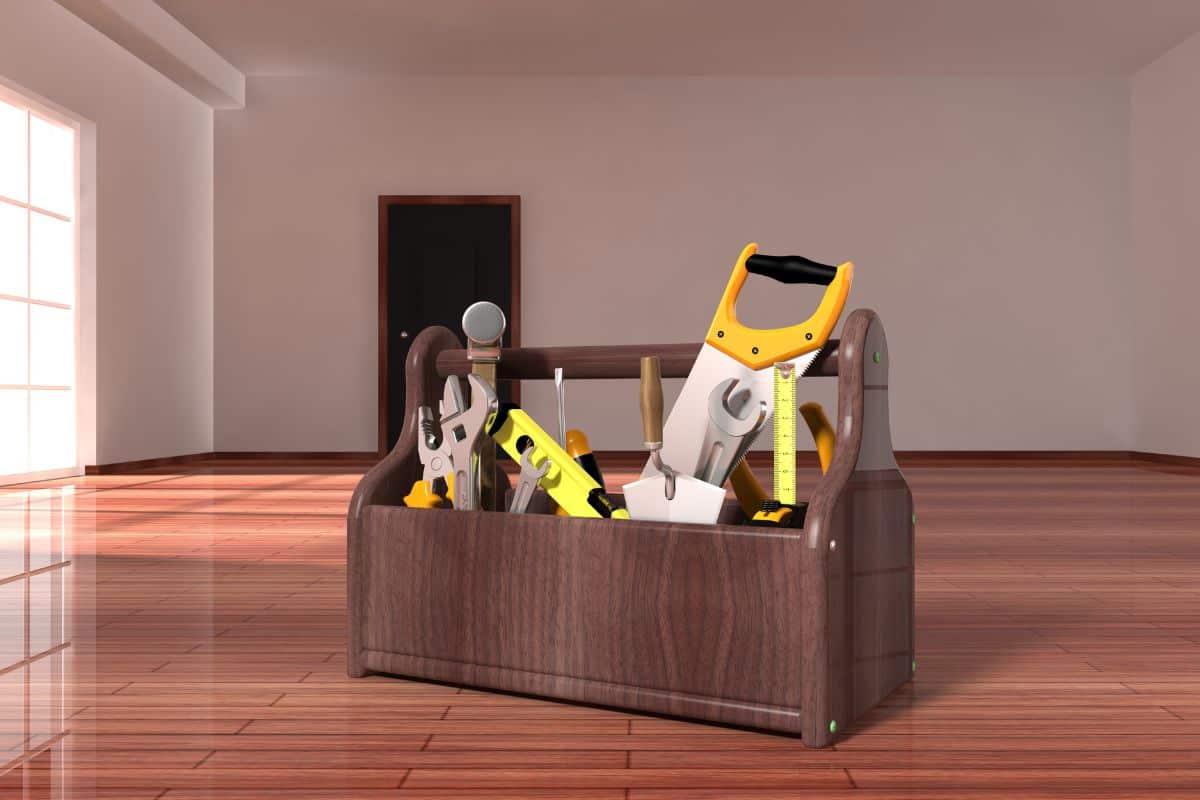
Before starting your repair project, you must first gather and prepare the following materials:
Vice-grip locking pliers
You need this tool to pull out the popped nail.


Click here for this product on Amazon
Small wooden block
The wood block provides you with something to hold against with the pliers and protects the floor.
Trim screw
Trim screws, which have incredibly tiny heads, are used to fasten trim to metal or wood studs.


Screwdriver
Use this tool to drive down the trim screw to its desired depth.

Click here for this product on Amazon
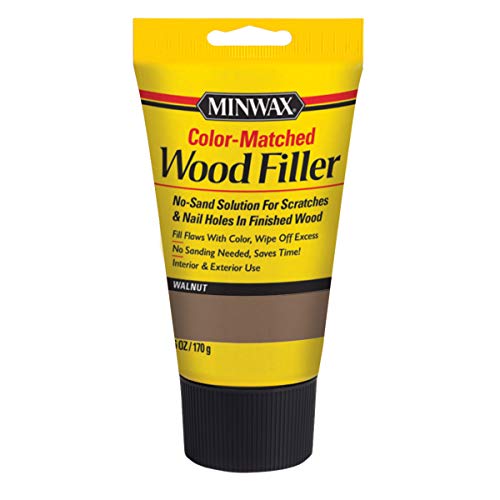
Wood filler
Apply this product to fill the gap around the nail area.

Click here for this product on Amazon
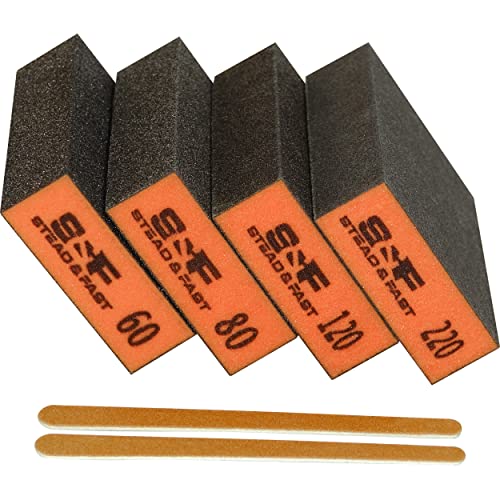
Fine-grit sandpaper
Use this to sand the filler so it will level to the surface of the floor where you repaired a popped nail.


Click here for this product on Amazon
How To Keep Floorboard Nails From Popping?
There are a few techniques for preventing hardwood floor nails from rising:
- If the design allows, you can remove the errant nails and replace them with finish nails that more firmly "lock" into the wood. Spiral and ring-shaped nails will hold more firmly than those with a smooth shank.
- If you can reach the underside of the floor, think about using a screw of the proper length to fasten the loose boards.
- Moreover, you should cover countersunk nail holes with an epoxy-type filler to keep them from showing because regular wood putty will ultimately come loose.
What Are The Different Types Of Nails Used In Hardwood Floor Installation?
The thickness and kind of your hardwood planks, the type of subfloor beneath the hardwood, and even the ultimate appearance you want for your home can all affect the size and type of nails you use.
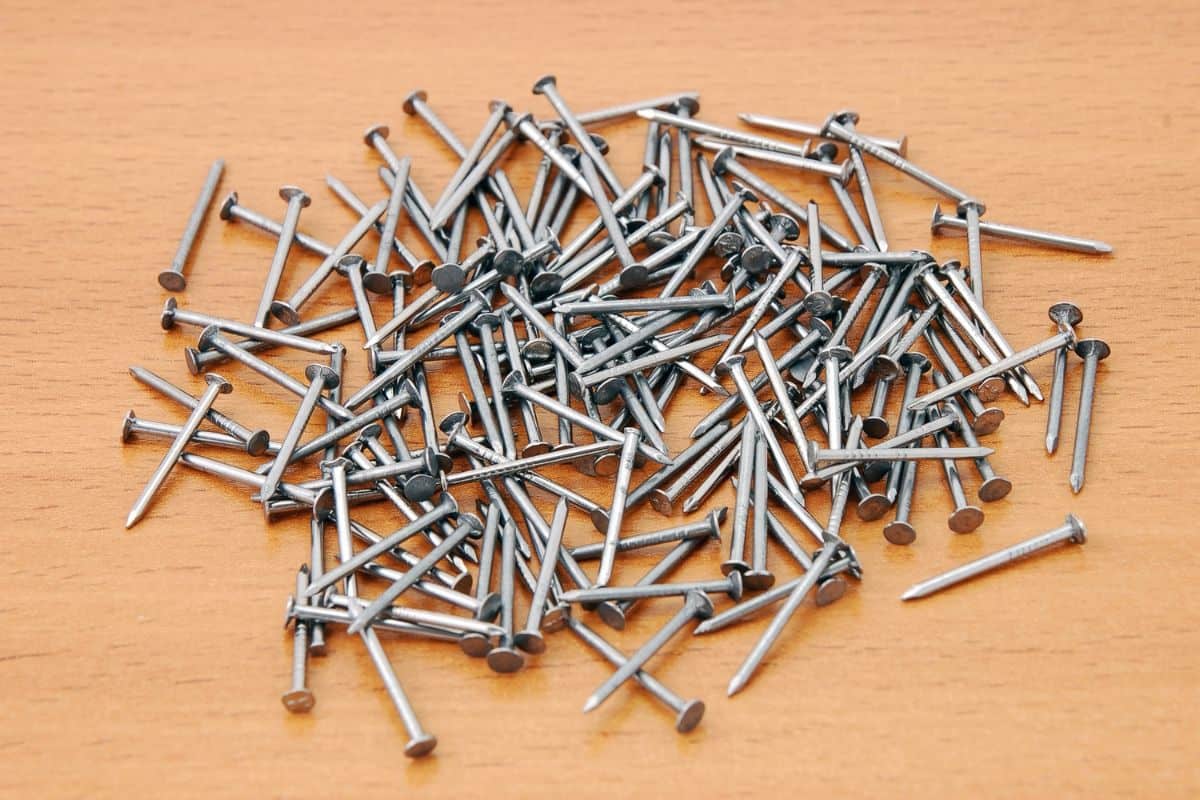
When installing hardwood, a variety of fasteners may be used, including the following:
Cleat Nails
Cleat nails are the name given to the nails used in hardwood nailers. These nails come with barbed or ribbed edges that lock into the subfloors and keep the nail in place once it is inserted into the hardwood and might have an L-shaped or T-shaped head.


Click here for this product on Amazon
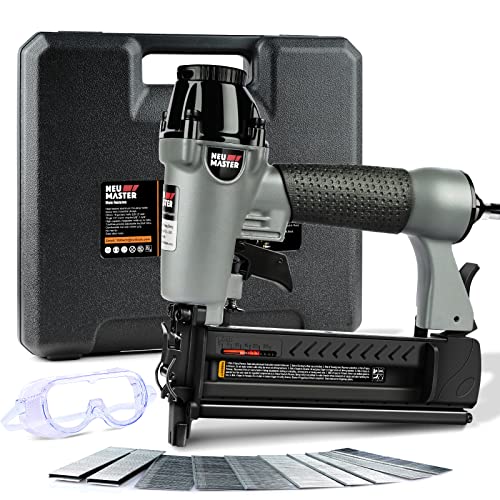
Staples
Staples are a lot less expensive than cleat nails and are also used to install hardwood. They are two-pronged and initially have a firm grip on the hardwood, but over time, especially in areas where the wood suffers seasonal movement through expansion and contraction, they are more likely to pop out of the material.
Apply the staples using a pneumatic stapler. The staple size varies depending on whether you have engineered or thinner flooring.

Click here for this product on Amazon
Finishing Nails
Finishing nails are thin, have a small head, and are countersunk into the flooring, which makes them ideal for the job. Because of the small head, it is simple to fill in the hole before sealing the floors.
The first and last rows of flooring should be face-nailed into the flooring using a pneumatic finish nailer into the flooring. Or if you can drill pilot holes, then drive the nail into the floor.


Click here for this product on Amazon
Specialty Rosehead Nails
Specialty nails called roseheads are designed to resemble the nails that were in use hundreds of years ago. They are made of iron and have an ornamental head that is supposed to be viewed. They work well when installed over wide pine or other softwood floorboards.
To prevent cracking of the wood planks while using this kind of nail, it is best to drill your nail holes in advance. Because the planks lack a tongue and groove, this type of nail is preferred when you intend to face nail the entire floor.


Click here for this product on Amazon
Square-cut Nails
Nails with a square shape are made by hand or individually wedge-cut by a machine. They need to be physically driven into the flooring by a person with experience in installing cut nails. When utilizing this kind of nail, pre-drilled holes must be used.
Square-cut nails provide a natural appearance that other nails can't quite match. This nail is what you need if you're going for that very vintage vibe.
Click here for this product on Amazon
What Are The Benefits Of Nailing Down Your Floorboards?
Here are the benefits of nailing your floorboards:
Cost-effective
This method is said to be particularly cost-effective, that's why people with smaller budgets frequently choose it for such jobs.
The only materials needed for nail-down installation are inexpensive moisture barrier underlayment that you can buy in any wood flooring store and some nails or staples.
Permanent
The likelihood of a product failing is continuously low with the right installation, environment, and maintenance.
Another benefit of this approach is that you can replace a specific broken board seamlessly to maintain the overall attractiveness of your floor.
Better Aesthetic And Tactile Effects
Instead of overlap moldings and drop-in vents, you can flush-install transitional moldings and louvers. In comparison to a floating installation, the finished wood floor project may be more appealing to your home.
Final Thoughts
A bulging nail head may be hardly noticeable, yet it nevertheless presents a trip risk and a threat to bare feet.
A popped nail can be temporarily fixed by hammering it back down, but eventually, the nail head will pop once more. So a better and more permanent alternative is to replace the popped nails.
If you enjoyed this article, go check out these other posts: