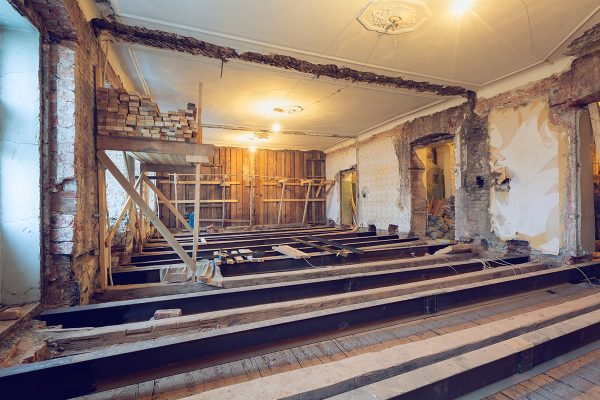
You're now a proud owner of an old home, but it's a fixer-upper. Plus, one of the things that need immediate attention is the lack of a subfloor underneath the bathtub. Now you're wondering about what you can do to solve this concern. We searched for a solution for you and here's what we found.
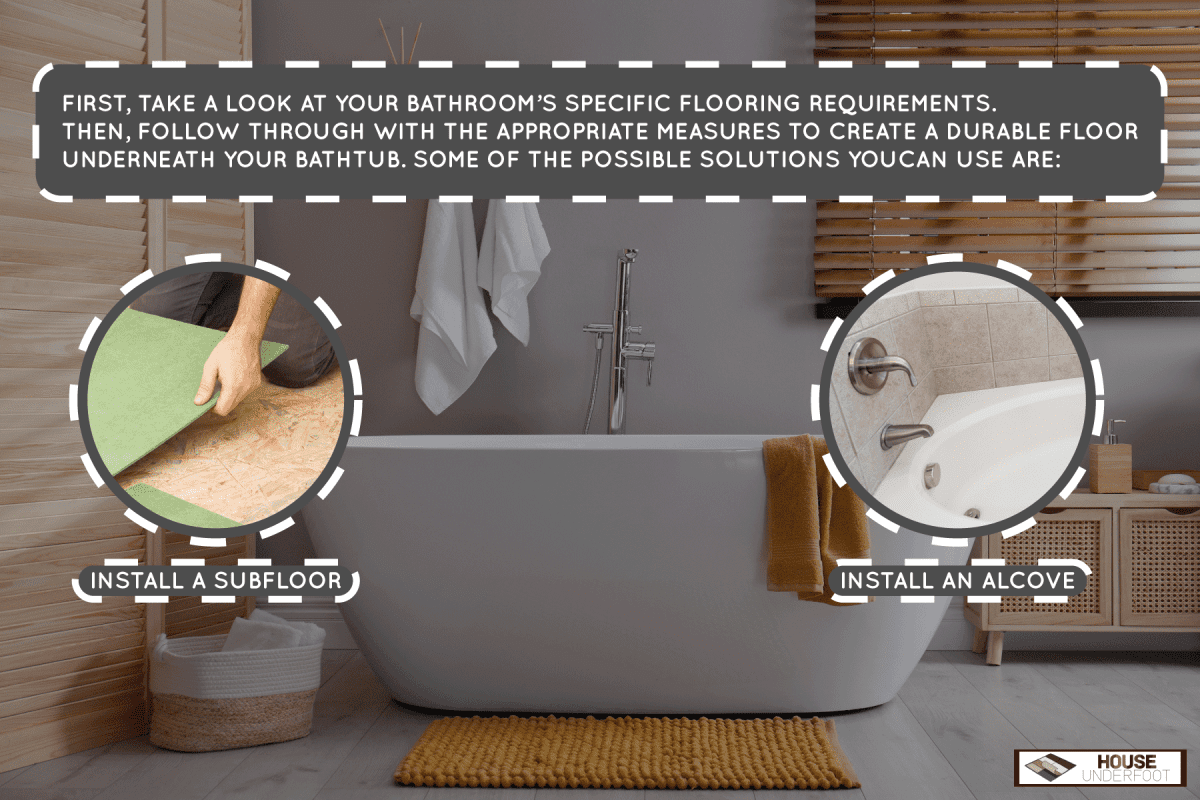
First, take a look at your bathroom’s specific flooring requirements. Then, follow through with the appropriate measures to create a durable floor underneath your bathtub. Some of the possible solutions you can use are:
- Install a subfloor
- Install an alcove
Keep in mind that each technique requires care and precision for you to avoid costly mishaps. So continue reading as we talk about these solutions in greater detail.
Do You Put Subfloor Under Bathtub?
Generally, you don't need a subfloor under a bathtub if the bathroom floor can hold the weight of the devices and fixtures in it. But you may need to strengthen the floor underneath the bathtub needs reinforcement.
What Do You Put Underneath Bathtub?
Before you begin any home remodeling project, including the renovation of your bathroom’s floor, take the time in assessing your specific situation. Keep in mind that not every available technique will solve your specific concern.
Assess your project’s distinct demands carefully. That way, you can avoid encountering expensive mistakes.
Install A Subfloor
Uninstall and remove all bathroom devices, furniture, and fixtures before starting the installation. Also, place a sign on the bathroom door, telling people that a construction project is underway. That way, you can prevent accidents and injuries if someone enters the space unintentionally.
Also, keep in mind that a subfloor installation is an operation that generally requires a suitable level of construction knowledge and skill. If you think you’re not confident in completing this task without committing mistakes, it may be best to leave it to skilled professionals.
What You’ll Need
- Insulation
- Plywood boards
- Bolts and washers
- Hand drill
- Screwdrivers
- Bathroom tiles
- Cement mortar
- Thin-set mortar
- Bucket
- Grout
- Grout sponge
- Trowel set
Step-by-Step Guide
Step #1: Install Insulation
Place insulation in the spaces between the bathroom floor’s joists and studs. Take note that the type of insulation to use depends on certain factors. Foam insulation should suffice for most bathrooms. But you may also need to apply a plastic sheet over the insulation to prevent moisture problems.
Step #2: Place Plywood
Place plywood boards above the joists and studs. Secure this installation by using bolts drilled into the joists. Applying wood glue to the plywood can also help strengthen the material, preventing it from making unwanted movements. Ensure that the plywood layer is straight before proceeding to the next step.
Step #3: Lay The Tiles
Place your preferred bathroom floor tiles on top of the plywood layer. At this point, you only need to see the placement of the tiles. Then, cut some of the tiles that’ll act as corner and edge pieces. You can use a manual tile cutter for this particular phase. Remove the tiles from the plywood afterward.
Next, prepare the plywood layer by spreading mortar over it. Ensure that the product is flat with the help of a finishing trowel. Then, use a notched trowel on the mortar before applying a coat of thin-set tile mortar.
Set the tiles onto the thin-set mortar according to the original placement. Insert spacers between the tiles and whack the ones into place that aren’t level with the others with a rubber mallet.
Finally, mix a grout solution in a clean bucket. Apply the grout mixture over the tiles and let it dry for about 1 hour. Remove the excess with a grout sponge dipped in water.
Watch the video below if you need a visual guide on how to install tiles over a plywood bathroom subfloor:
Step #4: Decorate The Bathroom
Once the tile installation is ready, return the objects you removed from the bathroom. Reinstall the bathtub, toilet, sink, and other objects.

![]()
Check out these floor tiles on Amazon.
The video below will show you additional details, allowing you to gain additional insight into this subfloor installation job:
Install An Alcove
Warning: The following steps assume that the bathtub is already in place but it doesn't have a subfloor. If you didn't install the bathtub yet, you might need to set it up first before placing the alcove. Doing so helps you see the placements of the plumbing fixtures, reducing the effort and time needed to complete this project.
Also, it's best to have another person with you for this job. The other individual can help you with the heavy lifting, especially for certain steps that need you to place the bathtub.
What You’ll Need
- Mortar
- Mason’s trowel
- Finishing trowel
Step-by-Step Guide
- Place the mortar mix in a bucket.
- Scoop a healthy amount of mortar with the Mason’s trowel.
- Chuck mortar into the open space underneath the bathtub.
- Repeat steps 2 and 3 until the subfloor is flat.
- Flatten the mortar pile with the finishing trowel.
- Lower the bathtub onto the mortar.
- Allow the mortar to dry and cure before using the bathtub and its surrounding areas.

![]()
Check out this mortar mix on Amazon.
Watch the video below to see the steps mentioned above in action. Also, watch this clip until the end to check if the results shown matches your setup:
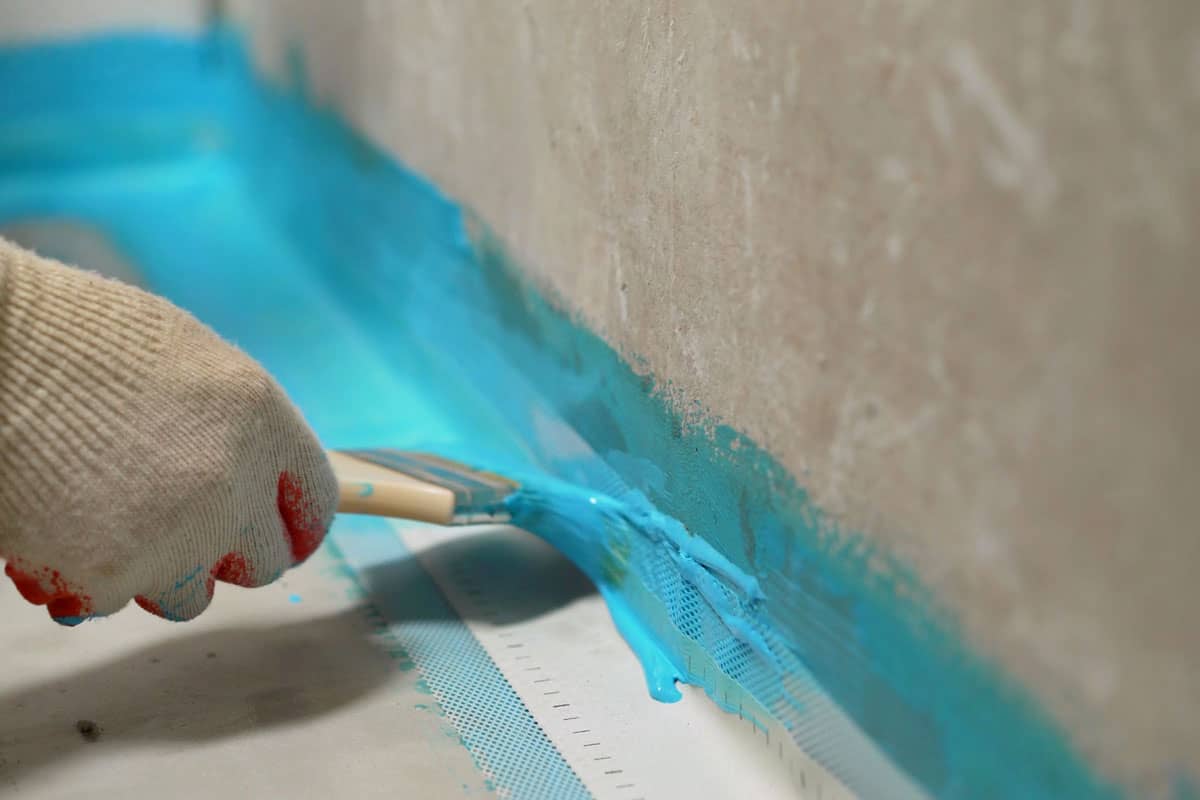
How Do You Waterproof Under A Bathtub?
Apart from reinforcing the area underneath a bathtub, it can also be a good idea to waterproof that space. Doing so can help prevent moisture-related problems, such as mold and mildew growth. One way to achieve this goal is to install a waterproof membrane under that bathroom fixture.
Warning: You may need to remove the bathtub and the pre-installed flooring before you can begin this job.
What You’ll Need
- Waterproof membrane
- Utility knife
- Hand drill
- Bolts and washers
- Adhesive
- Sealant
Step-by-Step Guide
- With the bathtub out of the way, dry fit the waterproof membrane to the location underneath the bathroom fixture.
- Cut the waterproof boards to size with a utility knife.
- Secure the membrane to the bathroom floor’s joists with bolts and the recommended adhesive.
- Seal the corners and edges with the recommended sealant.
- Let the products dry and cure.
- Return the removed flooring, bathtub, and other bathroom fixtures to the room.

![]()
Check out this waterproof membrane board on Amazon.
Take note that different waterproof membranes need varying adhesives and sealants. So check with the product manufacturer to ensure that you’re using the right materials for the board you’re using.
You can also watch the video below to see the installation of different waterproof membrane boards for bathrooms. Although the clip shows the boards installed into bathroom walls, you should still be able to use these materials for the room’s floor.
Final Words
Remember, take a look at your bathroom's subfloor requirements before proceeding with any remodeling project. For instance, you may not need to strengthen the surface underneath the bathtub, even if it doesn’t have a subfloor. Otherwise, install a subfloor or apply reinforcement under the fixture if needed.
If you liked this post and you’re looking for answers to other bathroom floor problems, check out these other great reads: