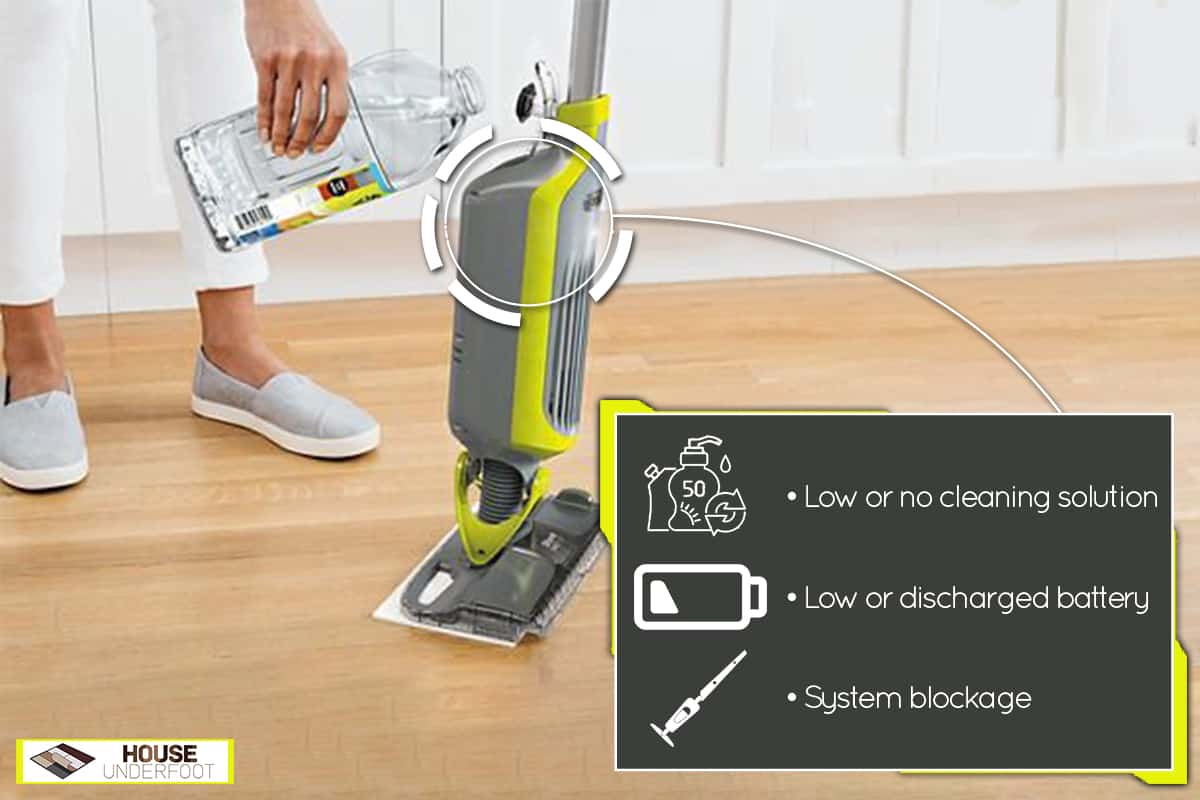
The Shark VACMOP combines two cleaning methods into one piece of equipment. But it might stop spraying, reducing its efficiency. So what can you do if this issue appears? We researched this concern for your convenience and here’s what we found.
Refill the cleaning solution reservoir if it doesn’t contain a sufficient amount of that product. Another reason for the Shark VACMOP not spraying is it may need a battery recharge. Otherwise, remove the blockage that might be preventing the device from spraying.
Continue reading as we talk about these procedures in greater detail. We’ll also tackle other relevant pieces of information to help you in taking proper care of your Shark VACMOP.
Why Did My Shark VACMOP Stop Spraying?
A Shark VACMOP that suddenly stopped spraying might be experiencing certain issues. Some possible suspects are:
- Low or no cleaning solution
- Low or discharged battery
- System blockage
How To Fix Shark VACMOP That Won’t Spray?
After troubleshooting the cause of your Shark VACMOP’s inability to spray, repair the machine by using the appropriate procedure based on your findings. In this section, you’ll learn some possible solutions that may help restore normal function to this 2-in-1 cleaning device:
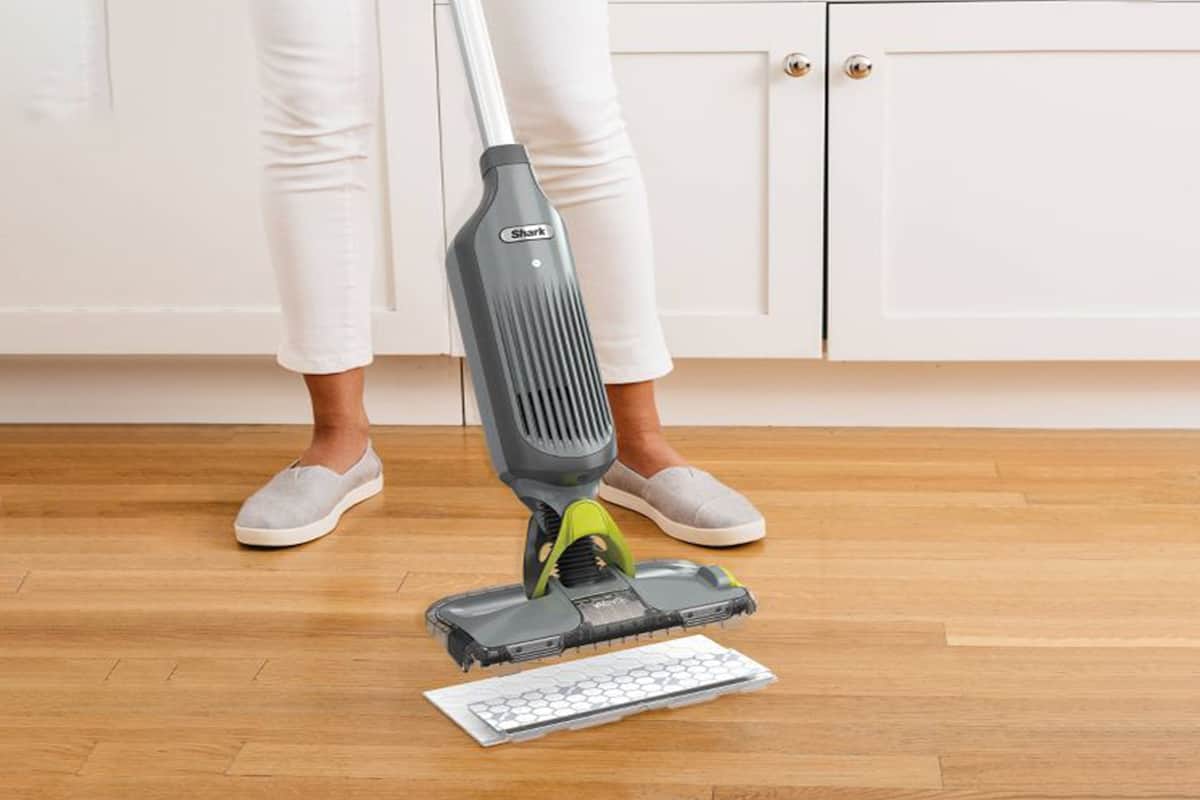
Refill The Cleaning Solution
Before proceeding, ensure that you’re refilling the VACMOP’s cleaner reservoir with the appropriate solution. Check your owner’s manual for the appropriate cleaning solution to use with this product. You can also find a list of applicable cleaners in a later section of this post.
Step-by-Step Guide
- Hold the VACMOP upright. Grasp its handle to prevent the device from moving.
- Open the reservoir lid located at the back of the main body.
- Pour the cleaning solution into the reservoir until it reaches the Max Fill line.
- Close the reservoir’s lid and test the VACMOP if it’s working as intended.
Charge The Battery
Charging the Shark VACMOP’s battery is as straightforward as connecting its accompanying power cord to a nearby outlet. Perhaps the only difference for this procedure lies in the model you have.
If you have a magnetic charger, connect the magnetic component to the VACMOP’s charging region. On the other hand, attach the standard charging cord to the appropriate terminal on the device’s main body.
Take note that it takes about 3-1/2 hours for the Shark VACMOP’s battery to reach full capacity after being discharged. Don’t disconnect the machine from the outlet before it finishes charging. Otherwise, you may not get the optimal efficiency needed to clean surfaces properly.
You can also watch the video below to see the charging and refilling procedures for the Shark VACMOP:
Remove The Blockage
Debris might be preventing your Shark VACMOP from spraying. You might deem this problem to be the cause of the machine not spraying if charging the battery and refilling the cleaning solution didn’t restore its functionality.
However, be wary that the following procedure may ruin the warranty for the product. If you’re unsure, check your owner’s manual or consult the device’s manufacturer for additional details regarding the warranty.
Only continue by following these steps if you’re steadfast in doing this project:
What You’ll Need
- Screwdriver
- Pliers
- Paper clip
Step-by-Step Guide
- Disconnect the Shark VACMOP from its wall outlet if it’s still charging.
- Turn off the machine.
- Unscrew all the screws on the main body.
- Use the pliers to release the spring clip fastening the hose to the heating component.
- Pull out the hose and set it aside temporarily.
- Straighten the paper clip and remove the blockage with it.
- Reinstall the removed parts and turn on the VACMOP to check if the problem persists.
It can also be a good idea to wear a pair of gloves or long-sleeved clothing as you’re doing this procedure. It’s because residual steam may escape from the machine after removing the clog. If done without protection, the heat from the steam may burn your skin.
How Do You Take Apart A Shark VACMOP?
Keep in mind that some parts of the Shark VACMOP are detachable for easy carry and storage. Disassembling these components can also help with troubleshooting, repairing, and maintaining the product.
You may also only need a pen and/or a paper clip for this procedure:
Step-by-Step Guide:
- Use the pen or paper clip to press the button on the snap clip.
- Pull the handle from the pole while maintaining constant pressure on the snap clip’s button.
- Use the pen or paper clip again on the main body’s snap clip.
- Remove the pole from the main body while keeping the snap clip’s button pressed.
Can I Use Any Cleaner In My Shark VACMOP?
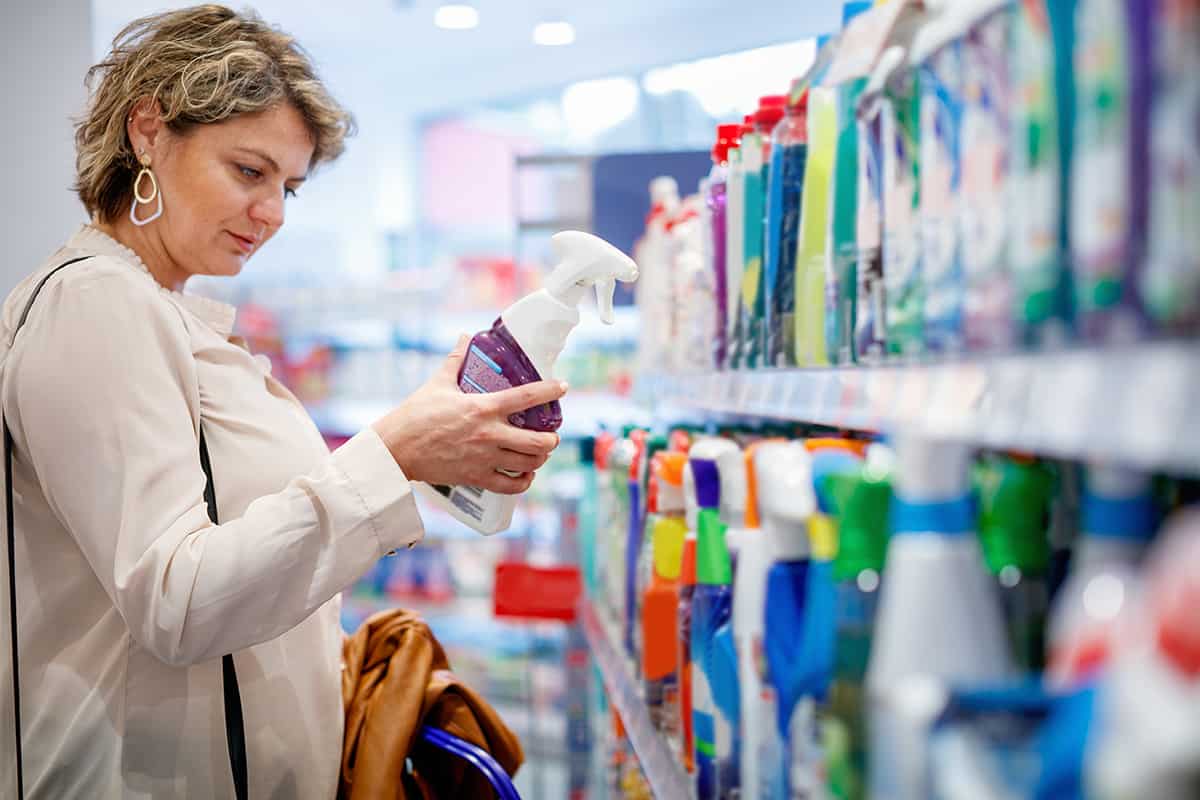
Shark recommends its users not to use any other cleaning solutions other than the company’s pre-mixed formula. You may still use other cleaners. However, ensure that the mixture is reasonably mild. Otherwise, sediments and other residues may appear and get stuck in the VACMOP, reducing its overall efficiency.

![]()
Check out this Shark VACMOP refill bottle on Amazon.
How Do You Change The Pad On Shark VACMOP?
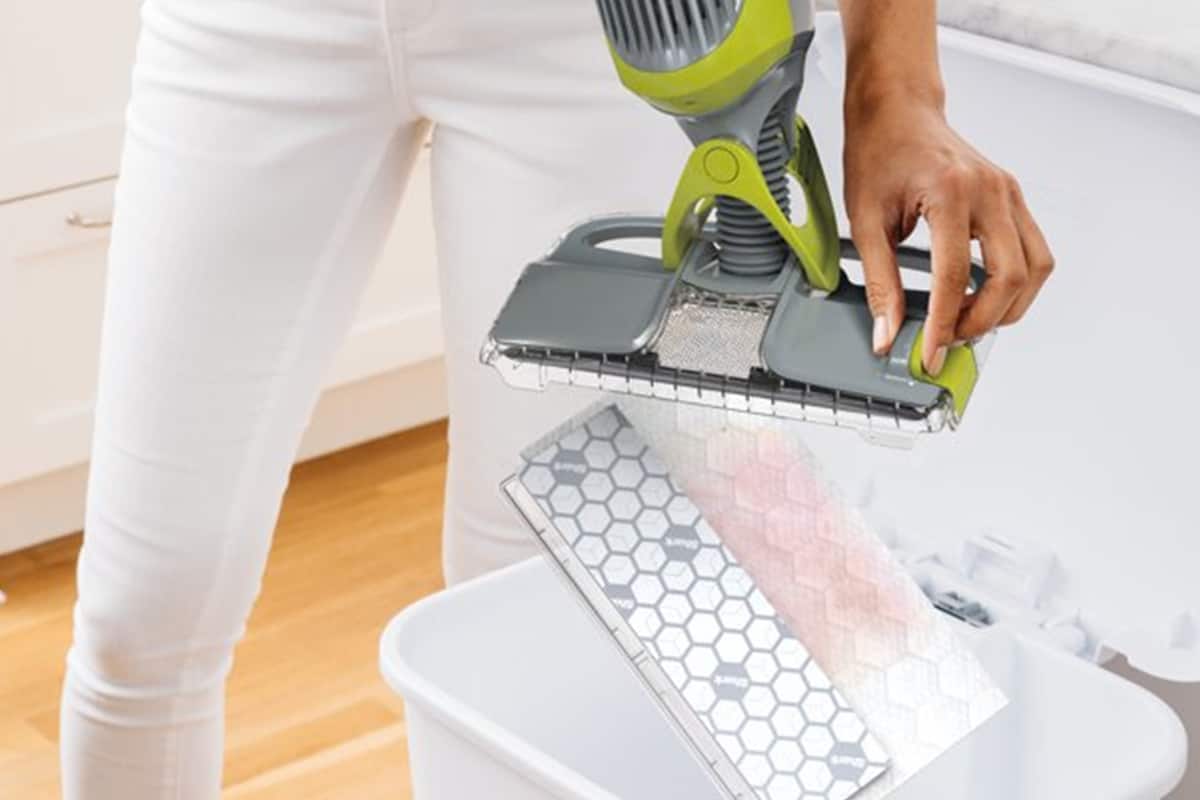
Changing the cleaning pad on the Shark VACMOP is a relatively straightforward process and generally follows these steps:
Step-by-Step Guide
- Hold the VACMOP’s head over a trash bin and press the pad release button.
- Place the replacement pad on the floor with its dirt chamber facing outward.
- Lay the head of the VACMOP on the pad’s outer edge.
- Press down on the VACMOP, which should make an audible click.

![]()
Check out this product on Amazon.
You can also watch the video below for a visual guide on the steps mentioned above:
How Do You Clean A Shark VACMOP?
Take note that you should clean this product about four times per year. You should also replace the Shark VACMOP’s filters at least once every 3 months if your particular model needs one.
Also, keep in mind that the cleaning process can be different depending on your specific Shark VACMOP model. For instance, here are the steps to maintain a Shark AI Robot VACMOP Pro:
Step-by-Step Guide
- Hold the two buttons at the sides of the fluid reservoir and pull the container out.
- Push the dust bin release button and pull it out of the robot vacuum’s main body.
- Remove the filter from the dust bin and rinse off the accumulated dirt with clean running water.
- Let the filter dry before reinserting it.
- Place the robot cleaner on the floor with its underside facing you.
- Push the tabs on the brushroll container and lift them.
- Remove the brushroll and use a soft-bristled brush to clean it.
- Return the brushroll and secure it in its container.
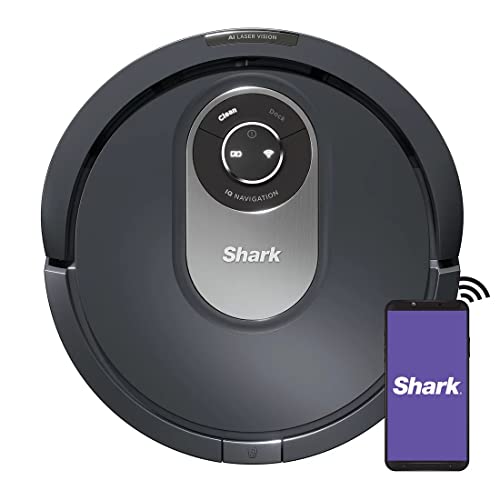
![]()
Check out this Shark robot vacuum on Amazon.

Watch the video below to see a visual representation of these steps:
How Long Is The Warranty On The Shark VACMOP?
Shark offers a limited 1-year warranty for the VACMOP. This policy covers the main unit and/or the parts that don't wear out over time. Shark also extends the warranty for another 6 months after users were able to take advantage of the guarantee’s initial benefits.
Final Words
Troubleshoot the cause of your Shark VACMOP not spraying. Then, use the correct measures to restore the machine’s proper functionality. If your repair efforts end in vain, you can consult with the product retailer or manufacturer if you can take advantage of the warranty.
If you liked this post, here are other great reads you can check out: