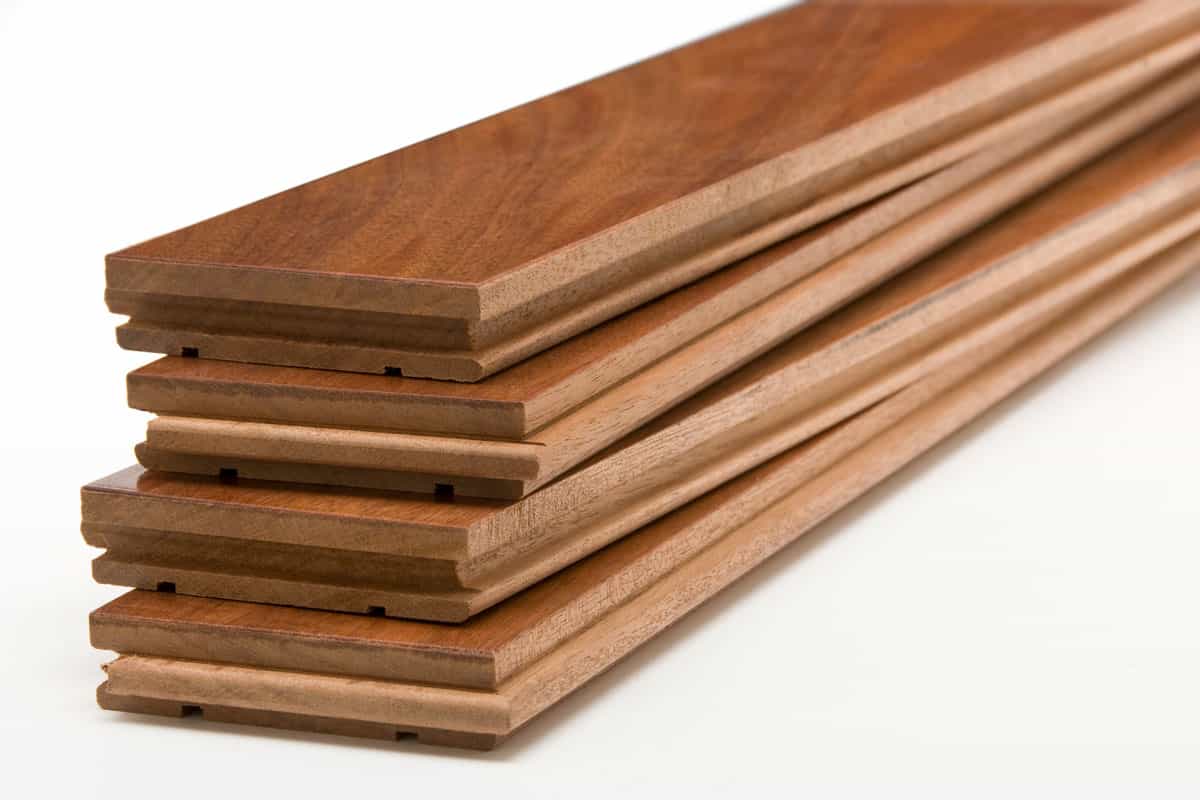
Tongue and groove is an elegant method of linking board planks that results in a homogeneous and visibly attractive floor. And if you're more into DIY stuff, then installing tongue and groove flooring is perfect for you! Since you may be curious, we researched where to nail tongue and groove flooring, and here is the answer.
You can drive nails through the tongue every 8" to 10" while holding the finish nailer at an angle.
Keep reading as we give you a step-by-step guide on how to install tongue and groove flooring. We'll also discuss what materials and tools you need for installing them and some essential tips for their installation. We'll also talk about the benefits of having tongue and groove flooring, so stay tuned!

How To Install Tongue And Groove Flooring?
Here is a simple step-by-step guide to installing this type of flooring:
Surface Marking And Board Laying
- To mark the first row, place a board with the groove facing the wall close to a corner, leaving about 3/16 of an inch between the board and the wall.
- Measure the distance from the mark to the wall on the tongue side of the subfloor. Copy this mark to the opposite side of the room, then draw a chalk line connecting the two spots.
- Apply construction adhesive in a thin layer between the chalk line and the wall. You only need to do this for the front row.
Placing And Nailing The Boards In Place
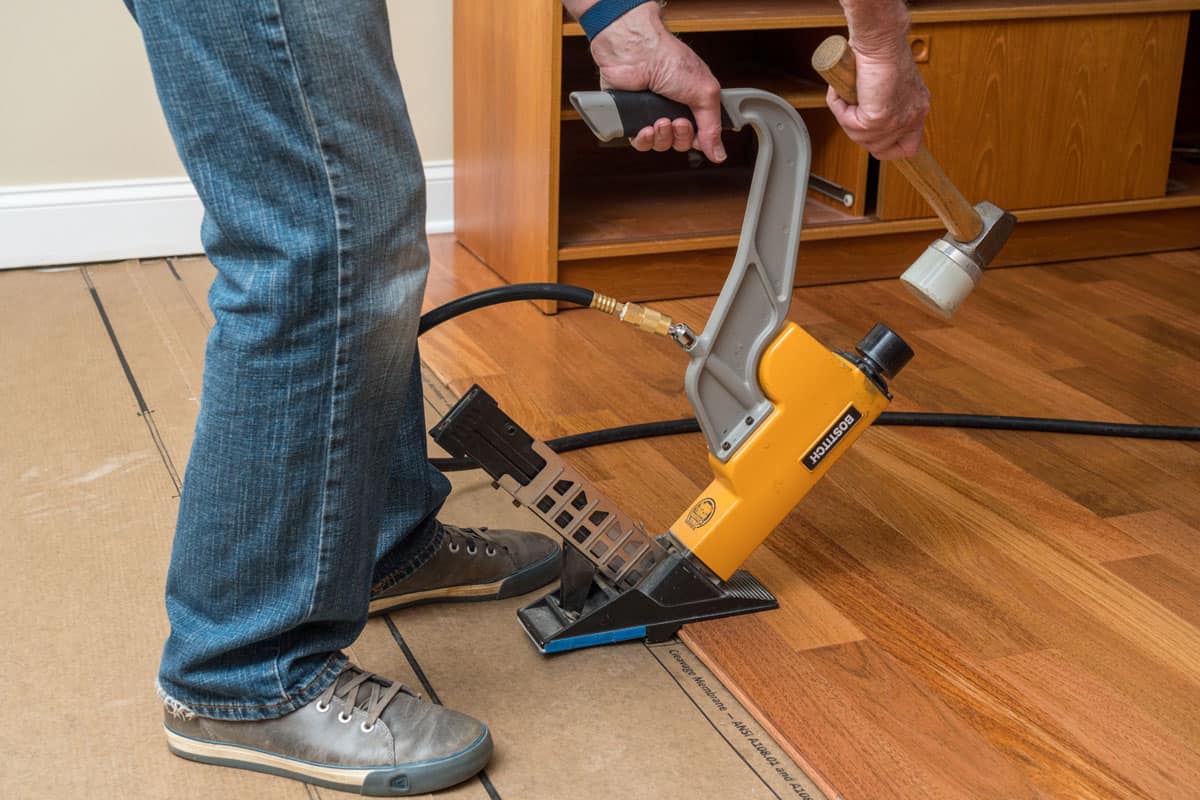
- Place a piece of flooring on the ground so that the chalk line is parallel to the outside of the tongue. Nail through the board's face along the board's groove side using a finish nailer.
- To keep the flooring firmly in place, insert spacers or shims into the space between the walls and the flooring.
- Every 8 to 10 inches, drive nails through the tongue while holding the finish nailer at an angle.
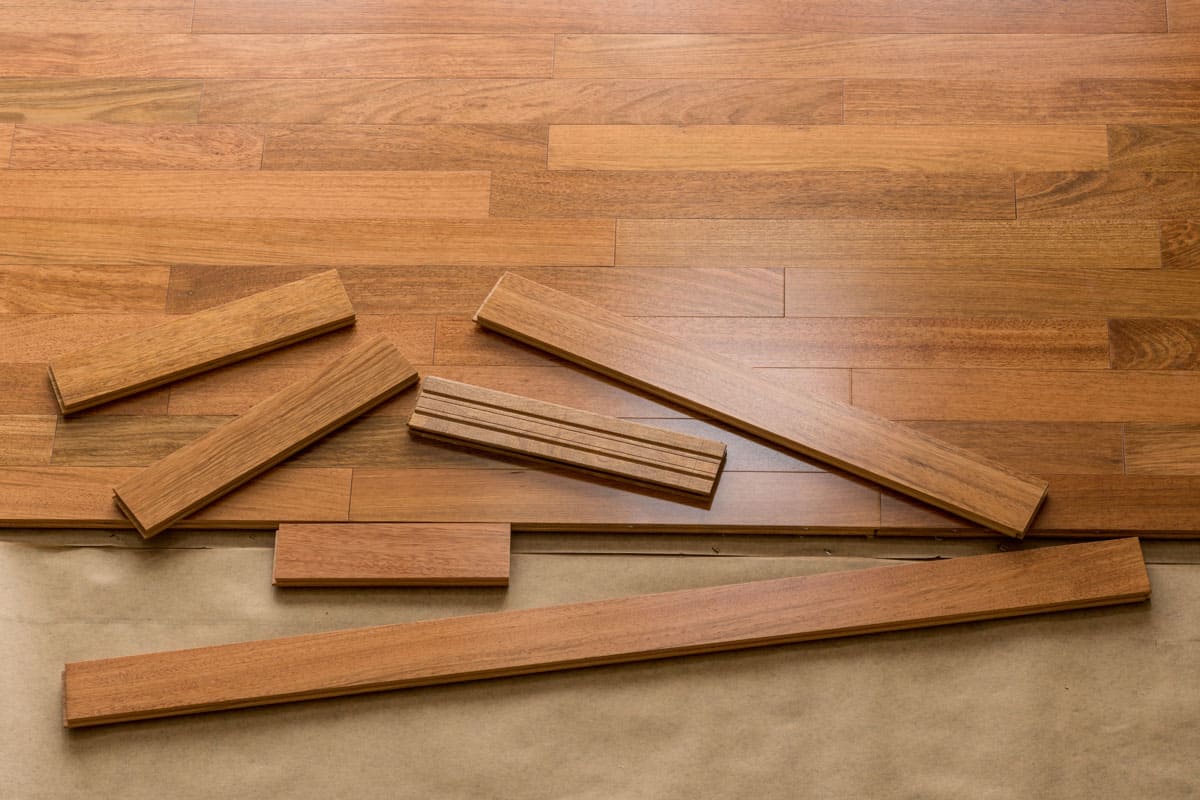
- Install the next piece of flooring next to the chalk line, placing the tongue and groove in between the two sections. Before nailing through the board's face and tongue, use a rubber mallet to join the two sections together. Till you reach a corner, keep moving along the wall.
- Keep the tongue pointing toward the wall and flip the end piece upside down to mark it for cutting. Use a pencil to mark the spot where the new board meets the old one with a rough 3/16" gap at the wall. Using a miter saw, trim the board to size. To keep it in place, drive a nail through the tongue and face.
Finishing
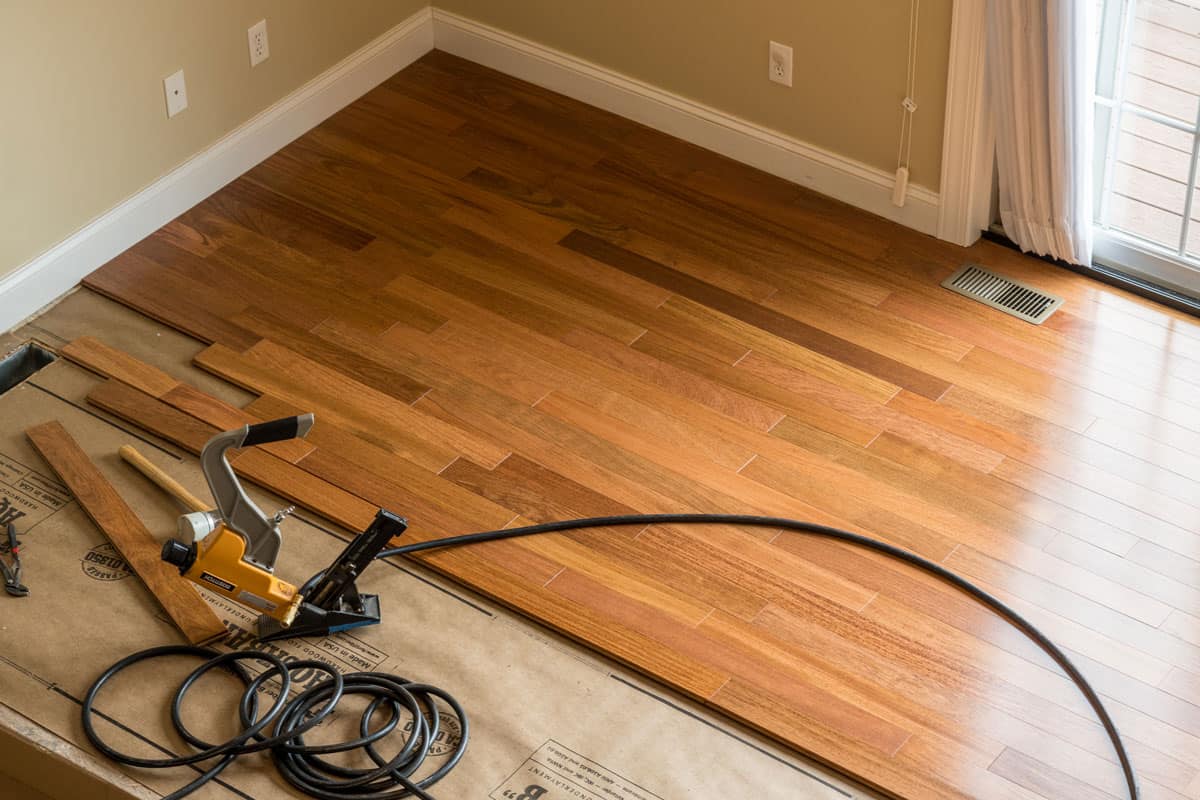
- Continue the procedure until you are sufficiently far from the wall to utilize the flooring nailer. At that point, lay a fresh board down and secure it with the rubber mallet before fastening it with the flooring nailer through the tongue.
- You won't be able to jockey the board into place using the rubber mallet once you've made it across the room. To place the boards correctly, press a flooring jack up against the wall.
- Use the finish nailer once again and hammer through the face of the floorboards every 8" to 10" along the other side of the room's wall.
- You should install baseboard moldings after buffing the surface and using wood putty to fill nail holes.
You can visualize the steps mentioned above with this video:
What Materials And Tools Do You Need To Install Tongue And Groove Flooring?
These are the materials and tools you need to gather and prepare to ensure that the installation process goes smoothly.
Materials
- Hardwood tongue-and-groove flooring
- Flooring adhesive


Click here for this product on Amazon
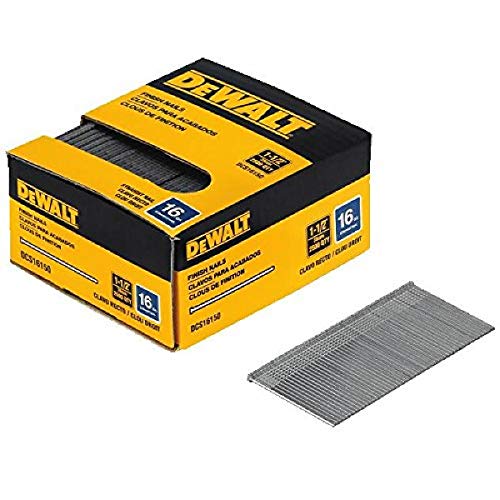
- Finish nails

Follow this link for this product on Amazon
- Flooring staples


Click here for this product on Amazon
- Shims or spacers


Follow this link for this product on Amazon
- Wood putty
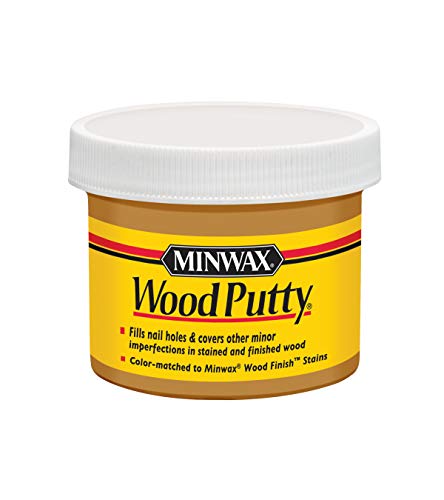

Click here for this product on Amazon
Tools
- Chalk line


Follow this link for this product on Amazon
-
Caulking gun


Follow this link for this product on Amazon
-
Miter saw


Click here for this product on Amazon
-
Flooring nailer


Follow this link for this product on Amazon
-
A rubber mallet


Click here for this product on Amazon
-
Finish nailer


Follow this link for this product on Amazon
-
Flooring jack


Click here for this product on Amazon
- Pencil


Follow this link for this product on Amazon
- Tape measure


Click here for this product on Amazon
What Are Tongue And Groove Flooring Planks Made Of?
You can now have access to a vast array of flooring boards thanks to the expansion of tongue and groove flooring assembly from hardwood to engineered flooring over the past few decades.
Engineered flooring consists of planks covered in a thin veneer on top of layers of compressed wood fibers, resins, and polymers.
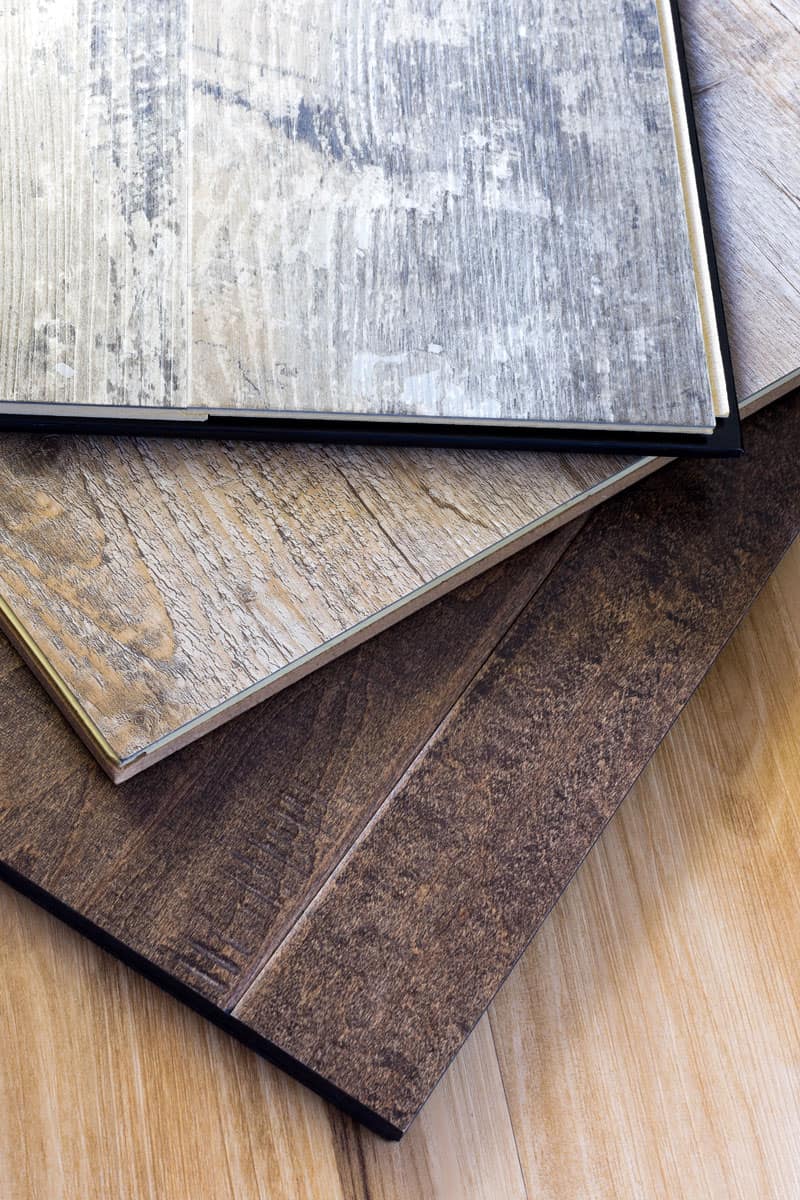
Tongue and groove floor ring planks are available in a wide variety of textures, designs, and hues, and consumers can select from veneers made of real hardwood and bamboo as well as other laminated goods that have the appearance of wood, cobblestone, or tile.
In contrast to hardwood flooring, engineered flooring can be put down over concrete or other surfaces that already have floorings, such as tile or linoleum.
Tips For Installing Tongue And Groove Flooring
Here are some tips you might need to keep in mind when installing this kind of flooring:
- Apply a sound-absorbing underlayment between the subfloor and the hardwood flooring to stop creaking floors. The most popular underlay material is a 15-pound felt paper, which is quite good at reducing noises made when wood rubs against other wood.


Click here for this product on Amazon
- Consider using a flooring nailer—a power tool that drives the hardwood plank tightly against the preceding plank while driving nails through the tongue at the proper angle. You can opt to rent this tool from a construction rental store near you.
- Use the underlayment recommended by the flooring producer. Like solid hardwood, engineered flooring needs a sound-absorbing underlayment, but because it can be put down over concrete or another flooring, the manufacturer could suggest a cushioned polyethylene-type barrier that also keeps moisture.
- Connect the boards with a snap rather than by force. In engineered flooring, as opposed to solid hardwood flooring, the tongue ridges and groove channels are thinner and deeper.
- Remember that laying engineered flooring over existing flooring will elevate the floor's level by 3/8 to 5/8 inches. The bottom of the door might need to be trimmed off if this makes it difficult to properly open the inside doors of the room. Installing a threshold or transition floor between two rooms is a good idea if the floor in the adjacent room is lower.
What Are The Benefits Of Using Tongue And Groove Flooring?
Flooring made of tongue and groove offers a weatherproof, water-resistant surface. To prevent splitting and warping, which can frequently occur with solid wood floors even with adequate maintenance, tongue and grooves are made to lock together.
Aside from that, here are additional benefits you may enjoy when you have tongue and groove flooring:
- Engineered tongue and groove boards are fairly simple to install, and a professional is not necessary unless the work area is more than 1300 ft2.
- Because of their tight seams, tongue and groove floors just need a little glue or nails to hold the boards together.
- This material is ideal to use if you want something that can withstand severe traffic. In addition to being far more moisture-resistant than solid wood, the top surface of engineered wood flooring is also scratch-and-dent-resistant.
- Since the tongue and groove floors are factory-prefinished, you can benefit from a speedy installation process without going over budget.
- You can increase the value of your interior by installing tongue and groove flooring. When you buy factory-finished engineered wood flooring, you may choose from an infinite variety of shapes, widths, thicknesses, colors, and styles to suit your preferences.
Final Thoughts

Installing tongue and groove flooring is a straightforward task. With the help of some special tools, you can make sure that your floors are spaced correctly and the nails are driven flawlessly.
Also, some of the major advantages of using tongue and groove flooring are its resistance to moisture and its value-adding to your home.
You can check out our other posts if you enjoyed this one!