Baseboard trims are integral facets in most homes, as they help enhance the beauty and give your home a polished look. Now, you might ask, where do I nail my baseboard trims? Don’t worry; we have done extensive research just for you, and here’s what we found.
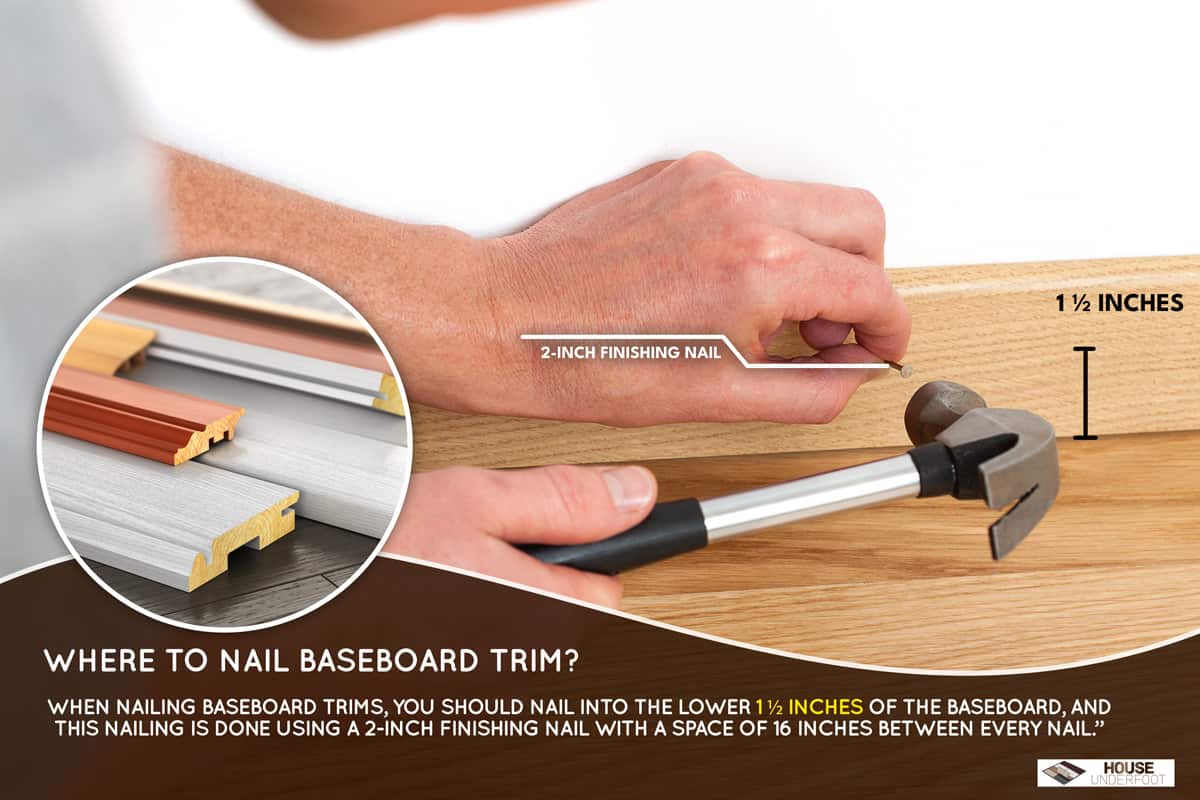
When nailing baseboard trims, you should nail into the lower 1 ½ inches of the baseboard, and this nailing is done using a 2-inch finishing nail with a space of 16 inches between every nail.”
As much as nailing rightly is concerned, there are a lot of other crucial things you should know about baseboard trims and how to install them properly. Stay put and keep reading to learn more.
What is Baseboard Trim?
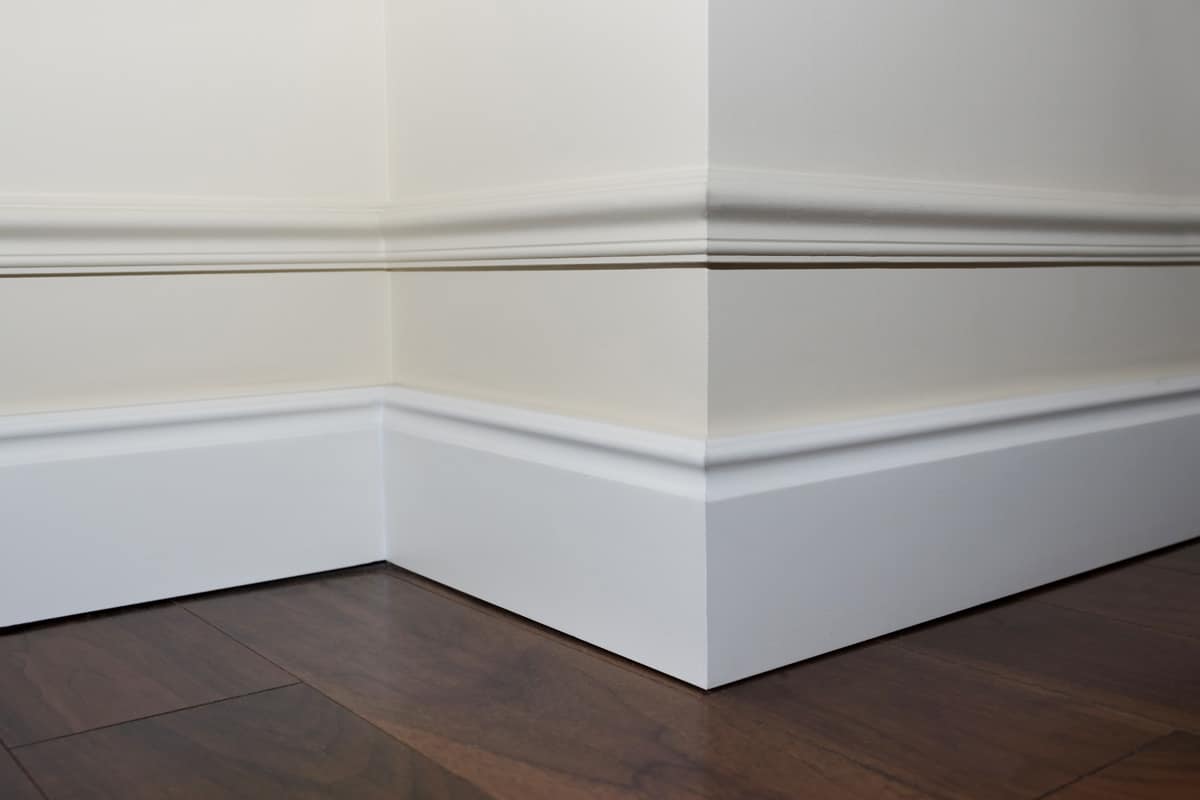
Baseboard trims, known to many as base moldings, are made of wood or polyvinyl chloride (PVC) and are used to cover the bottom of many house walls.
These trims cover joints between the walls and floors to hide flaws or blemishes in these areas of the house, although many people use them for their decorative features.
These trims range from 8 to 16 feet (2.44 to 4.88 meters) which could come in one long strip or various pieces. When buying baseboard moldings, you should probably get more baseboard length than the length required for the job. With this, you can compensate for waste from trimming sections to fit.
Baseboard trims are used because of their unique decorative features, among other features, which include protection from moisture, bumps, scratches from vacuum cleaners, and so many more. If you consider getting a baseboard because of this – you are making an excellent decision.
They cost between 80 cents to $1.20 per square and $1,300-$2,000 for a 1600-square-foot building. They come in various styles; one of the most popular is the shoe or quarter-round molding. Choose the style that best suits your home and give that home the best look it deserves.
Where to Nail Baseboard Trim?
Baseboards may not seem integral to home aesthetics when working inside a home, but they are. Knowing the correct nail placement can go a long way in ensuring the durability and appearance of your baseboard.
You should probably nail the lower 1 ½ inches of your baseboard trim. Nailing this area of the baseboard ensures that your baseboards are well fitted and the nail hits the bottom plate in the wall. It is also essential that the nails used are 2-inch finishing nails as they are best for this purpose.
Generally, many people have different suggestions on the spacing between nails, but the most appropriate spacing is the 16 inches spacing. This spacing ensures that the baseboard is held firmly without creating too much tension in the board.
When nailing with a hammer, you should never drive the nail ultimately, as this will make a hammer-head dent which would not look very nice on your board. Always leave a ⅛-inch space between the nail and the board while nailing. The nailing process can be completed using a nail set and your hammer.
Check out this nail assortment kit on Amazon.
Do You Nail Baseboard To Studs?
If your nails are sticking out or not firm enough, you should consider checking to see if you are correctly nailing into this frame.
Yes, you should always nail baseboards into studs. Studs are more like a frame in your walls that help you hold nails firmly.
One of the significant issues you can have during baseboard installation is nailing into the studs. You might wonder how you can find studs behind a rigid wall. Here are places to find studs on your walls.
You can find studs in the following places on your walls:
- The lower part of your wall, running 0.5 inches from the bottom of the wall
- Door frames
- Plugs or sockets
During installation, you can use this as a guideline to find studs. If this method is complicated, you could also use a stud finder to locate studs on your wall.
Get this stud finder on Amazon.
Nailing to studs is crucial when installing baseboards, and doing it right should always be your top priority.
How Far Apart Should Nails Be On Baseboards?
Some specialists advocate capturing the pairs of nails every sixteen inches, whilst others decide upon durations of 14 inches or even 12 inches.
Another issue to not forget is to attempt to get a number of the baseboard nails throughout the baseboard into studs. These studs are usually 16 inches apart, so you should consider nailing with a 16 inches space.
Should Baseboards Touch The Floor?
A baseboard may seem small, but it plays a big part in keeping the whole space together in a neat little package.
If the skirting boards are too high or too low from the floor, the room can feel a little out of place. Your first instinct may be to place the baseboard perpendicular to the floor.
Baseboards should only touch the floor if you don’t plan to put carpet on them. If you have not yet installed the rest of the floor, carpet, etc., you will need to consider the height of the floor to be installed.
Whether or not the baseboard touches the floor depends entirely on the current state of the floor in the room and what you might add in the future.
Is It Better To Nail Or Glue Baseboards?
Mounting the baseboard requires different techniques. These techniques work very well, but if not installed correctly, over time, the baseboard can warp, bend or fall off, requiring a complete replacement.
Nailing the baseboard is preferable to glue because the nails fit tightly and can be easily removed when installing a new baseboard.
Adhesive, on the other hand, also ensures a good connection but can damage the wall when removing the board.
Do You Need a Nail Gun for Baseboards?
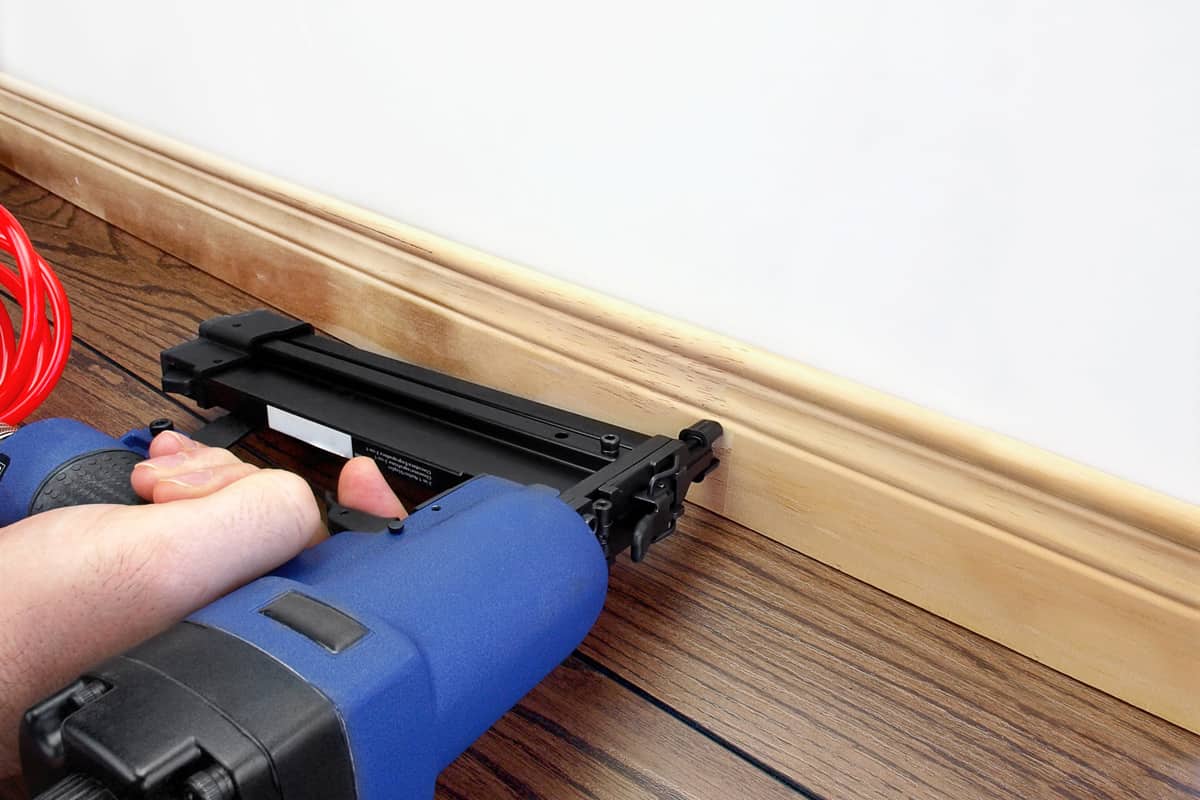
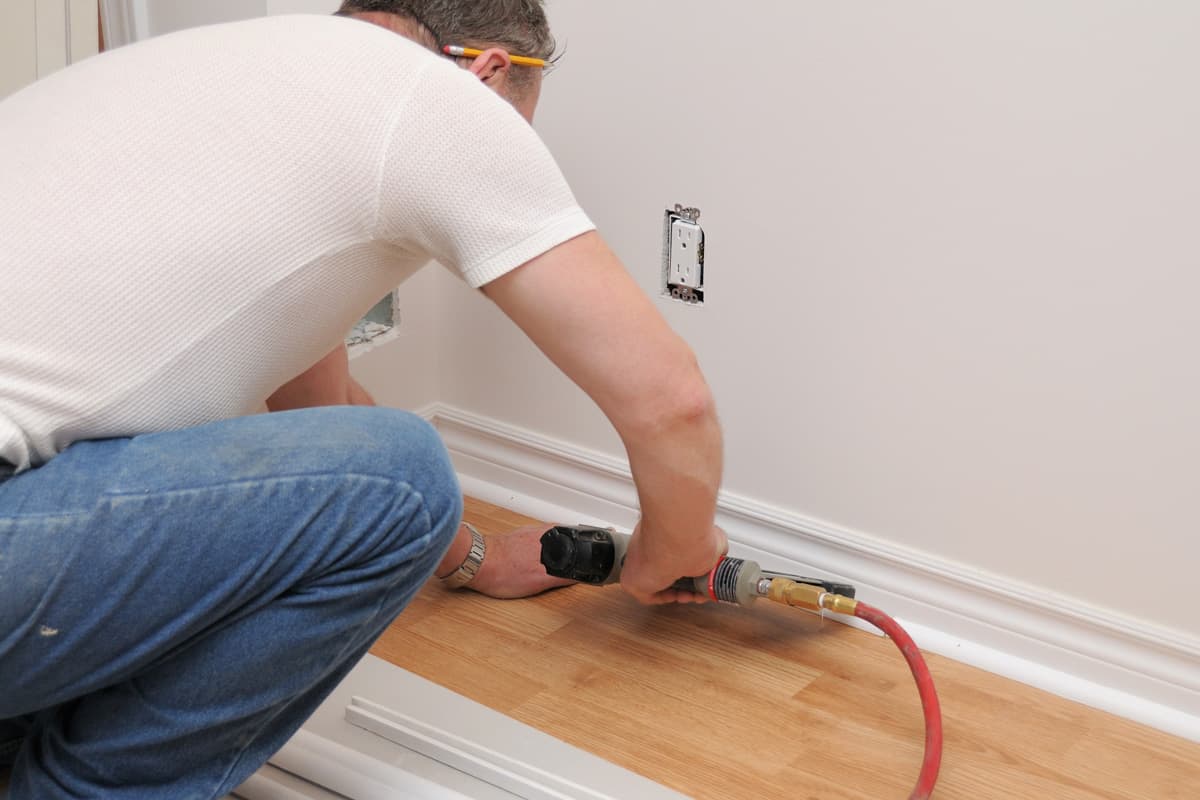
Yes, you definitely need a nailing gun for installing your baseboards. A nailer is the most popular power tool among professional woodworkers and D.I.Y. enthusiasts as it allows them to install baseboards easily, quickly, and very effectively.
Unlike the traditional method of using a hammer, using a nail gun will enable you to install the baseboard without damaging it while at the same time providing a solid attachment to the wall.
There are countless brands of nail guns that are perfect for baseboards. Nail guns are available in various price ranges. Choose the one that best fits your budget.
Get this brad nailer on Amazon.
How Do You Hammer Nails Into Baseboards?
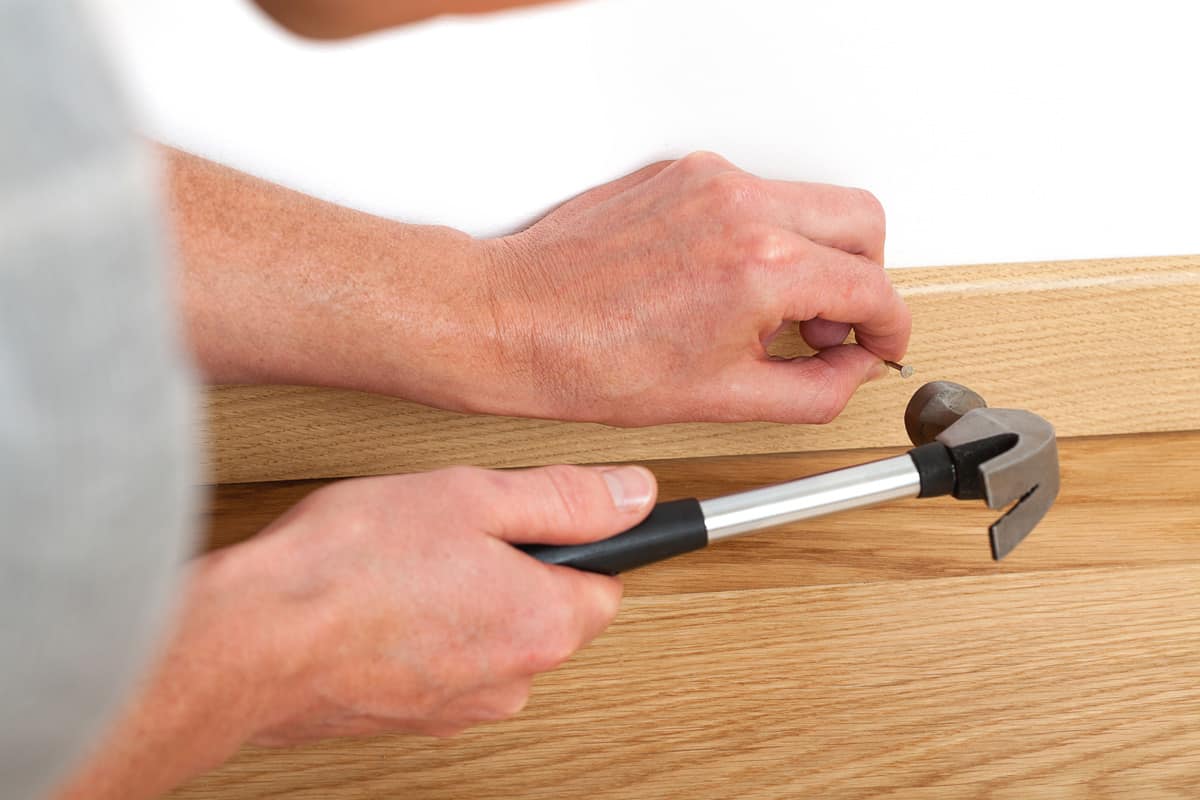
The following are the steps to hammer nails into baseboards
Prepare Your Baseboard
The first step in this process is prep work which involves measuring and marking your baseboard. Rember to keep the baseboard on the outside corners a few inches longer than the wall this would enable easier trimming.
Baseboard height needs to be measured and adjusted for a level floor. Place the baseboard at four feet on the floor close to the wall to measure the floor height.
To do this find the lowest level of the floor, take a small piece of skirting board and fasten it to the wall with staples and nails. Then insert a compass at the vertical ends of the board and chalk line.
Cut Along The Scribe Line and Nail Baseboard to The Wall
Retain the measurement with the compass from the previous step. Line up dots vertically to cover the board length. The next step is to use a circular saw with a 2 to 5-degree slant to cut along the score line.
Position the baseboard up against the wall. Pushing the nail downward rather than straight into the wall will be easier.
Drive The Nails Inside The Walls, Then Seal
A nail set can be helpful in this step to avoid a hammer-shaped dent if the nail is directly inserted into the walls. The nail set’s tip can be placed on the nail tip. Nail sets are also available in various sizes.
Close the gap between the wall and the baseboard with caulk or sealant. You can use your fingers for the best application. After that allow it to dry.
Conclusion
Baseboard moldings are essential in every home as they help enhance the beauty of your home. Installing them correctly and efficiently should be your top priority. Using the right nails and nail tools can save you money and repair time.
To learn more about similar topics, check out these articles:


