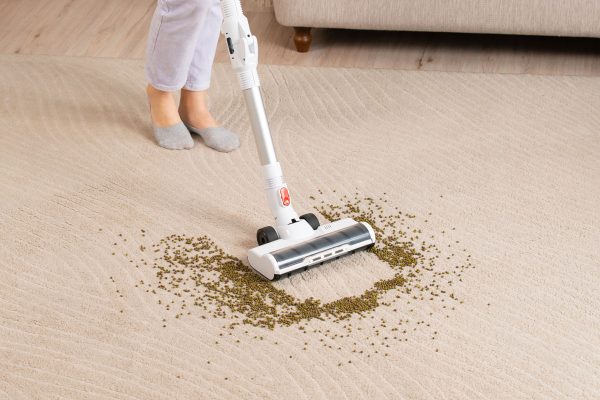
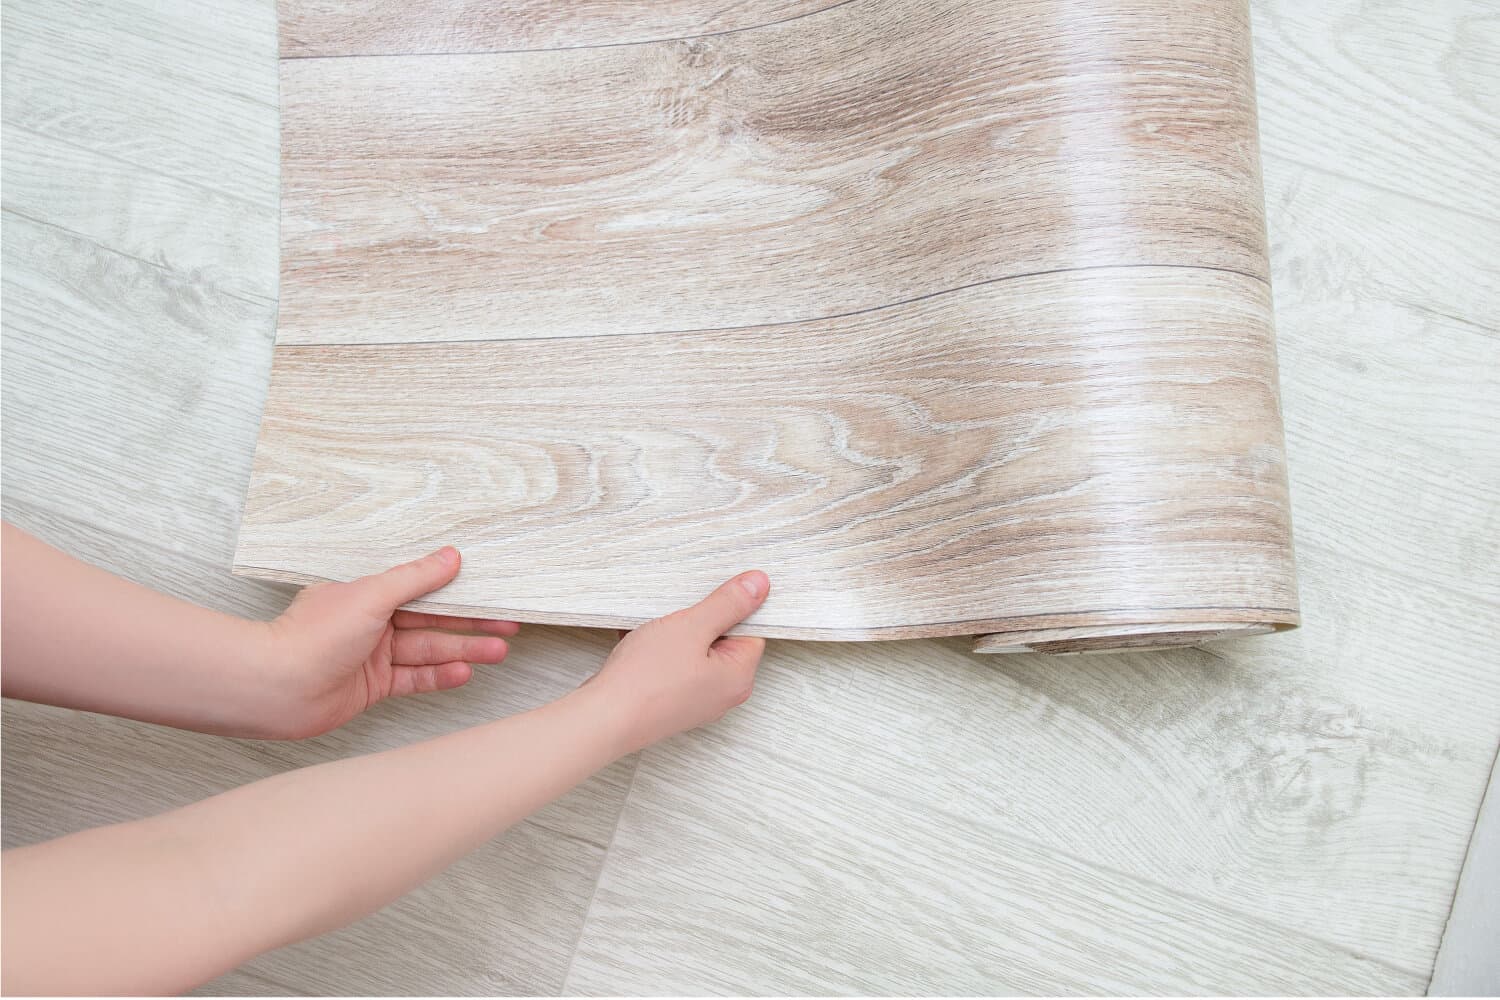
Linoleum is a common option for house owners looking for flooring that will last a long time. However, unforeseen events frequently occur and cause issues such as the drying of linoleum adhesive. Worried if this thing happens? Worry no more! We’re here to help you as we’ve researched this topic thoroughly.
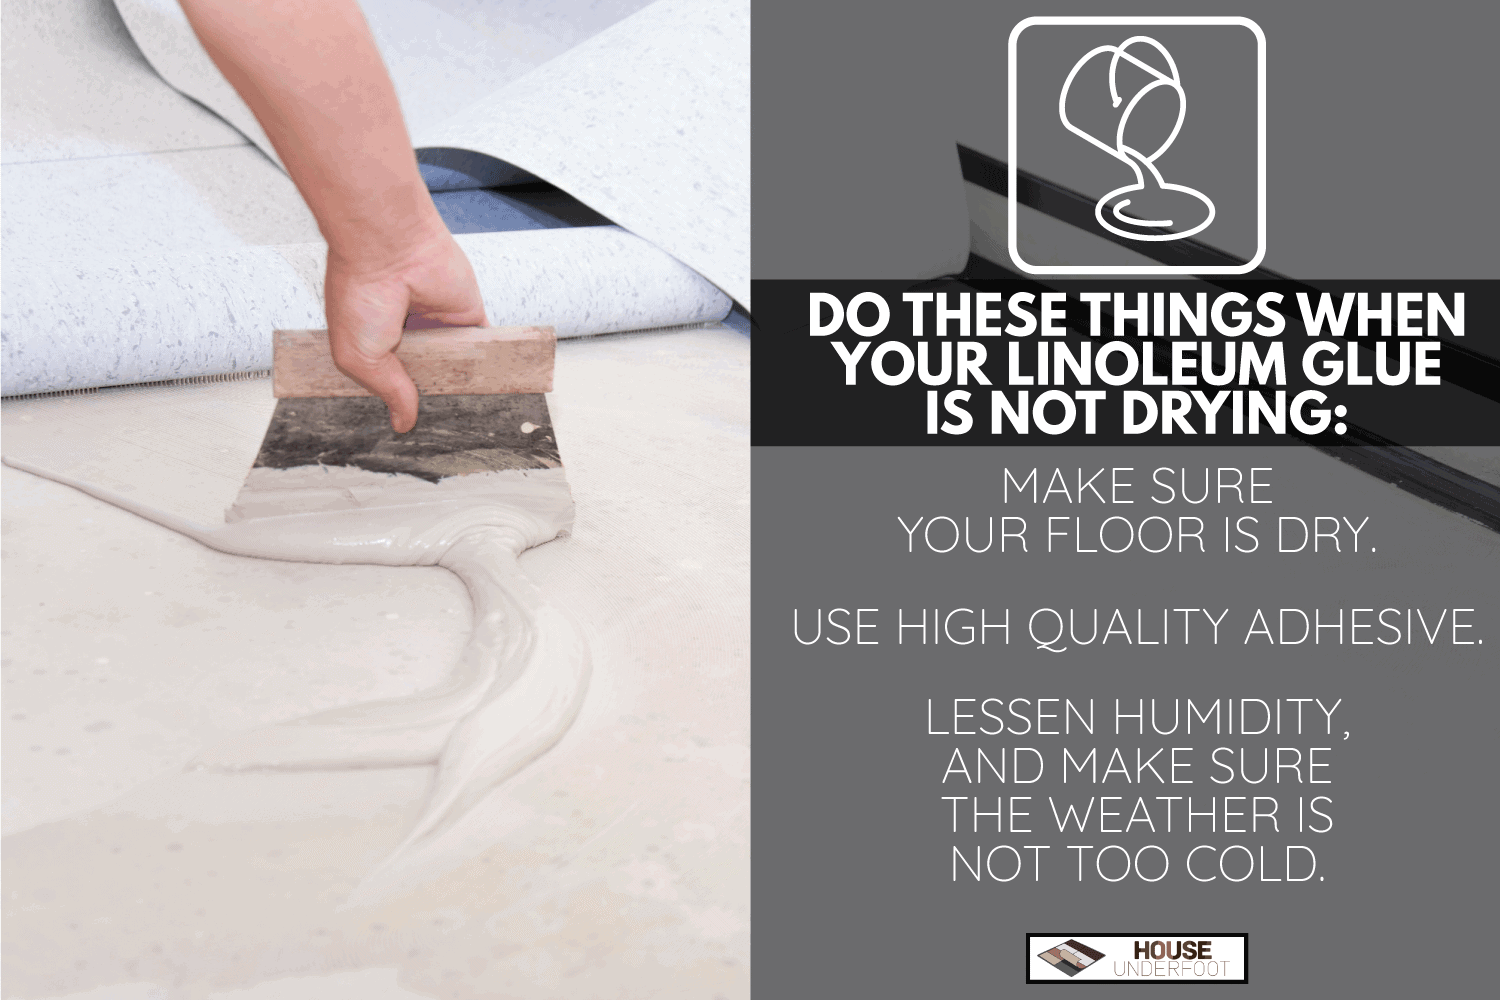
Make sure your floor is dry. Use high-quality adhesive to ensure that your linoleum glue sets or dries properly. To prevent drying from taking longer, you should also make sure there is not too much humidity and the weather is not too cold.
In this article, we’ll thoroughly discuss linoleum, especially about its adhesive. Also, we’ll share some ideal adhesives for this kind of flooring and how to install it. So keep on reading for more information.
What Is Linoleum Flooring?
In a variety of building types, linoleum is frequently utilized as flooring. It is the main component of linseed oil and is made from natural materials such powdered stone, wood, or cord powder. It is possible to buy partially recycled linoleum because it is a recyclable material.
Pros
- Flooring made of linoleum is incredibly robust and resistant to damage. It can endure up to 40 years with proper maintenance.
- Linoleum installation is significantly less expensive than other flooring types.
- It comes in a huge selection of colors, designs, and styles.
- Water resistance makes linoleum flooring perfect for use in kitchens and baths.
- Linoleum is biodegradable and comprised of renewable materials, unlike other types of flooring.
- Volatile organic compounds (VOCs), which could have negative health impacts, are not released by linoleum flooring.
- Compared to vinyl flooring, it can hide stains and scratches better and is scratch-resistant.
- Occasionally needs sweeping and mopping for maintenance.
Cons
- Resilient linoleum is prone to dents from furniture legs.
- Expert installation of linoleum flooring is necessary and can be costly.
- If exposed to direct sunshine, linoleum may eventually darken or turn yellow over time.
- Some linoleum varieties are vulnerable to moisture, especially when exposed to standing water, which can result in long-lasting harm.
- Linoleum flooring that has recently been waxed and is new might be slick and dangerous for slips and falls.
Why Is Floor Tile Adhesive Not Setting?
There are several reasons why your floor tile won't set as quickly as you anticipate. First off, you might be using the incorrect glue. Some products are of low quality and lack the necessary ingredients to hasten the adhesives' setting time. This is especially true for adhesives that are ready to use.
These adhesives take months to dry and are difficult to set. Choose an adhesive that hasn't been blended and acquire a more dependable brand to utilize for tiling.
Another factor that could prevent the adhesive from setting is working on a wet floor. Before you begin tiling, always make sure the floor is dry.
Don't forget to acquire the appropriate adhesive for the sort of floor you are working on. Ask a professional for advice on the best glue to use for the sort of floor or wall you're working on.
Why Floor Tile Adhesive Not Drying?
The same factors that prevent a floor tile glue from setting also prevent it from drying. You might have chosen the incorrect glue or been working on a wet floor.
There are additional factors, such as the current weather, that could prevent the floor adhesive from drying. It will take longer for the adhesive to dry if it has been raining or too chilly recently.
Additionally, the adhesive won't dry if you use it to level an uneven floor. This is because you will use far more adhesive than necessary while leveling the floor. As a result, drying will take longer than anticipated. Therefore, take care not to apply too much glue to a tile so that it takes too long to dry.
The adhesive will take weeks, if not months, to dry if there is any chance of water entering the tiles while you are waiting for the adhesives to cure. The adhesives won't cure sooner if the room where you installed the tiles has a high humidity level.
What Kind of Glue Works Best for Linoleum?
The next step is to choose the best glue to purchase as you are certain you need glue for your linoleum. Select the right glue to keep your linoleum in place and last longer, among are the choices:
1. Plant-Based Adhesives
Use low or no VOC adhesives if you want to use environmentally safe linoleum. These plant-based adhesives show that they generate very little indoor pollution. Plant-based adhesives include, for instance, cellulose glue, natural resin glue, rye flour paste, and natural rubber glue.
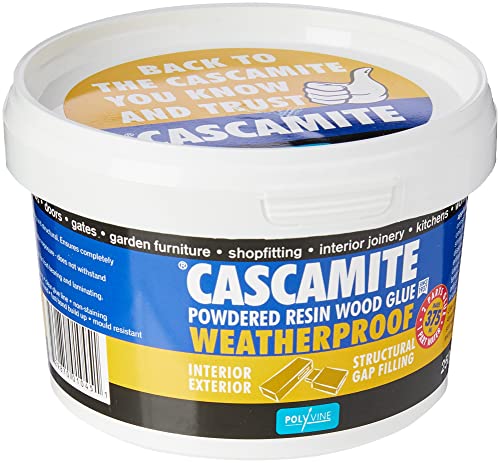

Click here to see this Cascamite powdered resin wood glue on Amazon.
2. Water-Based Glue
Water-based glues frequently contain minimal levels of volatile organic compounds and don't impact indoor air quality. Since they are considerably easier to clean and less harmful than other varieties of adhesive, the majority of people frequently choose them.

Click here to see this water-based adhesive on Amazon.
3. Polyurethane-Based Glue
For repairing wooden flooring, polyurethane-based glue materials are the best option. This glue contains an isocyanate compound that has been dissolved in a solvent and has low levels of VOCs.


Click here to see this waterproof polyurethane glue on Amazon.
4. Acrylic-Based Glue
It is resistant to drastic changes in humidity and temperature. Also, it has a low level of VOCs as glues are made from polyurethane because they are made from resin. The biggest drawback of acrylic-based glue is its high price.


Click here to see this acrylic-based adhesive on Amazon.
5. Other Adhesives
You can install linoleum flooring using a variety of adhesives. An excellent illustration is a glue with the generic name "linoleum adhesive," which is perfect for attaching linoleum floor tiles.


Click here to see this linoleum adhesive on Amazon.
How To Install Linoleum Flooring?

Linoleum flooring installation requires some patience and preparation. Following are the steps to follow in installing:
1. Measure the Working Space
You may determine how much linoleum you'll need by measuring the room with a tape measure. Make sure you get around 10% more linoleum flooring than the measurements.
2. Allow The Linoleum To Settle
Normally, linoleum requires 24 to 48 hours to adapt to the environment in your home. Before putting down linoleum, it's crucial to give it time to settle since it can slightly expand and contract.
It's crucial to leave an extra ¼ inch on each side when installing linoleum flooring to account for expansion and contraction.
3. Remove Obstructions
Before installing linoleum flooring, you must remove all furniture, baseboards, appliances, and doors. For baseboard removal and door removal, you will want a hammer or pry bar. When installing linoleum floors, avoid trying to work around doors.
4. Fix And Level The Current Flooring
Because it has a backing, linoleum flooring doesn't always need an underlayment. However, you must check that your current floor is level and has no pocks or bumps.
You'll notice a hump later, and the flooring may split if you don't patch it. Before continuing, check the floor with a level to make sure it is level.
5. Make Cut-out Marks On Linoleum
To prevent any errors, mark the cut lines on the linoleum before you start cutting. Make sure your lines are straight by using a tape measure.
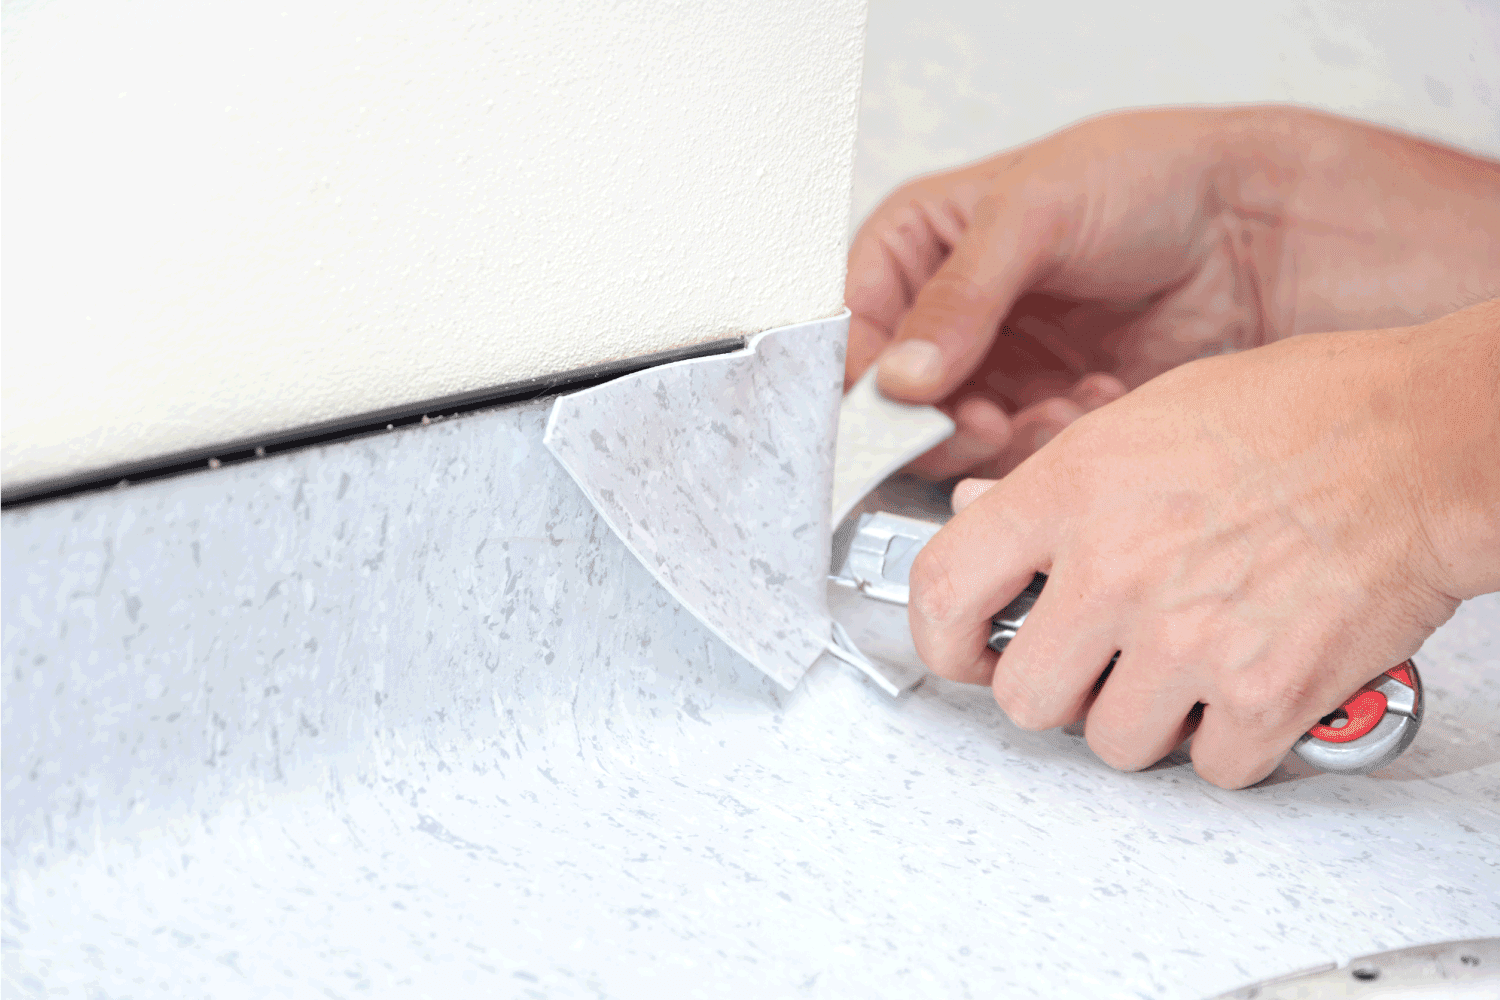
6. Cut Linoleum
When cutting linoleum flooring, a utility knife will do the trick, but a jigsaw may also be useful. Use a utility knife and make careful to score the flooring before cutting it.
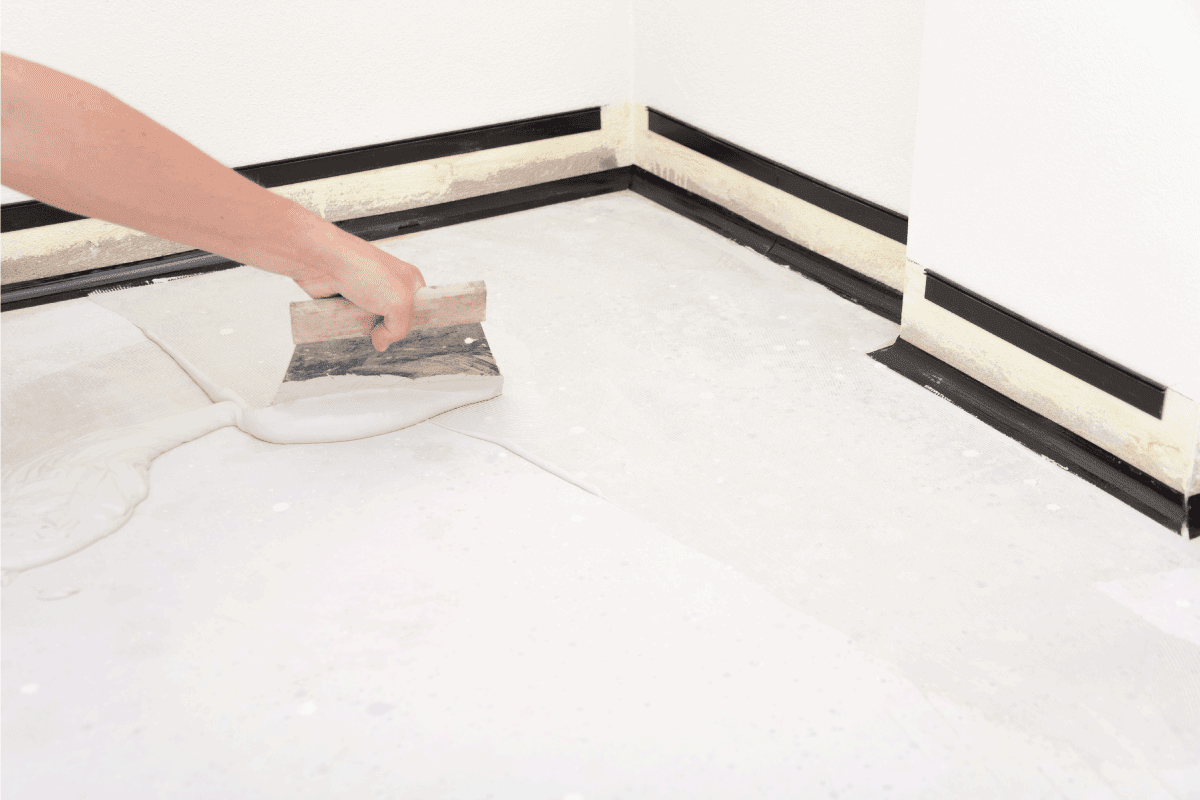
7. Lay Linoleum
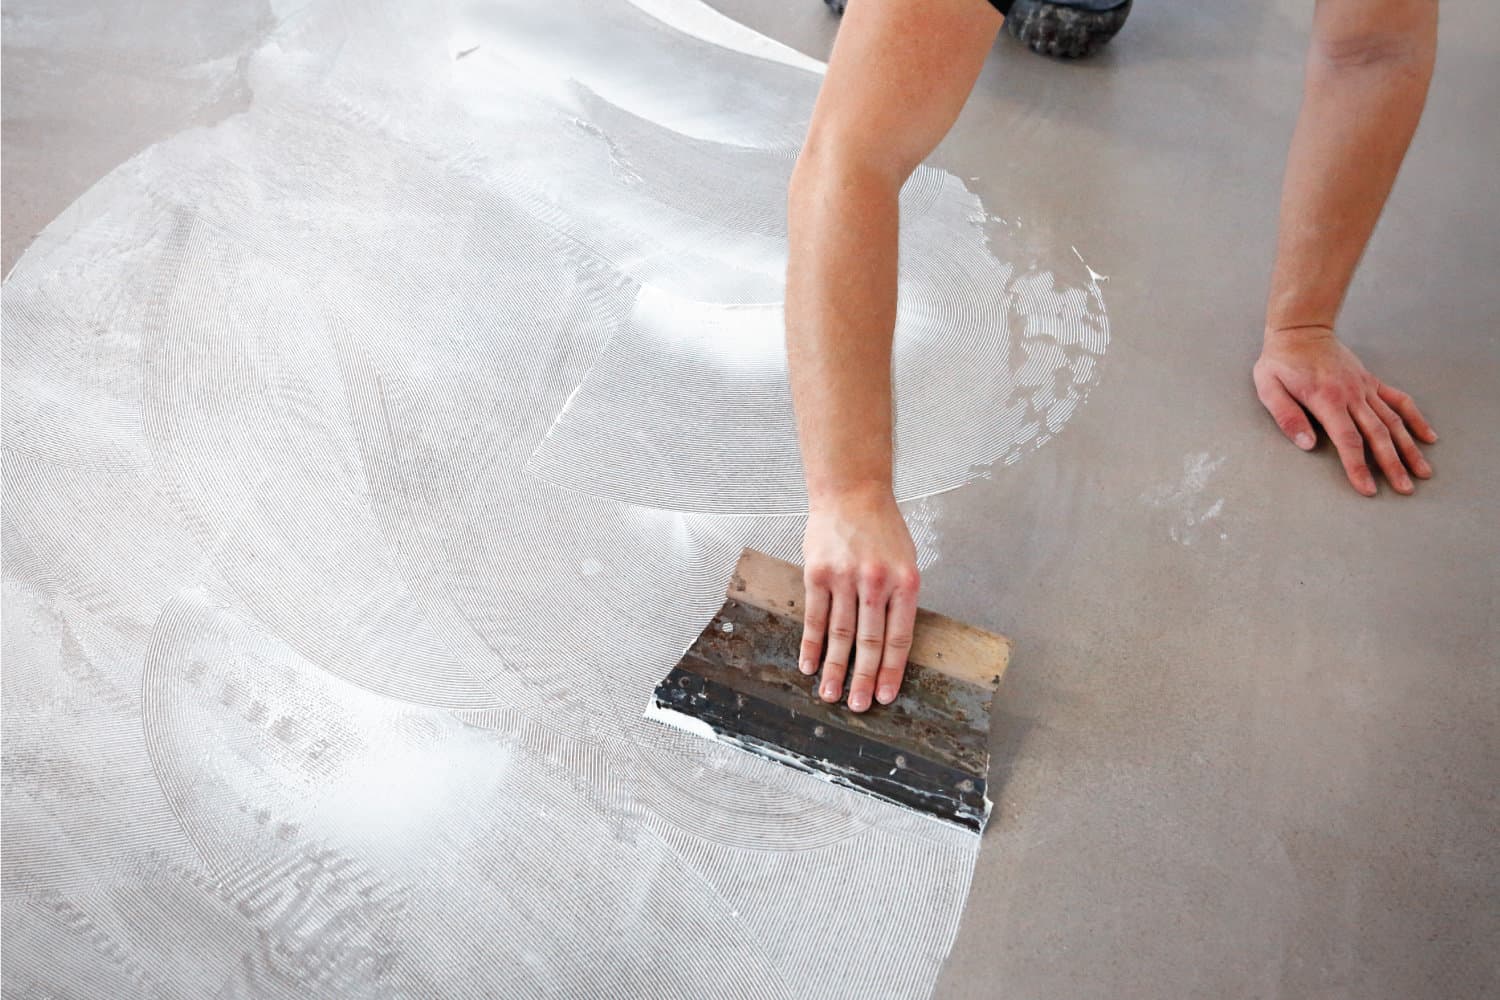
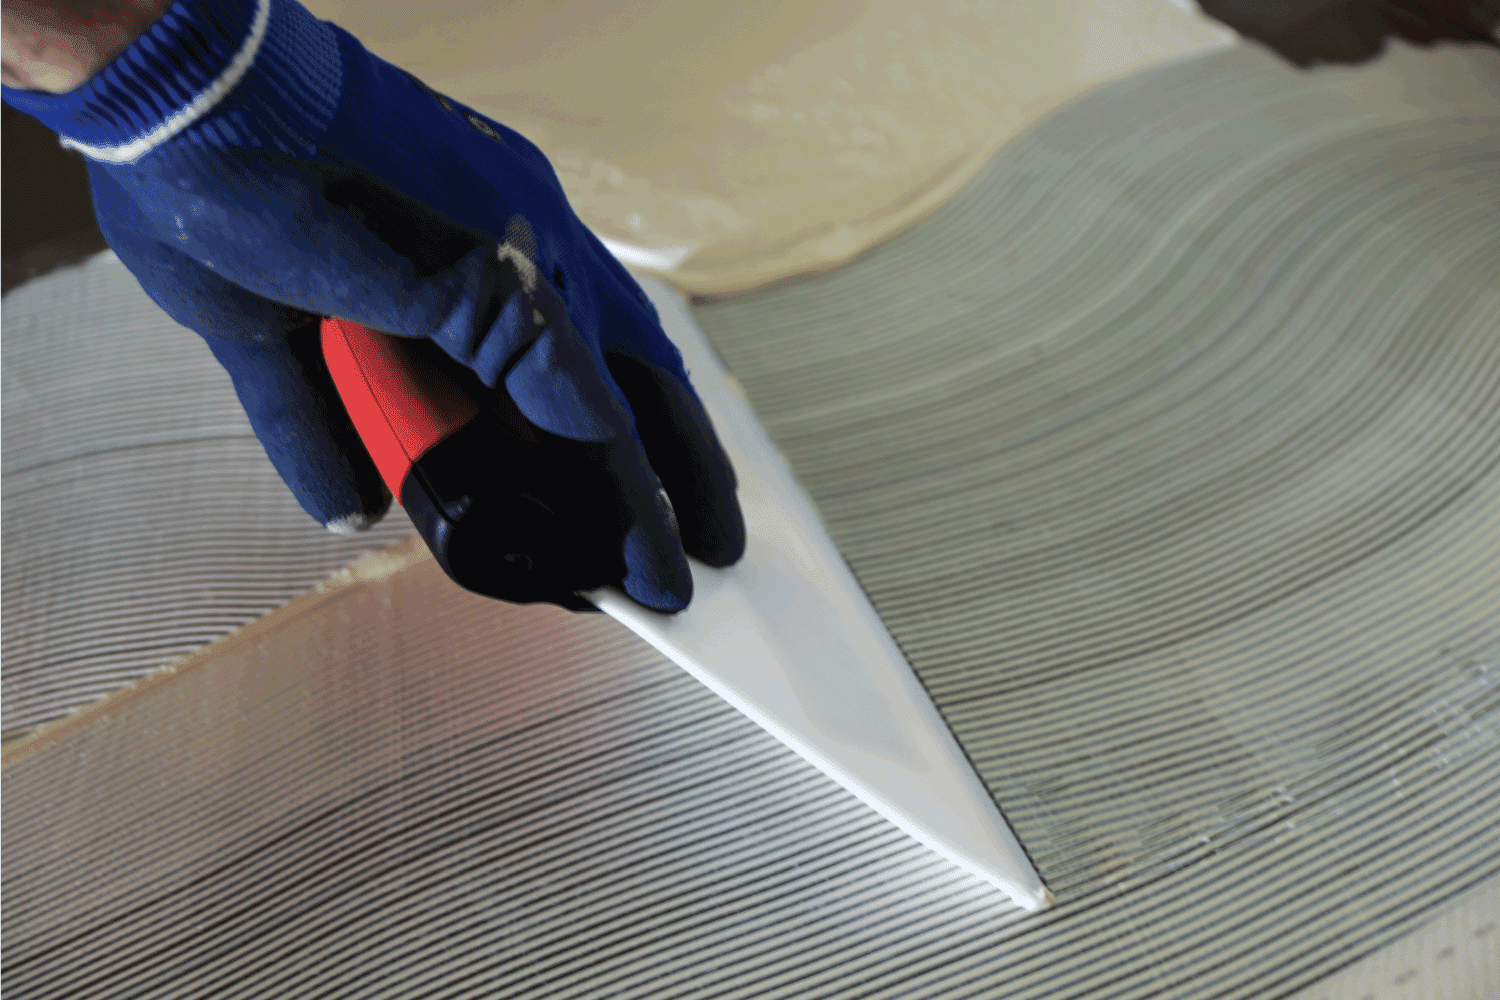
Use a notched trowel to start applying flooring adhesive to the subfloor or current flooring. Before installing the linoleum flooring, make sure to apply a thin, even layer of flooring glue. With a moist rag, wipe away extra flooring adhesive as you install linoleum.
8. Apply Sealant After You Roll The Linoleum
You must use a floor roller to roll the linoleum after it has been laid down. To avoid peeling or potential water damage, you should put sealant between seams.
9. Return Removed Items After Letting The Floor Rest For A Day
For the whole day, keep all foot traffic off the floor to allow the linoleum flooring's flooring adhesive to do its job. You can start returning the items you removed from the room after a day.
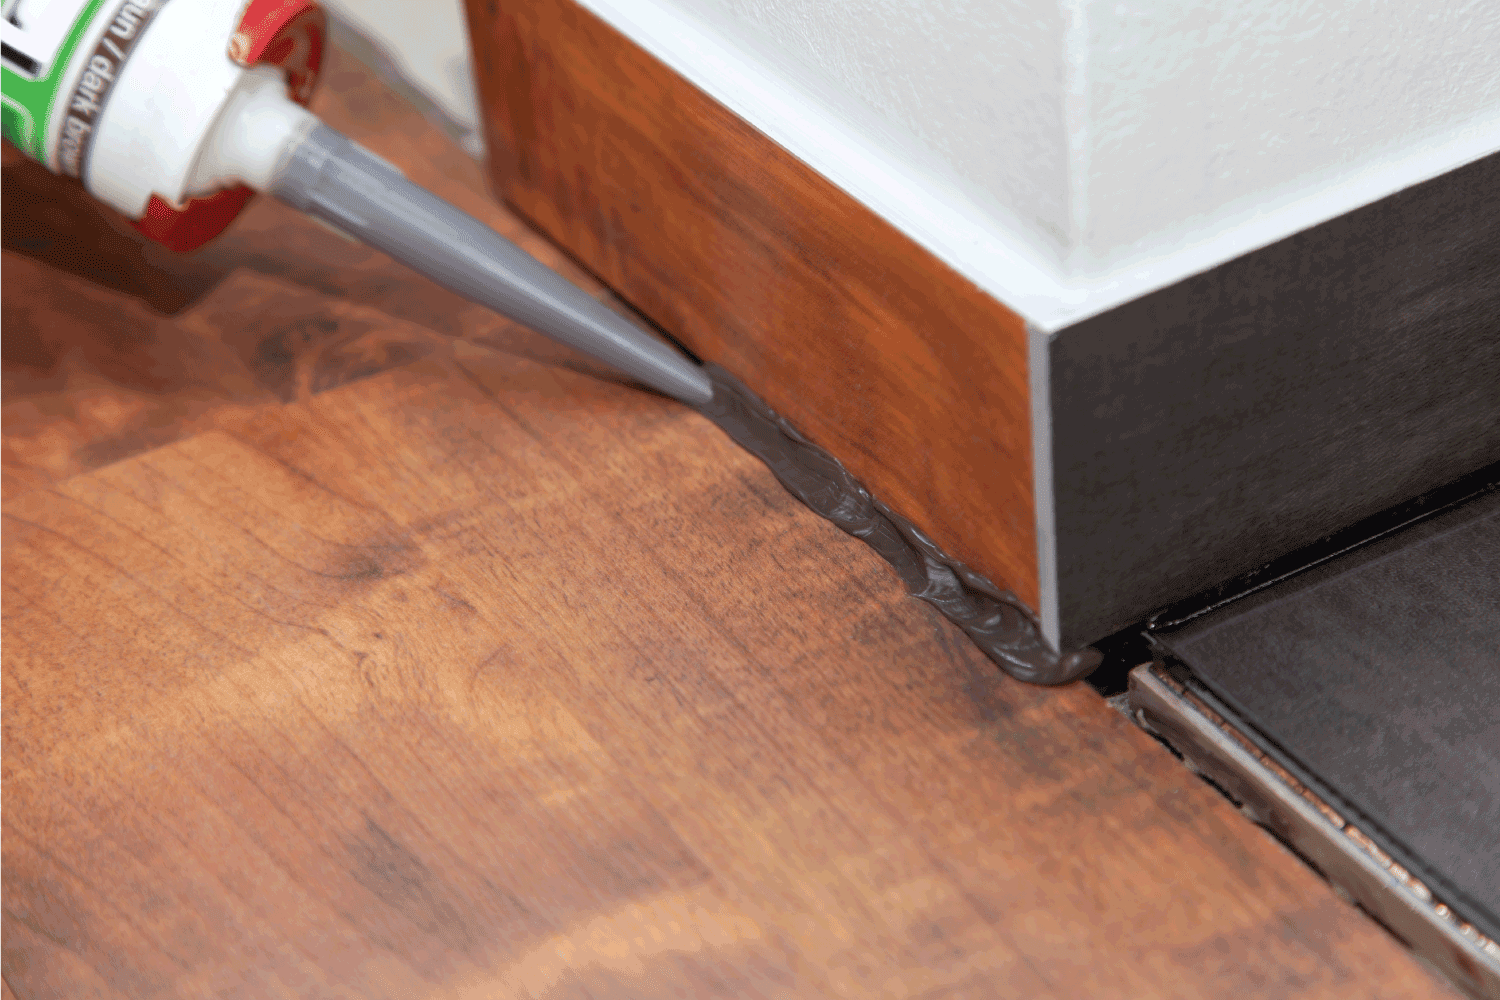
10. Caulk The Floor As Necessary
As you put the room back together, some spots could need caulking. Pay close attention to any locations, especially those close to water-using appliances. Caulk with a latex or acrylic latex base performs best.
Final Thoughts
In some circumstances, you might need to start over because of errors you made that prevented the adhesive from drying.
Aside from the quality of the adhesive. The floor temperament and weather conditions can play a role. To ensure that the adhesives dry as the manufacturer intended, strictly adhere to the manufacturer's recommendations.
There are several manuals for different adhesives. This indicates that you must adhere to the precise guidelines provided by the glue you are using.
Before leaving, make sure to check out some of our interesting posts below.