Homeowners mostly use LifeProof flooring because of its durability, affordability, and creative designs. As a homeowner, you may wonder if you can use Lifeproof flooring on the stairs. We did some research for you, and this is what we found.
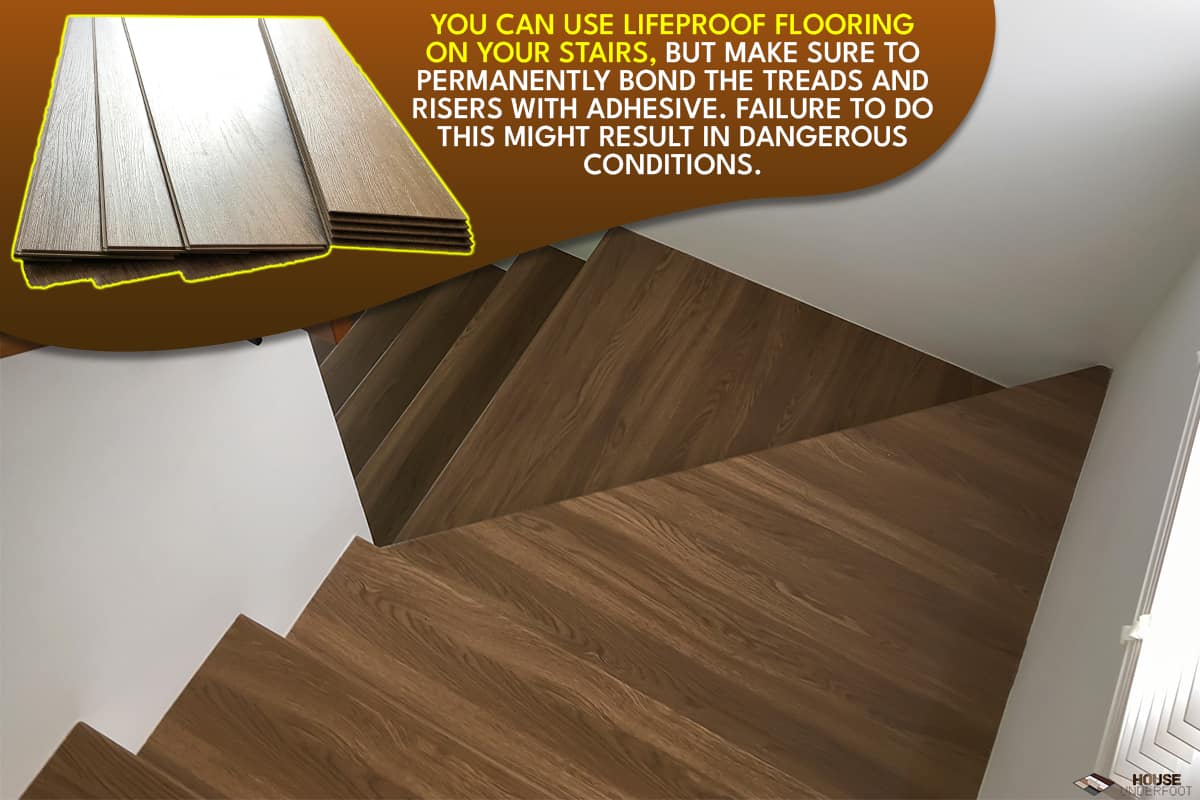
Yes, you can use Lifeproof flooring on your stairs, but make sure to permanently bond the treads and risers with adhesive. Failure to do this might result in dangerous conditions.
It is recommended to install your Lifeproof flooring properly so it can serve its purpose. Continue reading to find out how to install Lifeproof flooring correctly.
Using Lifeproof Flooring On Stairs?
Like how it makes your floor look attractive, Lifeproof flooring can do the same if installed on the stairs. However, it is recommended to bond the treads and risers using adhesive. It makes it safe for use.
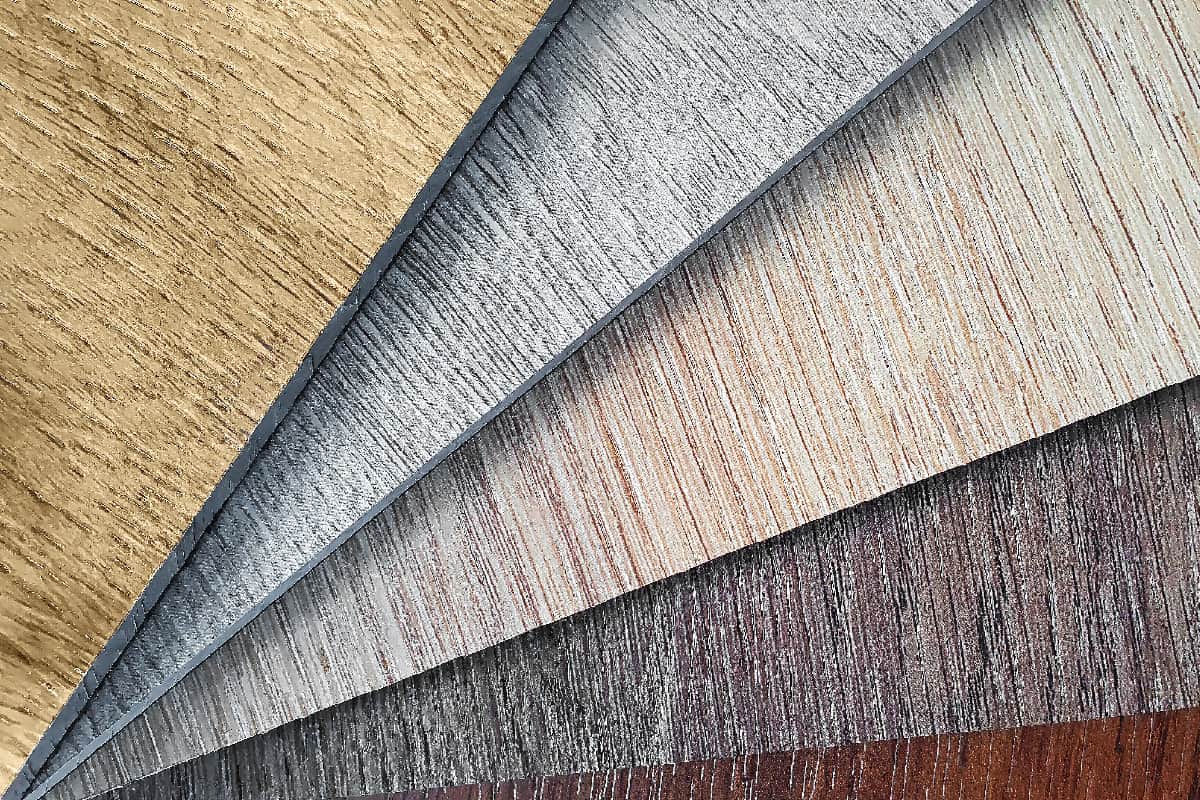
Lifeproof flooring comprises synthetic materials and comes in three different layers. The first is the core layer which is the foundation layer and can be rigid or flexible.
The second is the pattern layer which gives the flooring a stunning look. This layer can come in wood, tile, or even stone. The third is the surface layer that protects the flooring from wear and tear. Although this layer is transparent, it protects the floor from ultraviolet fading.
Furthermore, LifeProof flooring is suitable for high-traffic areas such as stairs. So if you need this type of flooring on your stairs, you can install it.
Does Lifeproof Flooring Scratch Easily?
No, it doesn't. Lifeproof flooring does not scratch easily. But once you notice any scratches on it, you can easily fix them, depending on how severe they are.
For minor scratches, get soap and water, then clean the area. Ensure thorough cleaning is done and wait for the plank to dry. Use sandpaper to get rid of minor scratches on your floor. Just keep it light in order not to damage the planks.
If you notice significant scratches, you must fill the planks with wax. Achieve this by following these simple steps:
- Place the wax over the blemish and let it spread on the surface.
- Buff the area with elbow grease and cloth to ensure a smooth and flat finish.
Click here to see these buffing towels on Amazon.
Lifeproof flooring is scratch-resistant, but that does not mean it won't scratch. You can install the flooring anywhere, and the maintenance cost is not high. Replace it when necessary to keep your home beautiful.
How Do I Install Lifeproof Flooring On Stairs?
If you want to install Lifeproof flooring on the stairs, here are the steps to follow:
Get Your Flooring Ready
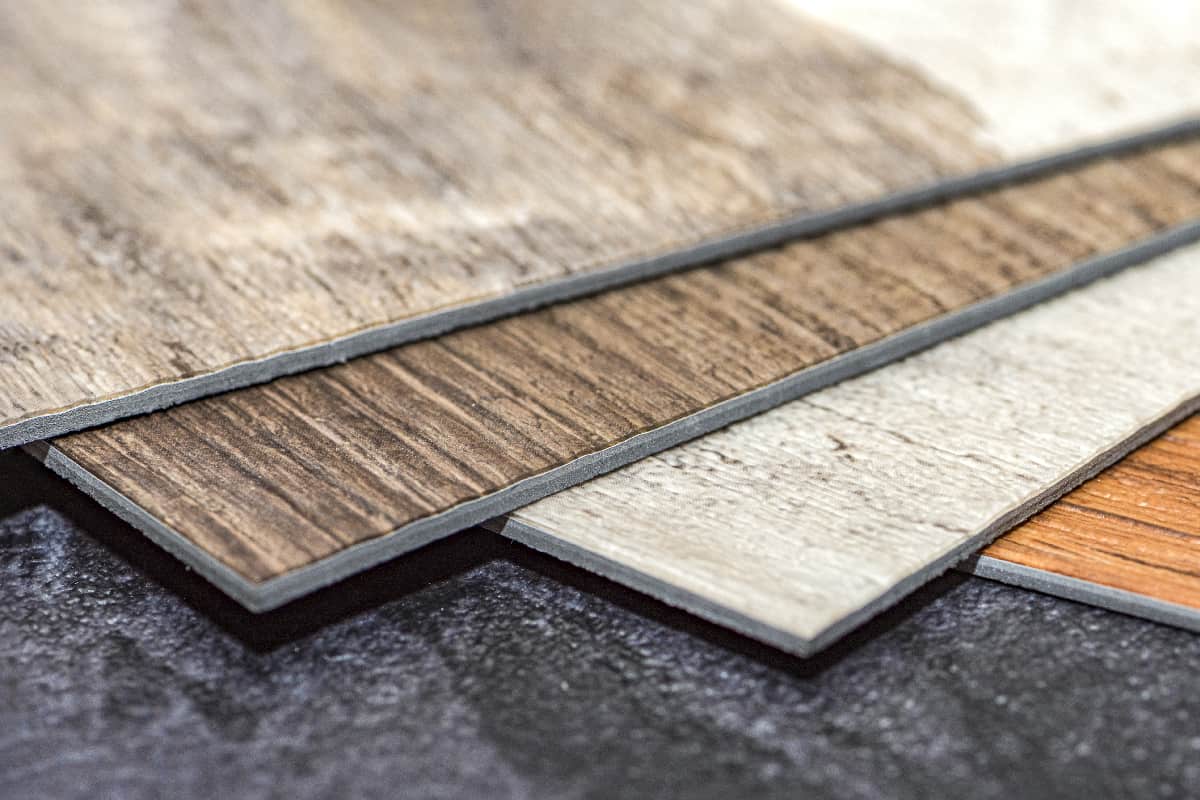
You will need to calculate the total number of planks used and add ten percent of what you estimated as extra. It helps avoid running out during installation.
Arrange Your Flooring
After getting your flooring ready, it is time to plan how to install the planks. It's important because it determines the looks of your flooring after installation.
To achieve a beautiful floor, don't make the mistake of using a short plank at the start of a row. Also, you will need to remove the trim so it won't affect your installation. If the trim is in perfect shape after removing it, ensure you keep it safe to reuse it after installation.
Prep Your Working Area
Whether a new floor or an existing one, you can install Lifeproof flooring on any as long as the floor is leveled. Take out the high spot and fill the low area on the floor to achieve smooth and flat flooring.
You can carry out a test installation before doing the main one. Do this by placing the board on the spot where you intend to place the first row. It shows how the floor will look if the plank on the other side is equal in length.
After that, you can lay the entire board from the middle to the side. Just ensure you leave a gap of a quarter inch to give room for expansion and contraction.
Cut The Flooring To The Right Size
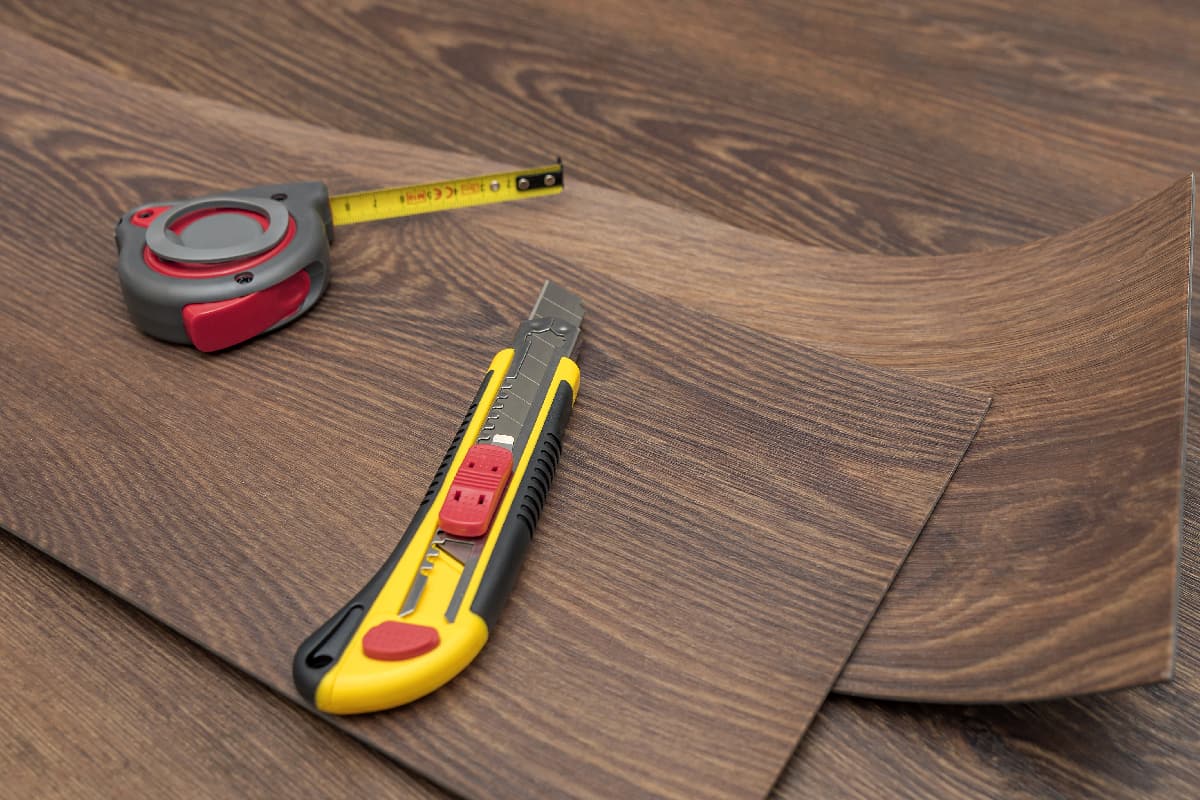
To get the required size of the flooring, you can use a utility knife or fine-tooth handsaw to cut the plank. Do this carefully to avoid injuring yourself.
Install The Flooring
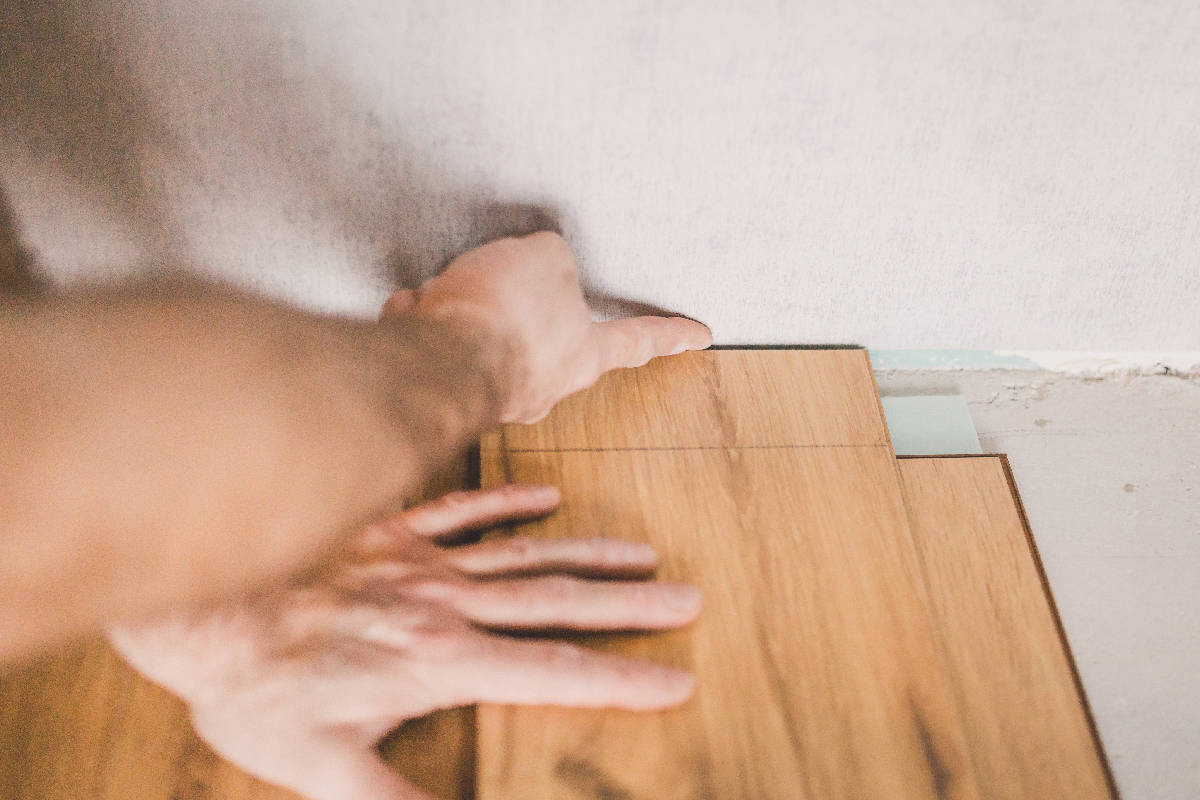
After cutting the flooring to the right size, you can carry on with the installation. Start with the first row before you continue with the other rows.
After you have cut the planks and everything fits perfectly on the floor, install the final board, and align it with the previous row.
After successfully installing your Lifeproof flooring, ensure you reattach the trim. Also, don't forget to bond the treads and risers with adhesive permanently.
Click here to buy this adhesive on Amazon.
How Long Does Lifeproof Flooring Last?
If you want to get flooring, you should consider durability. It is essential to know the lifespan of your flooring before buying it. However, if proper installation and maintenance are done, a Lifeproof flooring can last up to 10-20 years.
The quality of the material will determine the lifespan of your flooring, so it is better to go for products with the best quality. Some products also offer up to 15 years of warranty in case of wear and tear.
Is Lifeproof Flooring 100% Waterproof?
Yes. Lifeproof flooring is waterproof. Therefore, homeowners can install it in rooms, stairs, or even the bathrooms, where there is usually a lot of water.
However, despite being waterproof, water can still seep through the plank. Should this happens, it is recommended that you get it cleaned immediately to prevent mold from growing underneath. Lifeproof flooring is waterproof but can get affected if there is water around it for an extended period.
Can You Install Lifeproof Flooring Over Concrete?
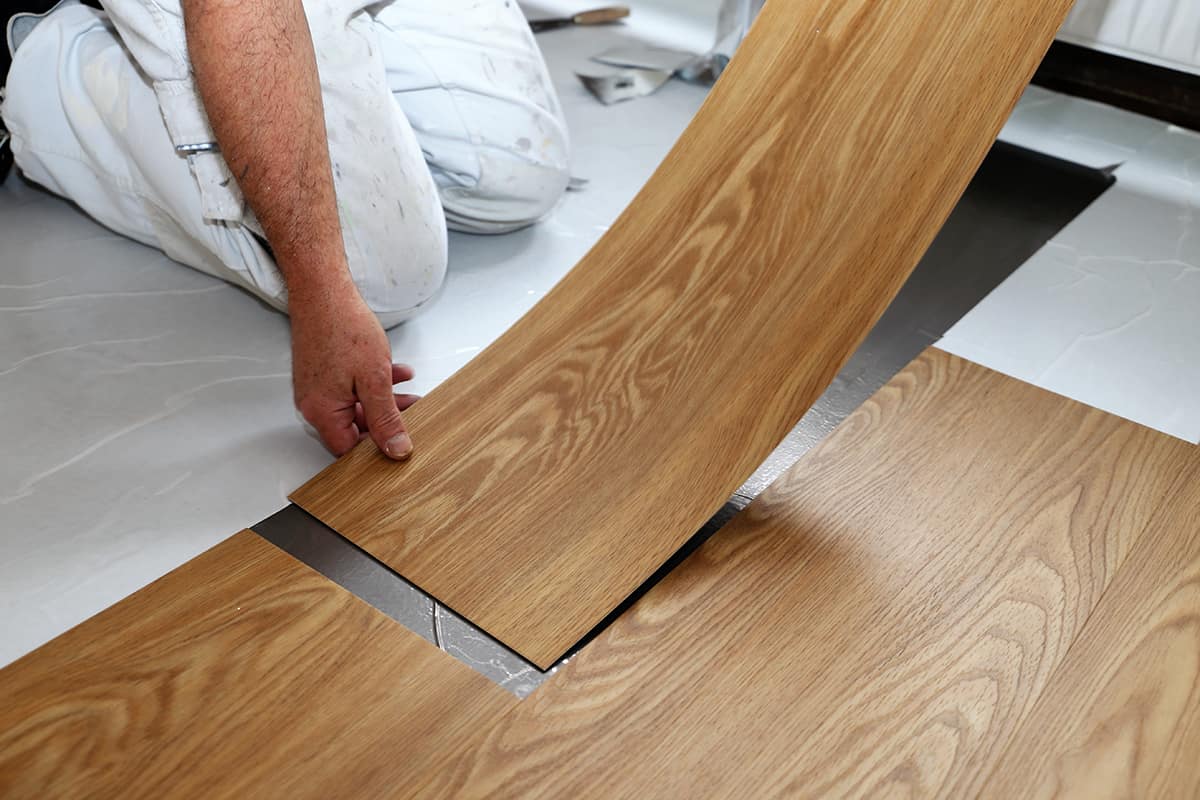
Yes, you can easily install Lifeproof flooring over a concrete floor. The most important thing when doing this is how you prepare your concrete. If it is a new concrete slab, you will wait until it gets dried before laying the vinyl plank.
But moisture might be the problem if it is an old concrete slab. Although vinyl flooring is known for its durability, water shouldn't be on it for long. That is why you should get it installed correctly.
To Wrap Up
Lifeproof flooring keeps your home looking good and has a long lifespan. When you are installing the flooring on the stairs, do it properly.
To install Lifeproof flooring, you must prepare your flooring and working area, cut the planks, and then fix them on the floor. Remember to bond the treads and risers using adhesive.
If you enjoyed reading this post, here are similar articles you may like:
How To Raise Vinyl Plank Flooring


![Laminated flooring planks to be installed in a modern room, Can You Install Vinyl Plank Flooring Backward? [And How To!]](https://houseunderfoot.com/wp-content/uploads/2022/10/Laminated-flooring-planks-to-be-installed-in-a-modern-room-600x400.jpg)
