As you inspect your room while planning to do floor installation, you can see a minor feature on the walls close to the floors. Wondering how you can install new floorings without taking out these baseboards? Wonder no more! As we’ve sifted through the internet and researched the answers to guide you in your installation.
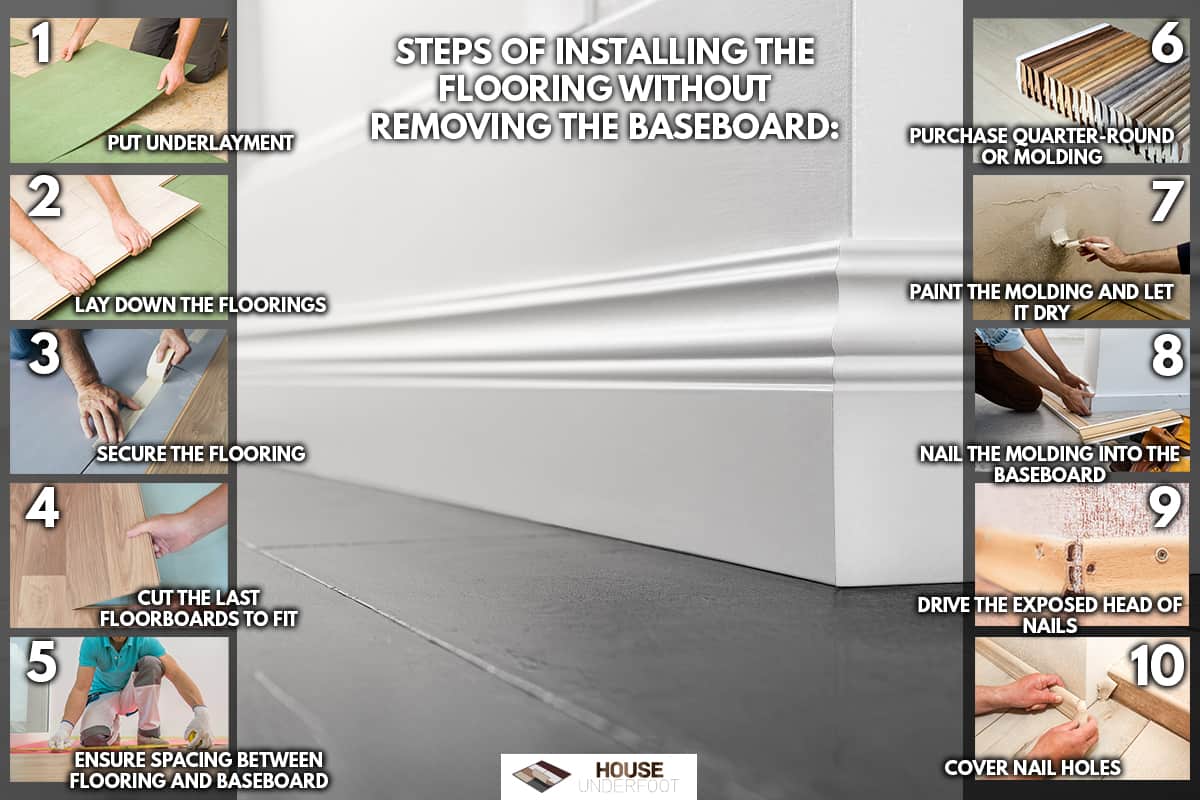
Following are the steps of installing the flooring without removing the baseboards:
- Put underlayment.
- Lay down the floorings.
- Secure the flooring.
- Cut the last floorboards to fit.
- Ensure spacing between flooring and baseboard.
- Purchase quarter-round or molding.
- Paint the molding and let it dry.
- Nail the molding into the baseboard.
- Drive the exposed head of nails.
- Cover nail holes.
The significance of baseboards will be clearly covered in this post. We'll go into more detail about the aforementioned steps as well as a few ideas for removing the baseboards, if necessary. More information ahead so keep on reading.
Is It Okay Not To Remove Baseboards When Installing Floorings?
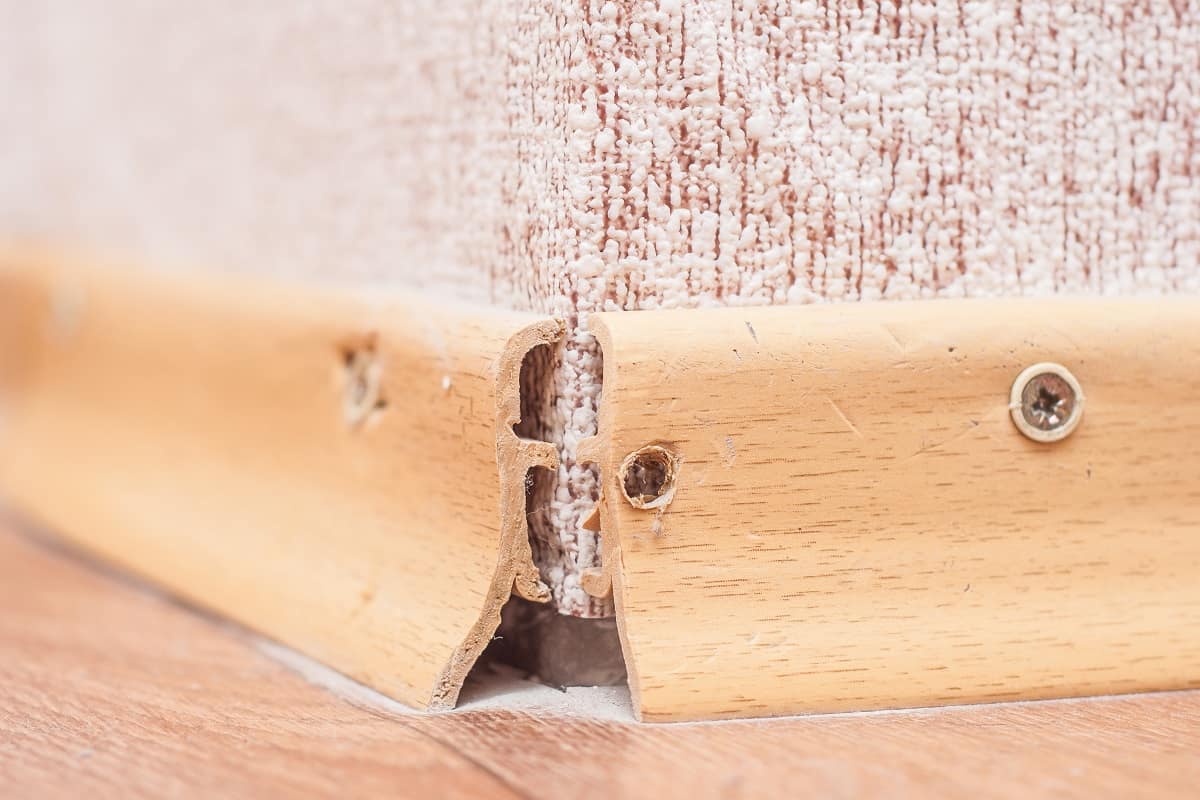
Baseboards do not necessarily need to be removed in order to install new floors but keep in mind that wood floors need a gap of ¼" along the adjacent walls to allow for expansion and contraction due to changes in moisture and humidity.
If you leave the baseboards in place, you will need to add more floor molding to fill the gap along the baseboards once the flooring is installed. This technique works best with tall baseboards because the additional molding will hide a portion of their face.
However, if you replace or take off the baseboards before installing the new flooring, you don't need additional floor molding just to cover the gap. Instead, you can use the baseboard itself to cover the gap by installing it back after finishing installing the flooring.
How To Install Flooring Without Removing Baseboards?
It is possible to install flooring without removing the baseboards. This method is appropriate for some types of flooring such as hardwood, vinyl, and laminate flooring.
It might be best to leave your baseboards in place if they were glued to the wall and would damage the surface if you tried to remove them. There's nothing wrong with not being able to remove the baseboards if you run out of time. Below are the steps to guide you in making it possible of installing:
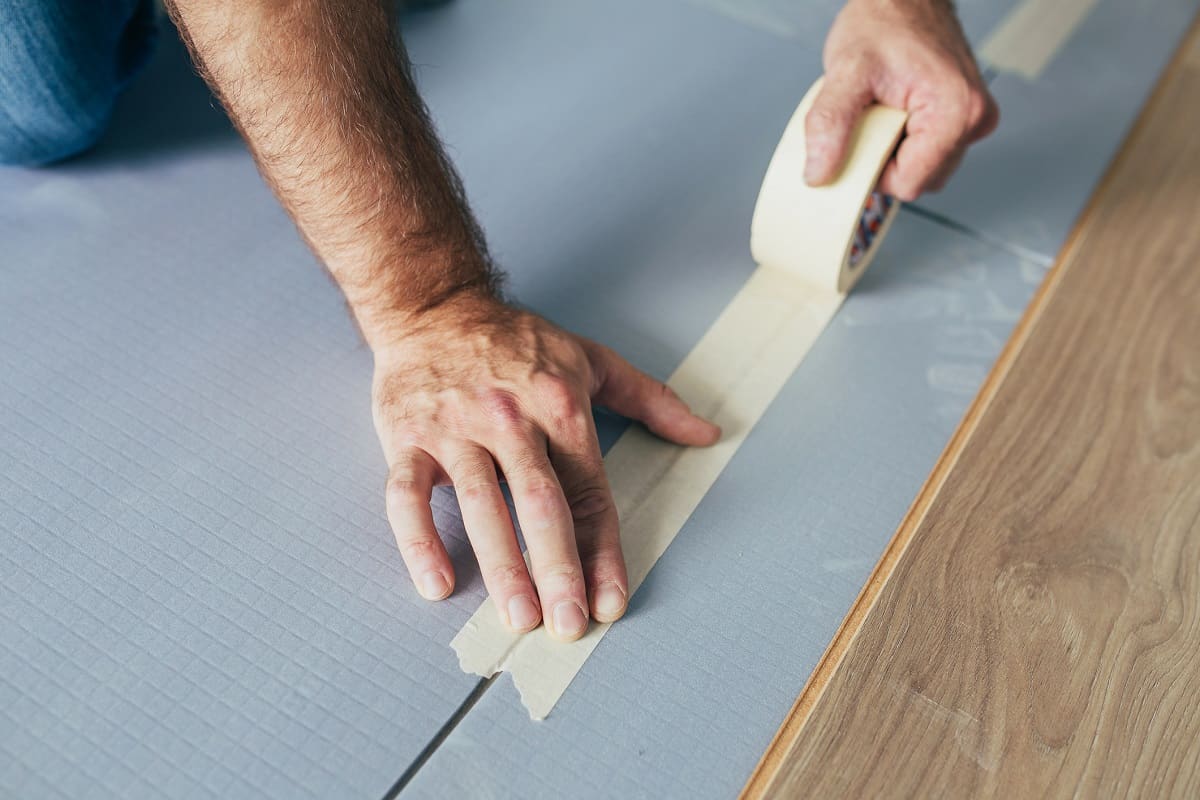
1. Put Underlayment
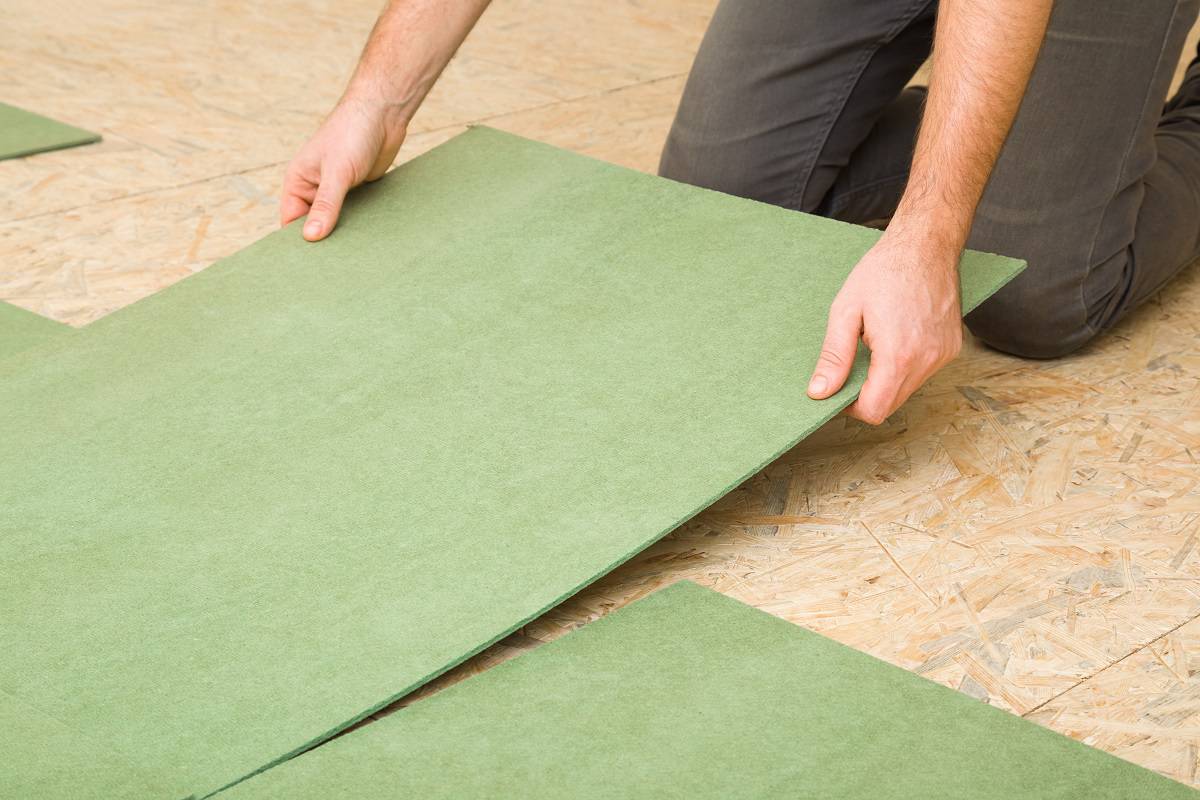
To function as a moisture barrier for the new flooring, staple tar paper or plastic to the old floor. To ensure there are no gaps in the barrier, allow the material to rise over the baseboards on all four sides of the room. After nailing in the flooring, you can cut it flush with the top of the flooring.
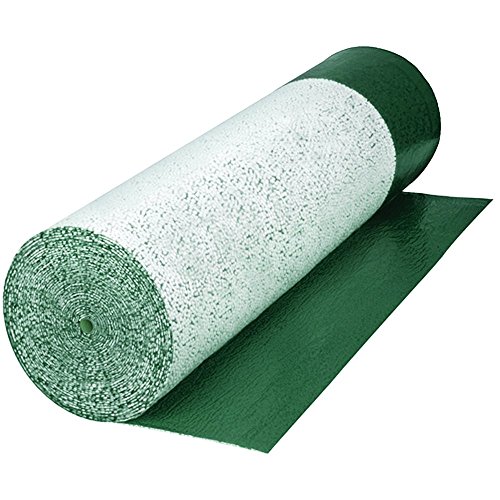
![]()
Click here to see this underlayment on Amazon.
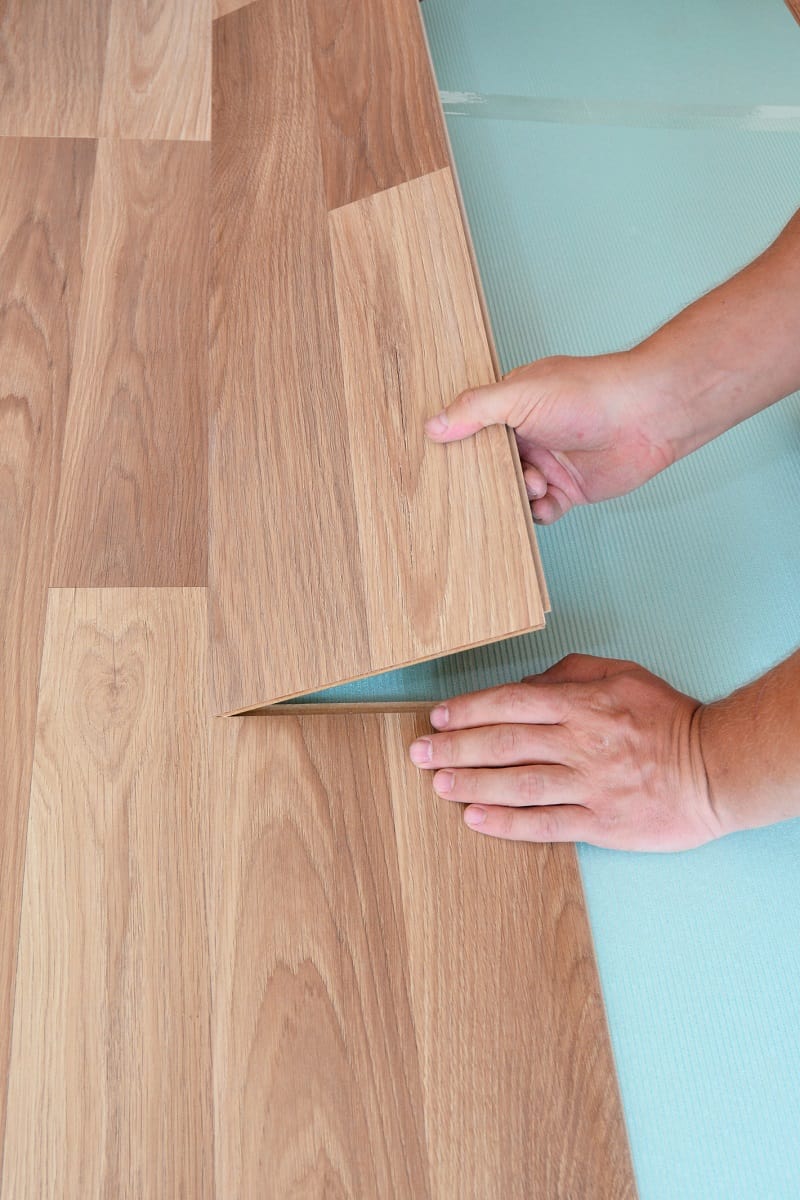
2. Lay Down The Floorings
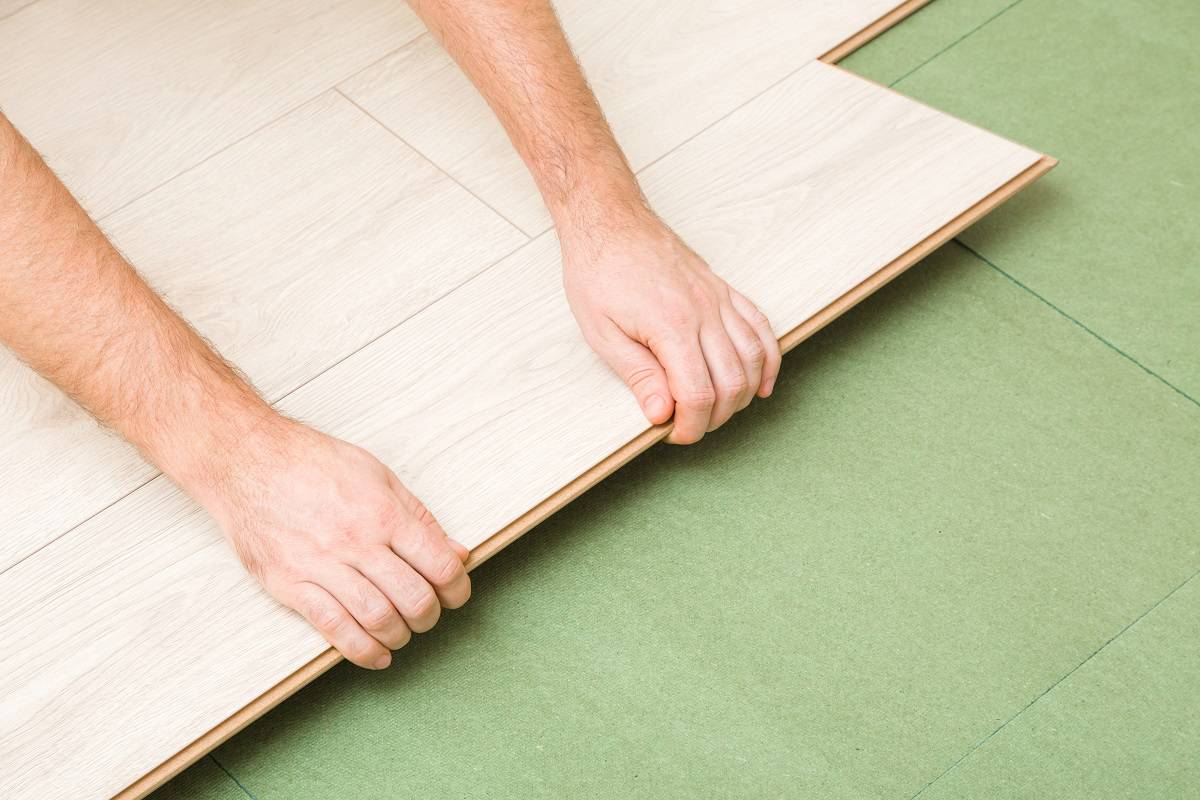
Along a wall that goes in the direction, you would like the boards to run, install the first row of flooring, and then the rest of the floorboards.

![]()
Click here to see this vinyl flooring on Amazon.
3. Secure The Flooring
Drive 2" finish nails through their faces at 10" to 12" intervals to secure them to the flooring. Install the following two courses in the same manner, spacing the ends of the boards at least 6" apart from those of the preceding course.

![]()
Click here to see these 2” finish nails on Amazon.
Use a flooring nailer or nail gun to secure the remaining floorboards until you reach the opposing wall and are unable to do so due to space constraints. The final two or three courses, face-nail.
Other floorings are just inserting the tongue to the groove to secure instead of nailing. Some floorings also secure themselves through glue or feature peel-stick floorings. Always follow the recommended instructions of the manufacturer in installing the floorings you have.
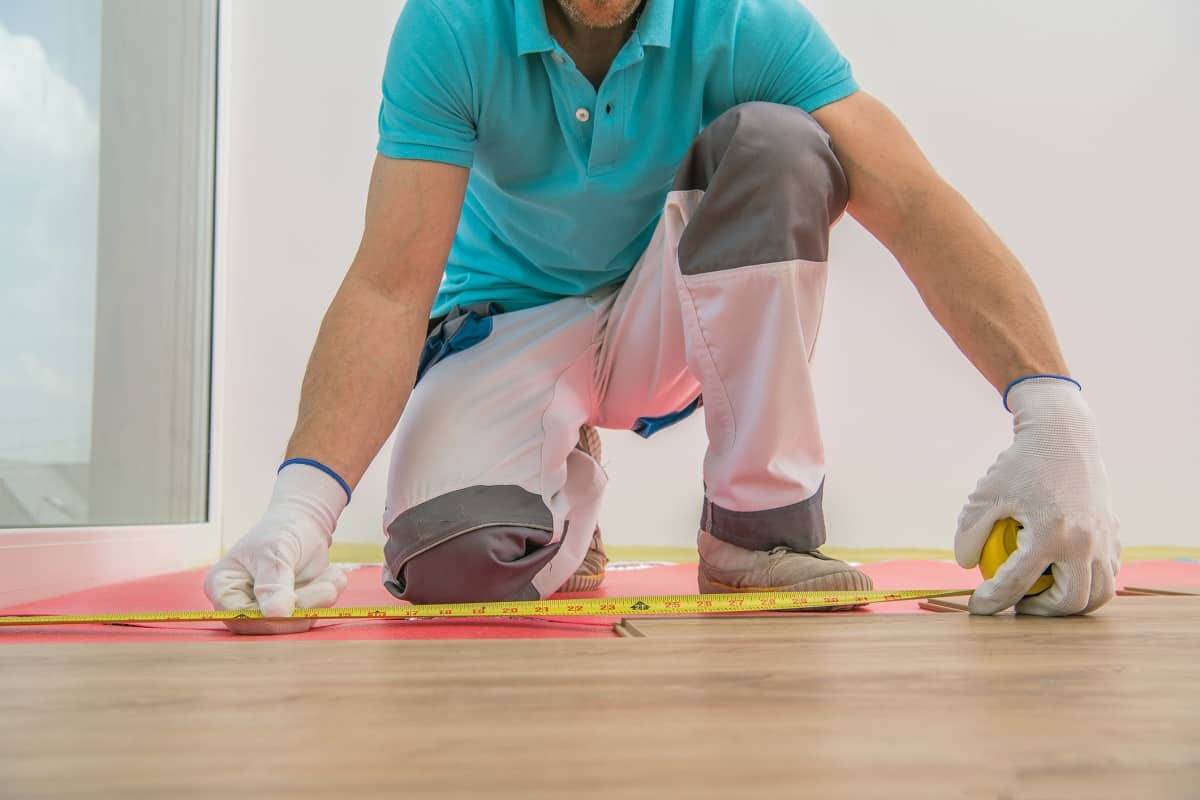
4. Cut The Last Floorboards To Fit
With a table saw, rip each board in the final course so that it fits, removing the tongue side of each board. Lay each board in place, remove the bottom of the groove with the saw, and then nail it in.

![]()
Click here to see this table saw on Amazon.
5. Ensure Spacing Between Flooring And Baseboard
Give the new flooring you're installing at least a ¼" space between it and the existing baseboard. This space is required to allow the flooring to move with shifting humidity.
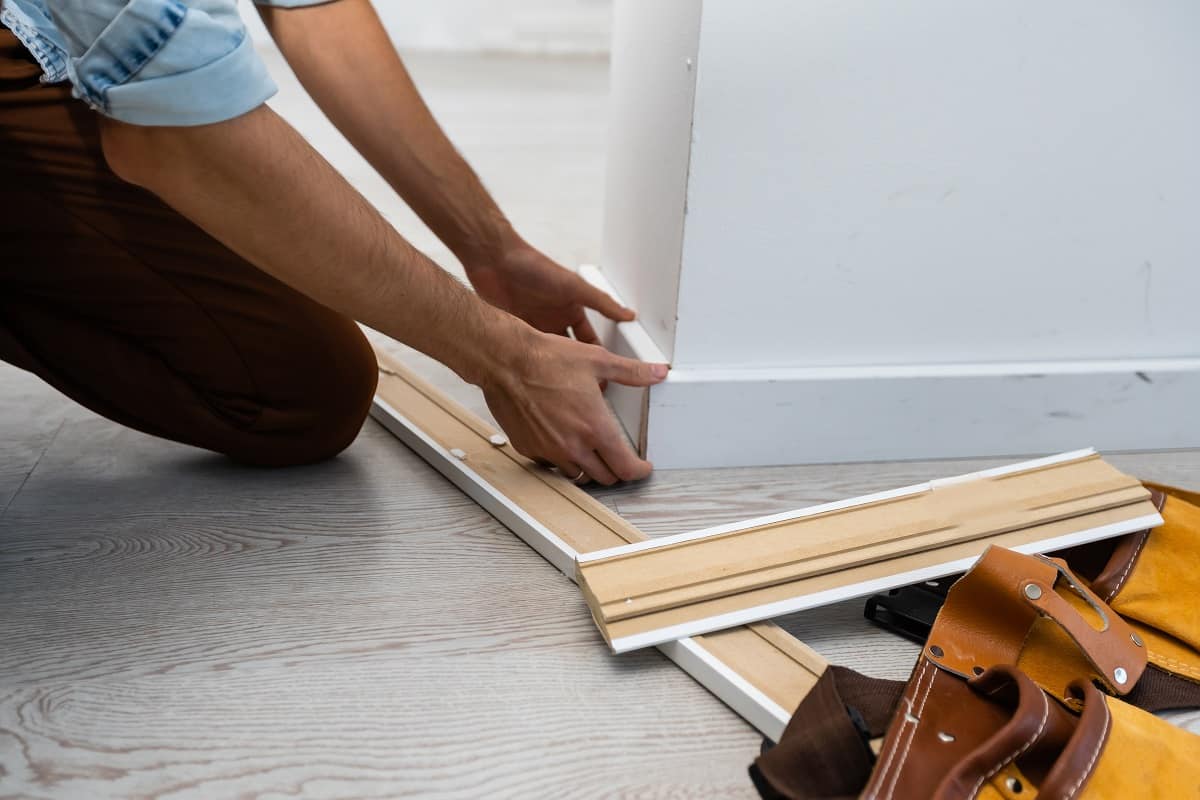
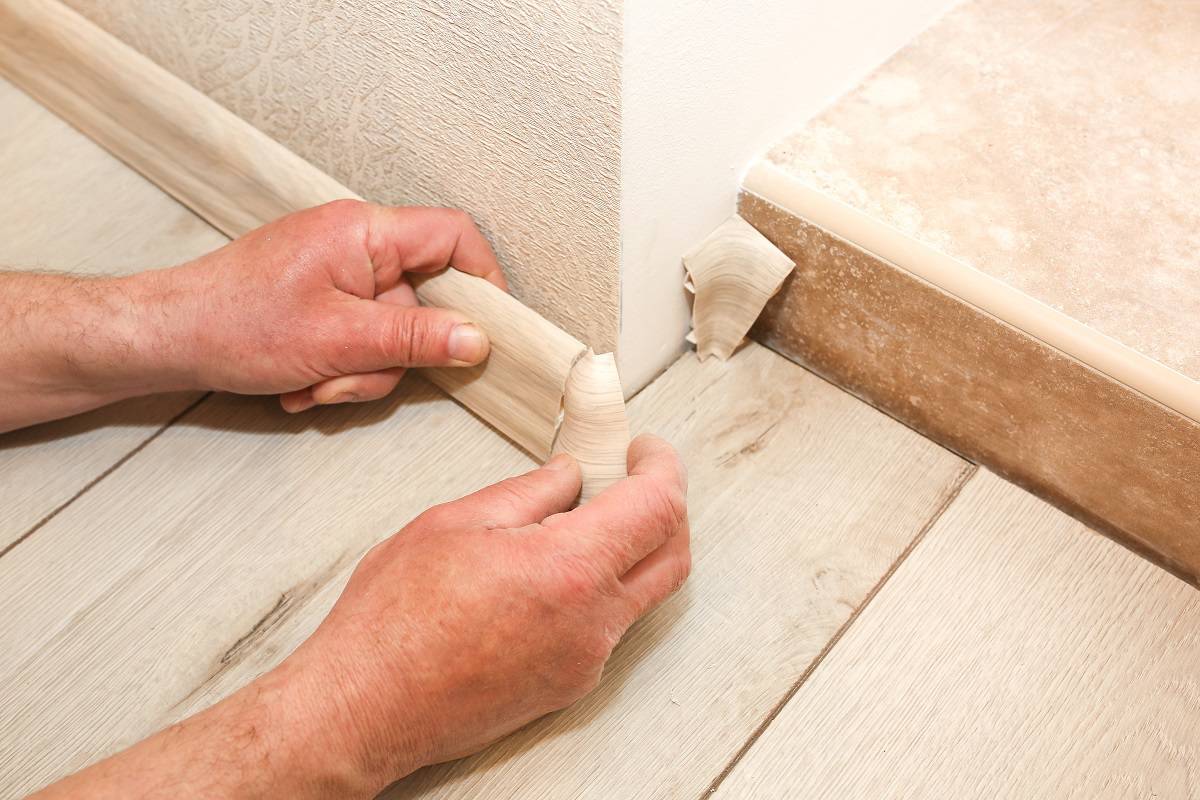
6. Purchase Quarter-Round Or Molding
Have a quarter-round or straight molding that is at least as wide as the gap. On a baseboard with a straight, flat surface, quarter-round functions best.

![]()
Click here to see this quarter-round molding on Amazon.
However, if the baseboard is tapered and molded, use a table saw to cut straight molding from ½" trim stock that you can nail to the bottom portion. Use 120-grit sandpaper to round the front edge of the straight trim.

![]()
Click here to see this 120-grit sandpaper on Amazon.
7. Paint The Molding And Let It Dry
Prior to securing the molding to the baseboard, paint or stain it. To ensure the best paint coverage and adhesion when painting bare wood, prime it first. Prior to installing the trim, let the paint or stain dry.

![]()
Click here to see latex paint on Amazon.

![]()
Click here to see this primer spray on Amazon.
8. Nail The Molding Into The Baseboard
In securing the flooring, nail the molding to the baseboard (not in the flooring). Cut the head off a finish nail that is the right size for the molding, then use it as a bit to drill pilot holes for additional nails that are the same size.
When you drive the nails, the holes will keep the wood from splitting, and using the nail as the bit to drill them is an easy way to make sure they are the right size.
9. Drive The Exposed Head Of Nails
Use a hammer to drive each nail and a nail punch to sink the head. If you have space to move the nail gun's head and the molding is thick enough to resist splitting, you can also use a nail gun to drive nails.
![]()
Click here to see this nail gun on Amazon.
10. Cover Nail Holes
Utilize wood putty to cover the nail holes. Apply latex caulk to the joint where the trim meets the baseboard if the trim is painted. Use paint to cover up the nail holes and caulk.

![]()
Click here to see this wood putty on Amazon.
A YouTube video is included below so that you can see how it's done.
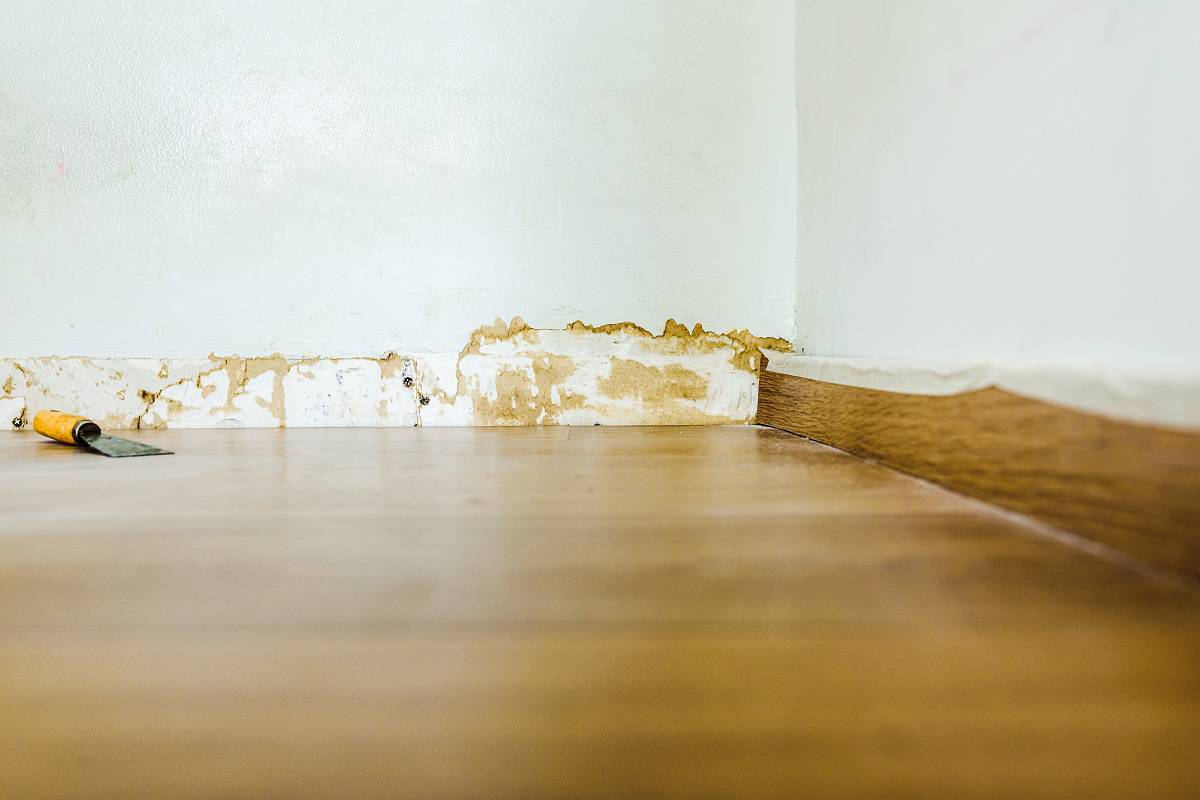
When Did Baseboards Need to Be Removed?
When installing some types of flooring, like carpet, it might be necessary to remove the current baseboards. Subflooring and foam beneath the existing carpet are also taken out when a new carpet is installed.
The baseboards are typically taken down before this step because they will typically need to be repositioned anyhow.
Baseboards are also taken out during flooring projects so that they can be renovated to match the new decor of the room. There are many different baseboard designs available, and each one can give the space a special aesthetic.
Even if you don't replace the baseboards, it's a good idea to remove them so you can paint them. Due to the frequency with which brooms and mops push dirt up onto them, baseboards sustain some of the most wear and tear and dirt on the entire floor.
Moreover, reinstalling dirty baseboards over brand-new flooring won't make them look any better. Instead, it will highlight how beaten and filthy they are.
What Are The Tips For Removing Baseboards?
When you change your mind about removing the baseboards instead of leaving them in place during installing of new floorings. Paying close attention to the details when doing it can mean the difference between being able to reuse them and having to buy new ones.
As you prepare to install new flooring, consider these tips for removing baseboards:
- To avoid wasting time trying to match the lengths of baseboards to various walls when it comes time to put them back, number the baseboards and match them to corresponding walls.
- Cut through the caulk holding the baseboards to the wall using a sharp utility knife. By taking this action, you can remove them more quickly and safely without running the risk of ripping the top surface of the wall off.
- Use a crowbar to carefully pry them up to avoid damaging the baseboards. It is challenging to find a replacement that matches the older baseboards. So if you want them to look good, breaking one might mean replacing them all.
- Clean thoroughly the baseboards before repainting. If baseboards are dirty and grimy, painting over them can make the paint peel off.
Summary
You can keep the baseboards in place. But to allow for expansion over time, you must leave a ¼" space between the baseboard and flooring. To fill in this gap, you might wish to buy some quarter-round pieces in the same color. However, most experts advise taking out the baseboards for a better appearance.
Before leaving, discover more about fascinating flooring topics below.