Do you want to revive your laundry room, but wondered how you could tile a laundry room floor with a drain? What do you need to consider, and how to do it? Just drain your worries away! We've researched the steps and answers to your questions.
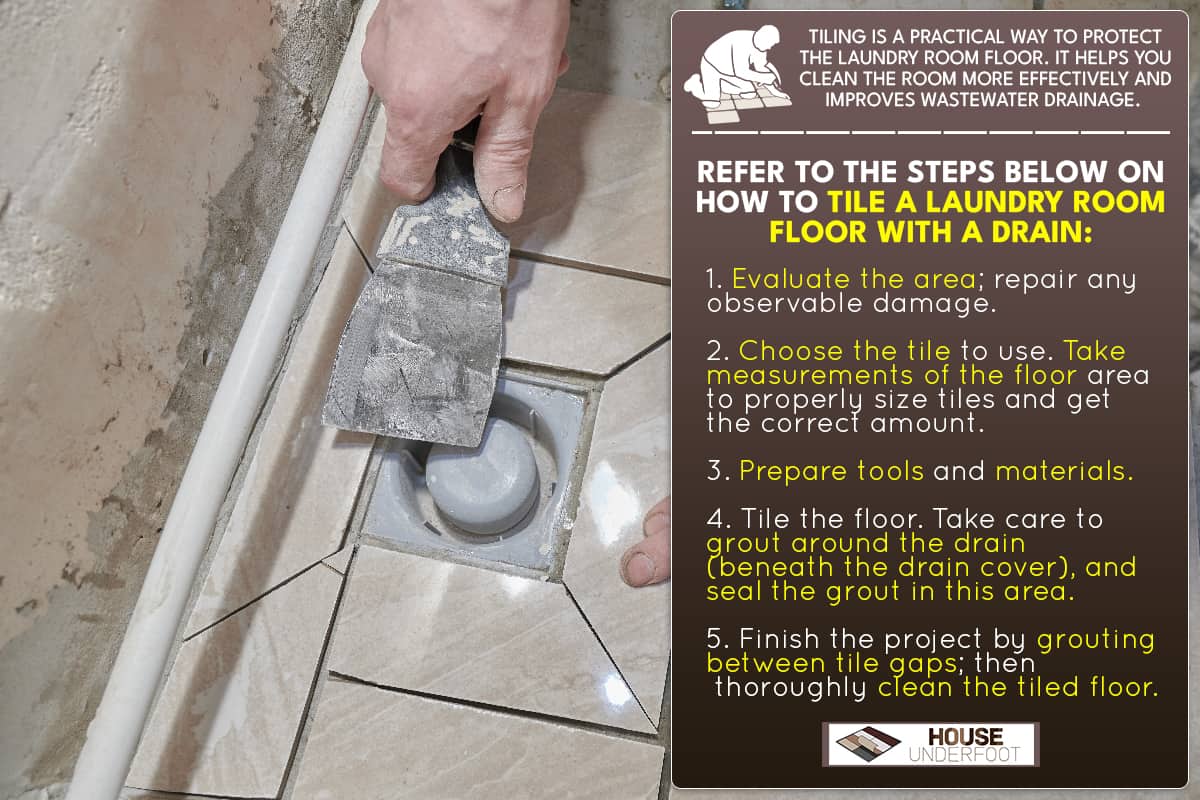
Tiling is a practical way to protect the laundry room floor. It helps you clean the room more effectively and improves wastewater drainage. Refer to the steps below on how to tile a laundry room floor with a drain:
- Evaluate the area; repair any observable damage.
- Choose the tile to use. Take measurements of the floor area to properly size tiles and get the correct amount.
- Prepare tools and materials.
- Tile the floor. Take care to grout around the drain (beneath the drain cover), and seal the grout in this area.
- Finish the project by grouting between tile gaps; then, thoroughly clean the tiled floor.
In this article, we'll learn how to tile a laundry room floor that has a drain. We'll detail the steps from initial assessment to completion. Then, we'll discuss some other relevant matters. So, let's not waste time! Join us in reading!
How to Tile a Laundry Room Floor with a Drain
A lot of washing happens in the laundry room, not just for clothing, but also for other household fabrics and items. This room can also serve other purposes, like a drying room or storage. It gets a lot of use!
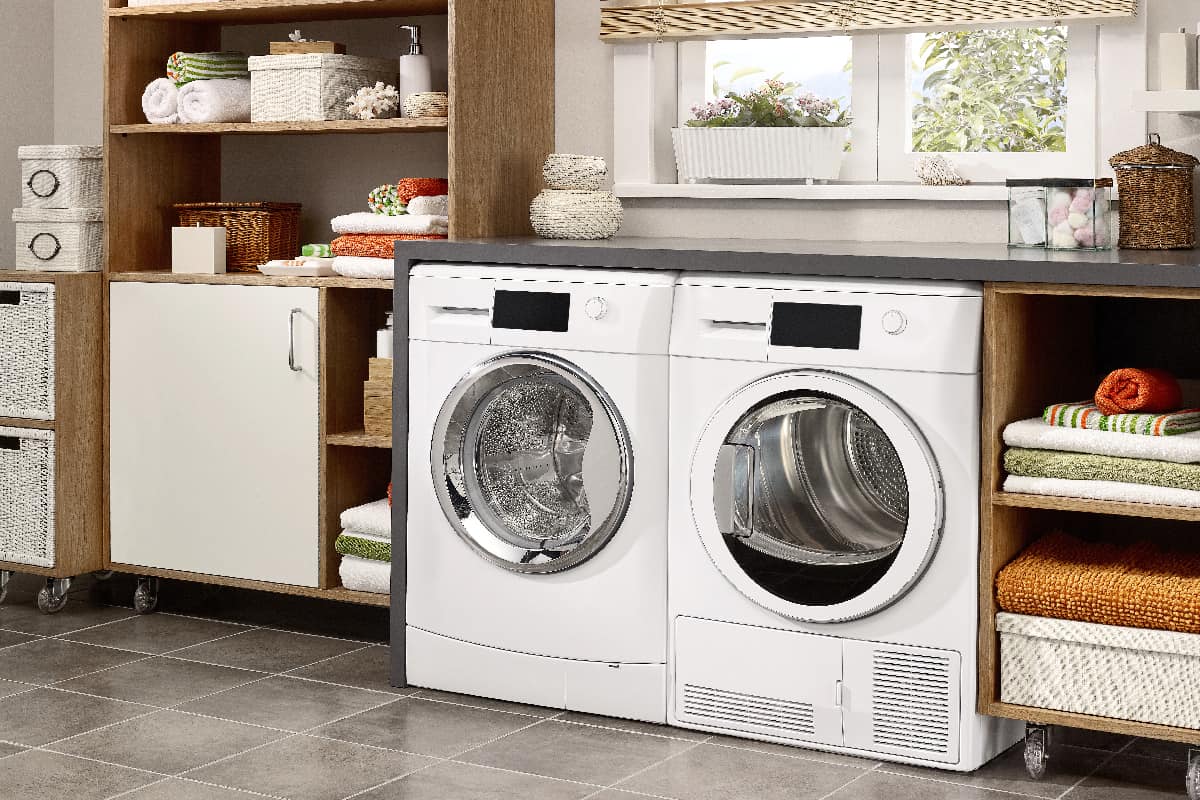
It's important to have a drain in a laundry room so that there's proper wastewater collection. You might also consider tiling the laundry room floor. This will enhance the drainage system, ease clean-up, as well as make the floor stronger.
See below for the detailed steps for this tiling project.
1. Evaluate the Area
It's significant to evaluate the area by ensuring that the floor is in good condition. You should remove the appliances and all the obstructions to reveal the floor. Fix any observable damage, such as uneven surfaces and leaking drainpipes.
Measure the floor area to know the right tile size and amount. Also, consider changing the drainage's stainless filter and its flange. You might need a professional to help you assess this further.
2. Choose the Tile to Use
It's significant to differentiate the tiles by texture and materials they're made of. We've listed below some kinds of tiles good for the laundry room. Check them below.
Ceramic Tiles
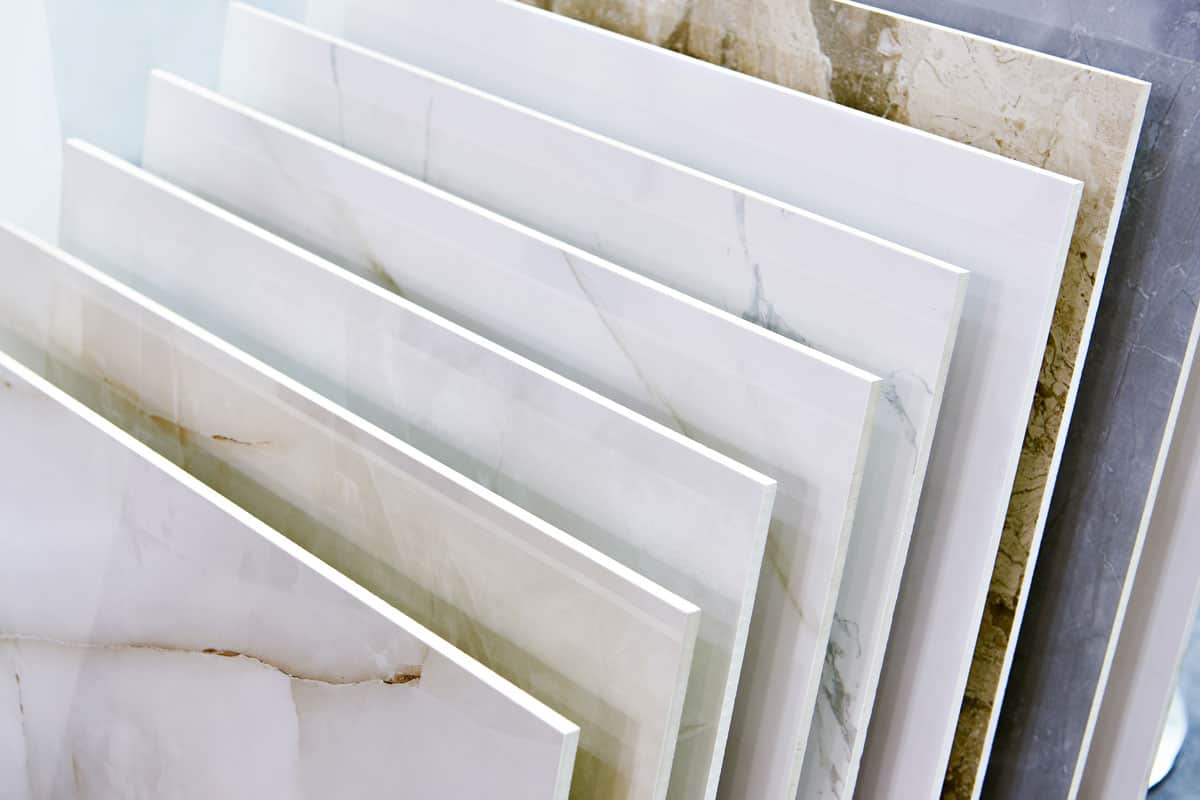
Ceramic tiles are made of fine sand, clay, and talc glazed at a hot temperature. As a result, ceramic tiles are smooth, easy to clean, and water-resistant.
Porcelain Tiles
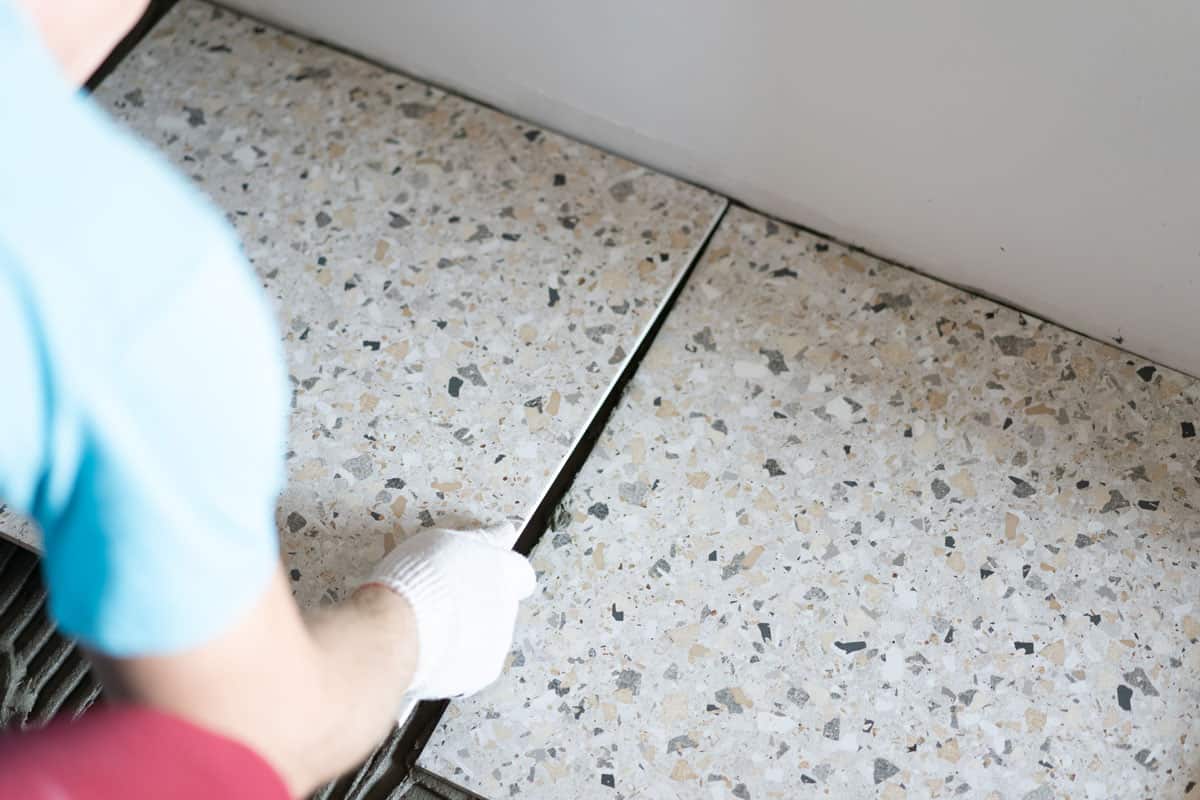
On the other hand, porcelain tiles are made of refined clay mixed with sand and feldspar. Similar to ceramic tiles, porcelain tiles are also burnt at a high temperature. This makes porcelain tiles durable and long-lasting.
Natural Stone Tiles
Natural stone varies from travertine, granite, limestone, slate, and marble. These stones are found in nature either by mining or stone-cutting. Thus, natural stone tiles are highly durable and can withstand extreme heat.
Pebble Tiles
Pebble tiles are customized tiles made by combining pebbles with an adhesive such as cement or mortar. Also, pebble tiles don't usually come in shape, as they're installed on the actual flooring.
Vinyl Flooring
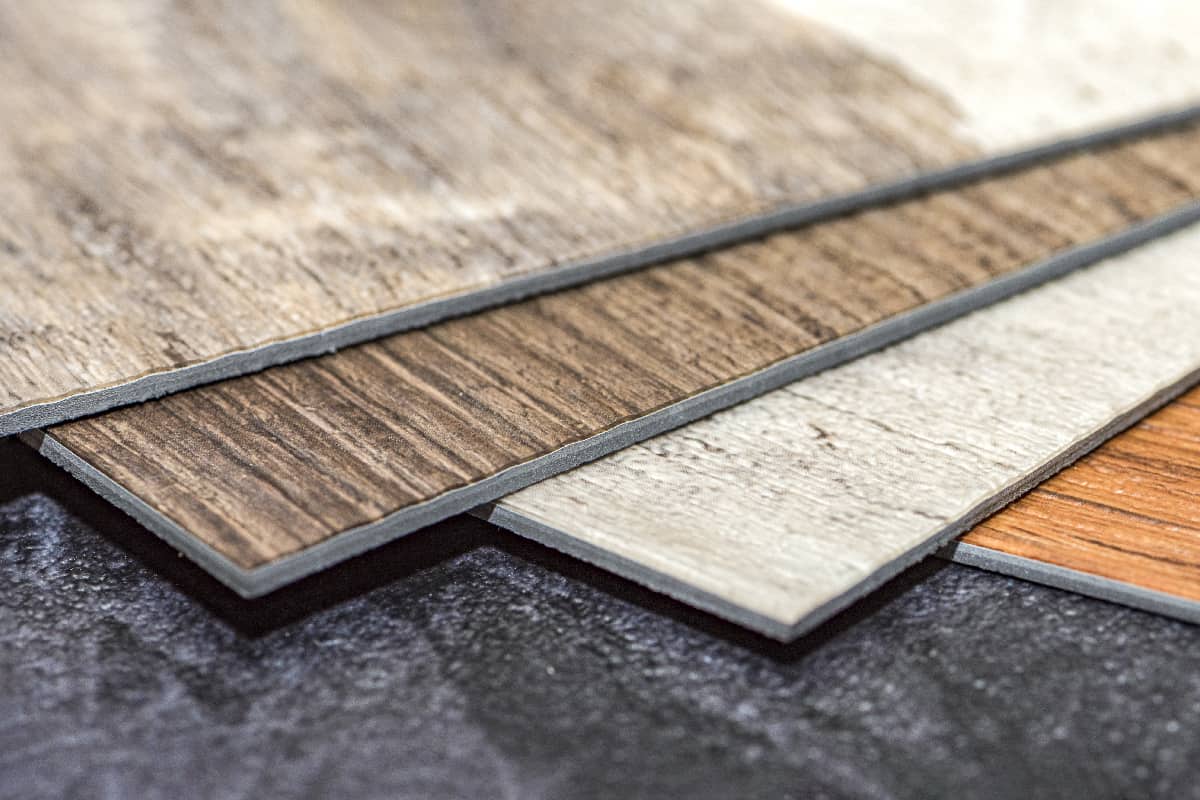
Vinyl helps waterproof the floor with thermoplastic rubber. Manufacturers often sell it as a roll instead of square tiles. Further, vinyl can resist moisture and is safe for the laundry room.
3. Prepare Tools & Materials
Aside from tiles, there are other materials you need for this project. You may need to purchase them from a store, but the majority of the tools are likely to be in your home if you're an avid DIYer. See the list below.
Measuring Tape
A measuring tape is used for accurate tile sizing.
See this measuring tape on Amazon.
Tile Cutter
Use it to cut tiles to fit on corners and edges.
See this tile cutter on Amazon.
Tile Spacers
These help maintain the gaps between the tiles.
See this tile spacers set on Amazon.
Level
Use a level to ensure an even surface.
Thin-set Mortar
Thin-set mortar acts as an adhesive beneath the tiles.
See this thin-set mortar on Amazon.
Trowel
Used in spreading the thin-set mortar.
Cement Board
Use it as an additional layer for damaged areas. However, it's optional.
Nylon Strings
Nylon strings are for creating straight lines.
Chalk
Chalk helps outline the tiles.
Grout
Use it to bond the tiles between the gaps.
Liquid Sealant
Use it to seal the grout and the drainage.
See this liquid sealant on Amazon.
4. Tile the Floor
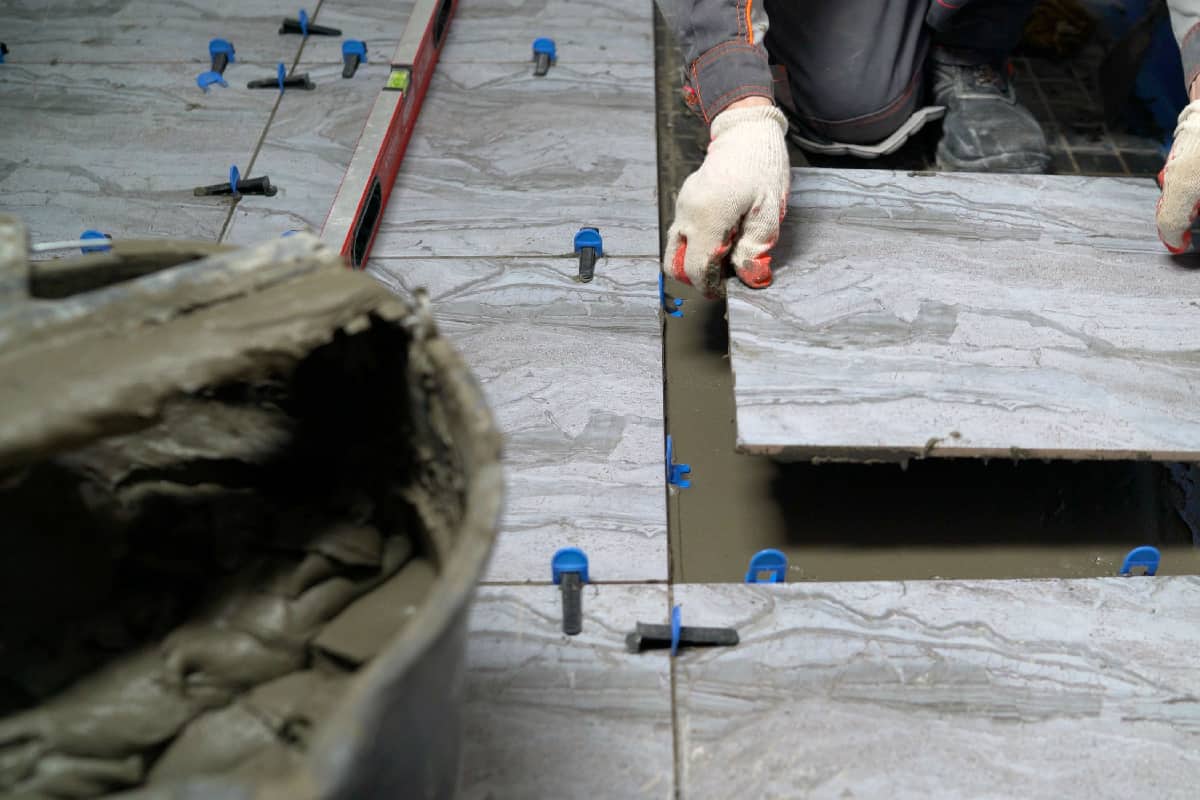
If you have the materials ready, you can now install the tiles with the steps below. Keep in mind that an expert's guidance is advisable.
- Clear any obstacles on the floor, then clean and dry the area.
- Mix the thin-set mortar with water or according to the product instruction.
- Use a trowel to spread the thin-set mortar on the floor.
- Install the cement board on areas with damage, like cracks. This step is optional depending on the floor's condition.
- Use chalk to mark the nylon strings
- Place the nylon stings vertically on the floor area, then snap each to create lines for the tiles.
- Lay down the tiles along the edges and corners of the walls.
- Use spacers between the tiles.
- Cut the excess tiles with a tile cutter.
- Let the thin-set dry for at least a day.
Now, you should not forget that the laundry room has a drain. See below for the proper way of sealing the drainage:
- Unscrew the drain cover.
- Apply grout around the drainage hole without pouring grout on it.
- Wipe the drain with a wet sponge to harden the grout. Ensure that no grout will dry inside the drain hole.
- Apply a liquid sealant to the grout around the drain.
- Let the sealant dry, then screw the drain cover back into its place.
5. Finish the Project
You should wait for the tiles to adhere with the thin-set mortar. Then, you can follow the steps below to finish the tiling project.
- Remove the tile spacers by unclipping them
- Prepare the grout mixture in a bucket of water.
- Spread the grout between the tiles.
- Remove the excess grout.
- Clean the tiles with soap and water to harden the grout.
Laundry Room Floor Protection Ideas
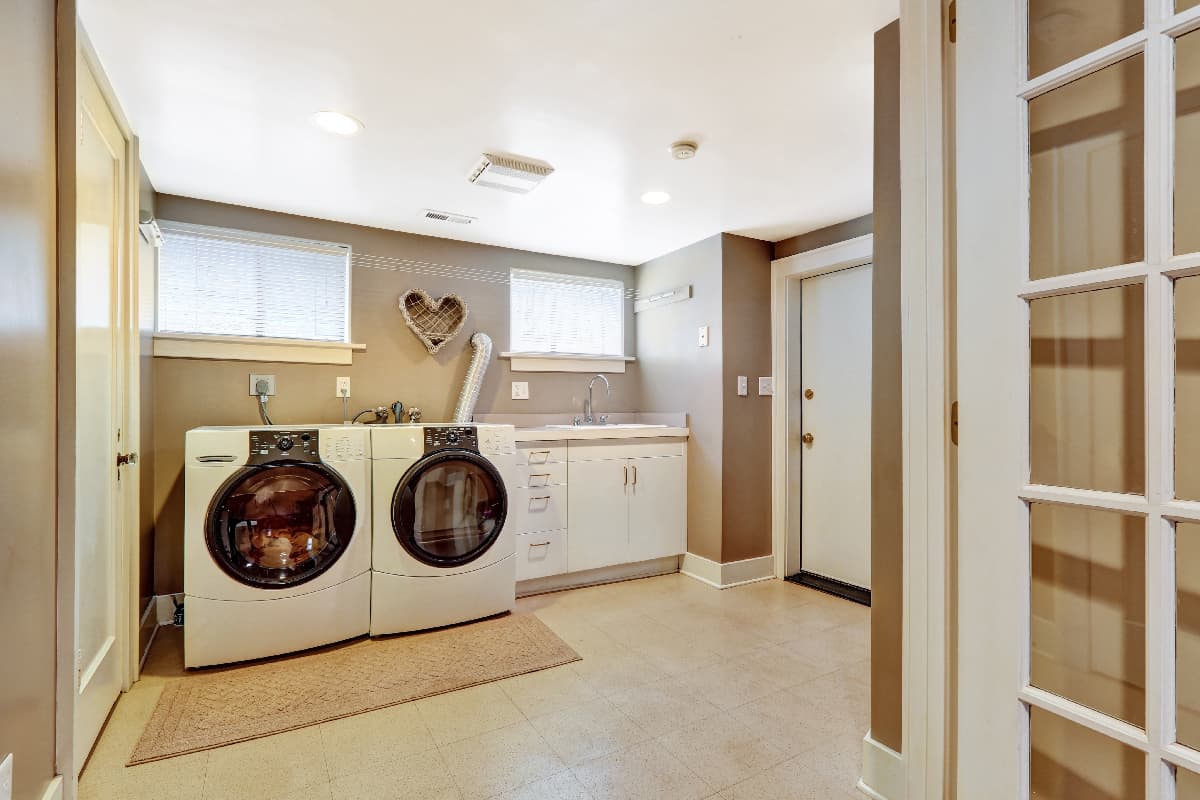
Since that laundry room is wet and slippery during use, it's important to take safety precautions to avoid accidents. Aside from sealing the tiles, you have more options to consider. See some options below.
Anti-Slip Mat
An anti-slip mat is usually made of rubber that resists movements from wet surfaces. You can place it on the laundry room floor after the tile installation. This will help prevent accidents like slipping.
See this anti-slip mat on Amazon.
Use a Rack Under Washers
It's recommended to lift up your laundry appliances like washers and dryers to avoid scratching the tiles. You can use a rack so that you can easily relocate the appliances by pushing them. Also, it protects you from electric shock while washing your clothes.
How to Unclog a Laundry Room Drain
Clogging occurs when there's too much dirt from using the washer. The tiny dust and fallen hair may collect in the drainage, causing the laundry room to flood. The drain should have a strainer to filter the wastewater.
There's a commercial declogging solution that's used in clogged drainages.
See this set of declogging solutions on Amazon.
A clogged laundry room poses a risk of electric shock and wastewater overflow. However, you can also unclog the laundry drain using the natural solvent made using the steps below:
- Prepare a mixture of vinegar and baking soda.
- Unscrew the drain, and carefully dispose of the dirt.
- Pour hot water into and around the drain.
- Pour the vinegar solution into the drain, and let it soak for a few minutes. You can also use a declogging solution based on product instruction.
- Flush the drainage again with hot water. The wastewater should drain afterwards.
In case the drain remains clogged, you can consult a plumber to help you unclog it.
Conclusion
We're glad to share a lot with you, in which we learned how to tule a laundry room floor. We provided the steps and discussed some important matters. Keep in mind that steps may vary depending on the floor's condition. So, seek guidance from a professional.
Are you ready for more informative articles like this? Visit us here:


