Are you considering installing herringbone carpet tile in your home but don't know where to start? Some people might say that laying herringbone carpet tile is a daunting task. We've researched the process, from choosing the right tiles to laying them down for a beautiful finished product.
Laying herringbone carpet can be considered tricky, but if you follow these simple steps, you'll have beautiful and durable flooring that will last for years:
- Choose the Right Type of Herringbone Carpet Tile
- Plan Out the Layout of the Carpet Tiles
- Prep Your Surface and Layout Your Tiles
- Install the Tiles Using the Correct Adhesive and Techniques
- Trim and Finish Your Installation for a Professional Look
Continue reading to guide you more on how to choose and lay herringbone carpet tile.
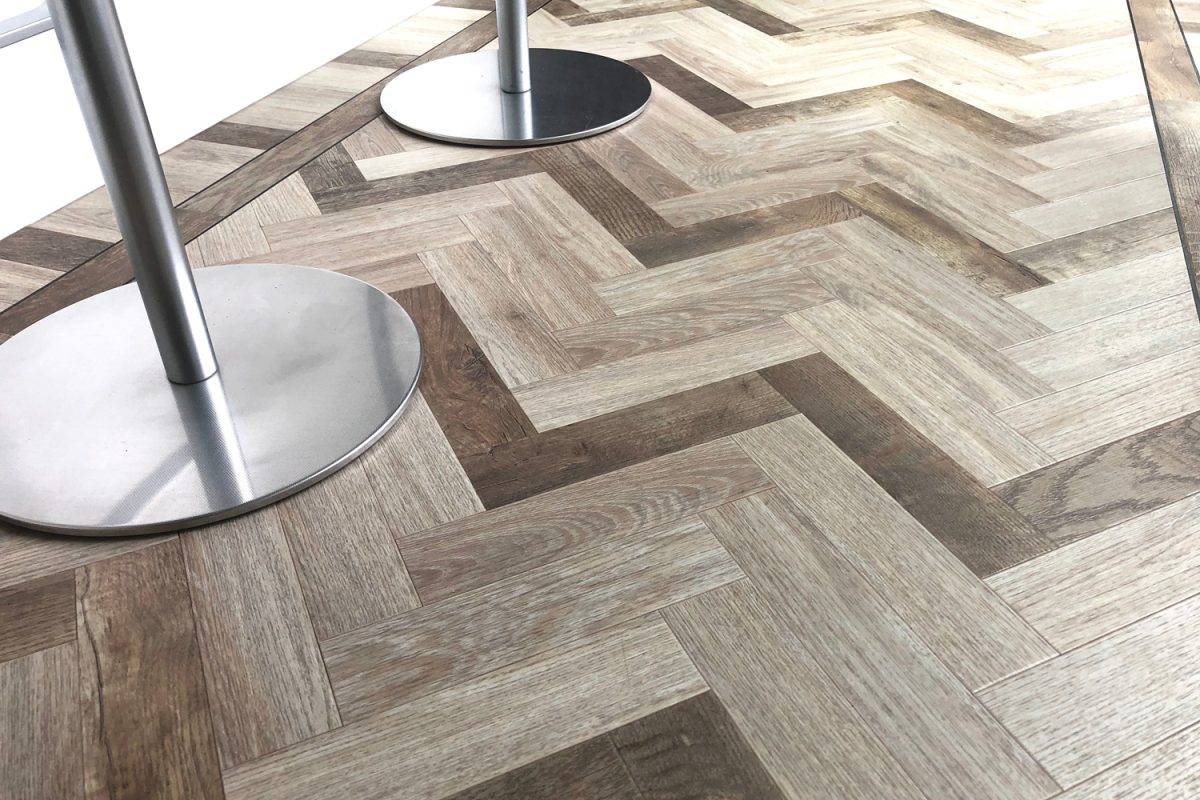
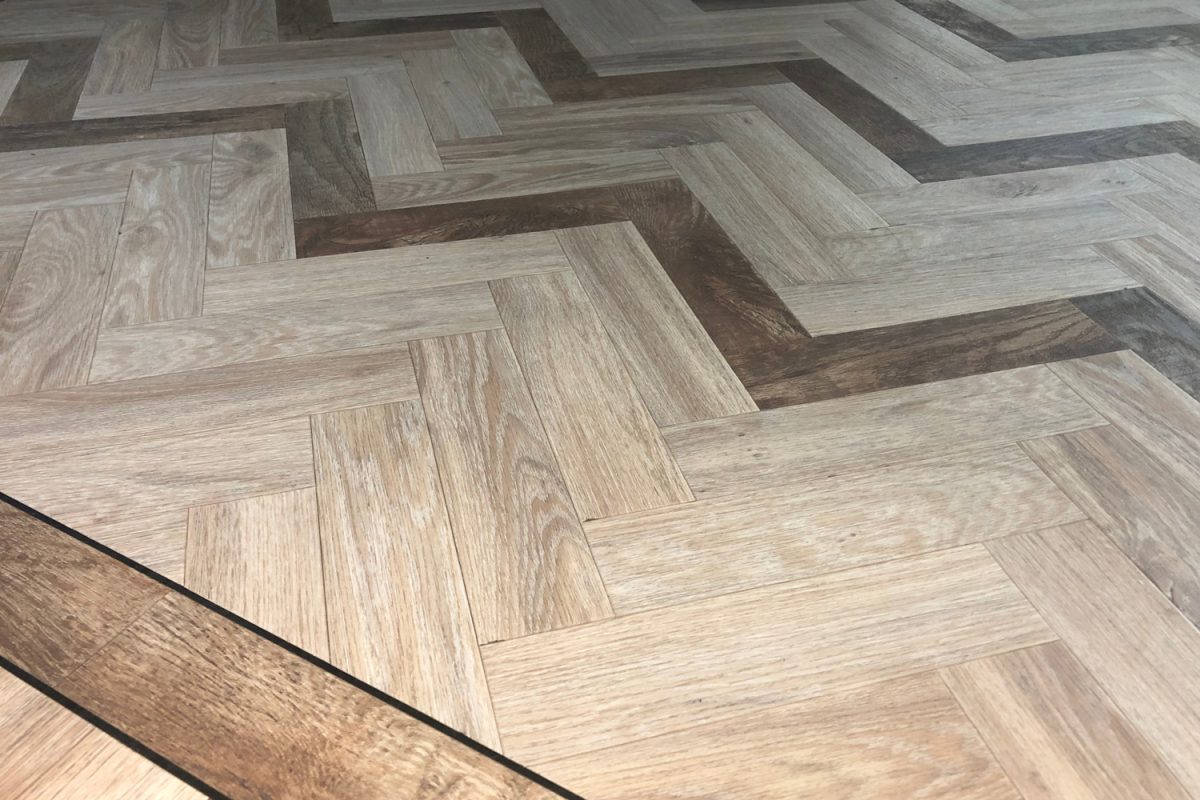
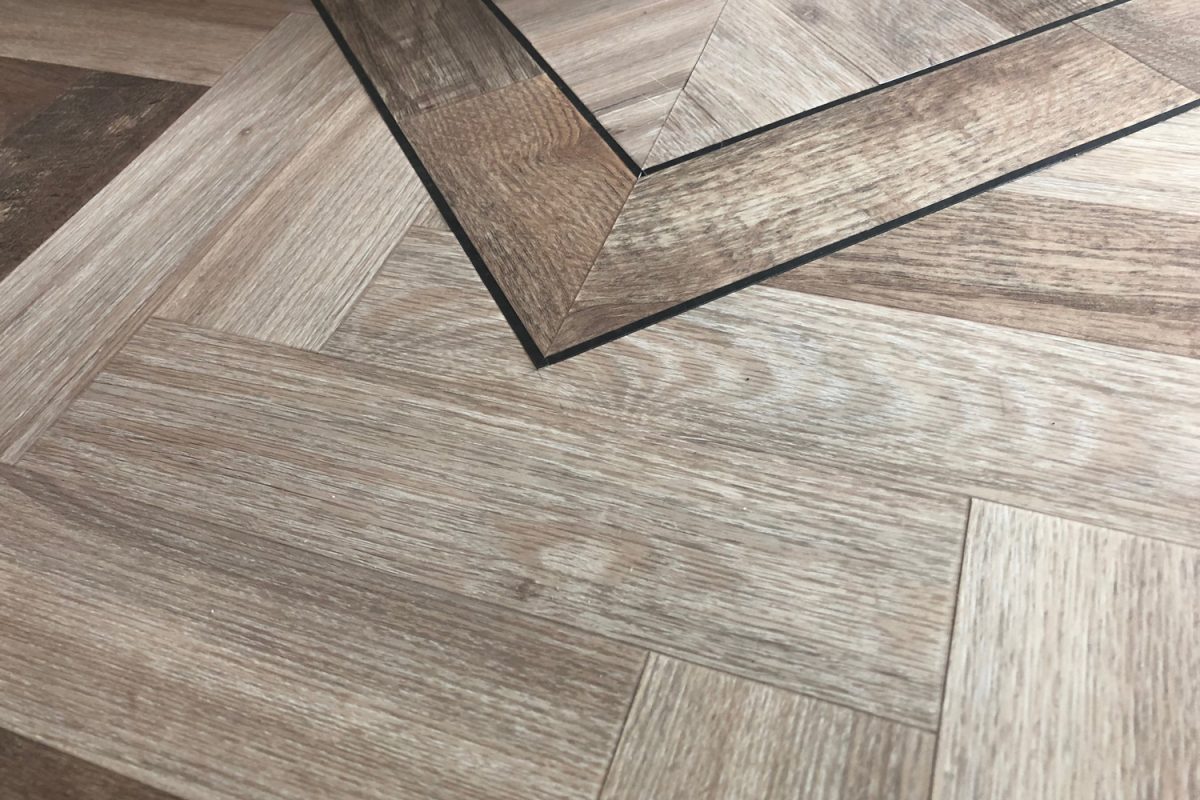
Herringbone: A Classic Design
Herringbone is a classic pattern that has been used for centuries in everything from architecture to fashion. Carpet tile is a modern twist on this timeless design, and it offers several advantages over traditional carpeting.
Herringbone carpet tiles are a popular flooring choice for many homes and businesses due to their durability, comfort, and style.
The herringbone pattern gets its name from its V-shaped pattern that resembles the skeleton of a herring fish.
Step 1: Choose the Right Type of Herringbone Carpet Tile
The type of carpet tile you'll ultimately choose will depend on personal preference and style. Let's take a look at some of the considerations.
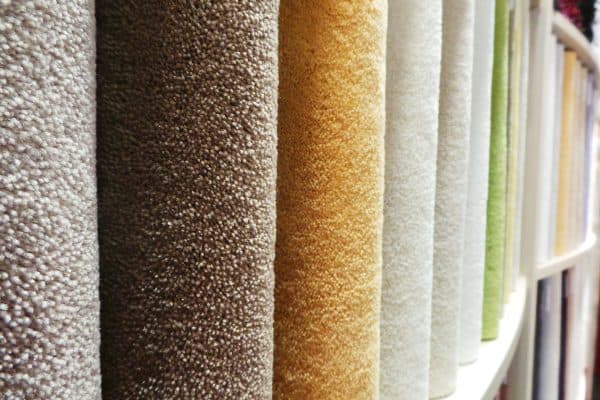
Materials and Composition
Herringbone carpet tiles come in a variety of materials, including wool, nylon, polyester, and more. Carpet tiles can also be made with different pile heights, textures, colors, and sizes.
Shape and Size
The most popular size is the 20x20 centimeter tile, which can be used in a wide range of applications. However, other sizes are also available, including 30x30 centimeter and 40x40 centimeter tiles.
In addition, herringbone carpet tiles can be cut to create custom shapes and sizes. This makes them a great option for floors that are not perfectly rectangular.
No matter what size or shape you need, herringbone carpet tiles can be customized to fit your space. Therefore, if you already bought your carpet tiles, you could always cut the carpet to your desired shape for a DIY herringbone pattern.
Step 2: Plan Out the Layout of the Carpet Tiles
When it comes to installation, herringbone carpet tiles are considered to be one of the easiest types of carpet tiles to install. The tiles can be laid in a variety of patterns, and they can also be cut to fit around obstacles like doorways and corners.
The most common layouts are the quarter-turn, half-turn, straight, and ashlar.
- In a quarter-turn pattern, the tiles are laid perpendicular to the walls, creating a checkerboard effect.
- In a half-turn pattern, the tiles are laid at a 45-degree angle, resulting in a diamond-shaped pattern.
- Straight layouts are rectangular carpet tiles arranged in a linear fashion, the tiles are installed in rows, with each tile meeting the edge of the one next to it. This results in very little waste, as there are no partial tiles.
- "Ashlar" is the name given to any pattern that uses rectangular tiles of different sizes. The most popular ashlar pattern is known as the offset, which creates a staggered look.
There are also more complex patterns that can be created with carpet tiles, such as the herringbone and bird's eye.
However, a herringbone layout requires more tiles, as the tiles must be cut to fit together at an angle. As a result, herringbone patterns typically use around 10% more tiles than a straight layout.
While this may seem like a lot, the added cost is often offset by the increased visual appeal of the herringbone layout. If you are looking for a classic layout that will boost elegance, this is your pattern.
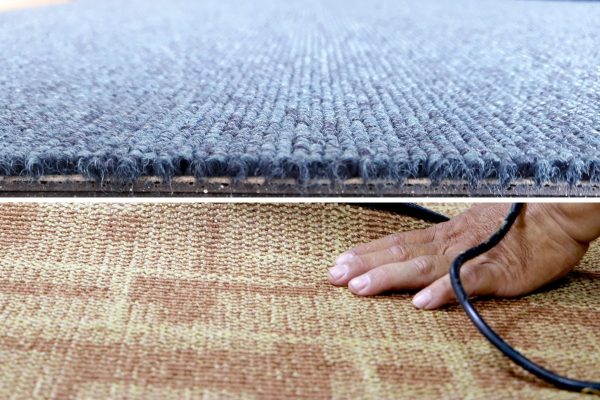
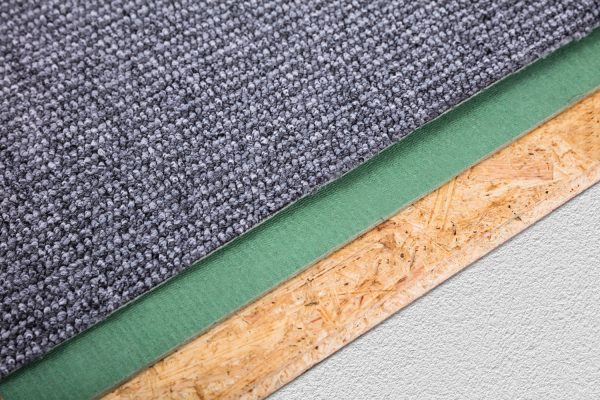
Step 3: Prep Your Surface and Layout Your Tiles
The most important step is ensuring the surface is properly prepared. This means making sure that the floor is clean and free of debris. You'll also need to make sure that the floor is level.
Any unevenness will show through in the finished product, so it's best to take care of it now. Once you've prepared the surface, the actual installation is relatively straightforward.
Here's a step-by-step guide to help you get the job done right.
- First, start by measuring the room where the herringbone carpet tile will be installed. You will need to allow for a ½" expansion gap around the perimeter of the room.
- Once you have the dimensions of the space, mark out the area with chalk or painter's tape. This will help you to keep your cuts straight when trimming the tile. This will ensure that you have enough tiles to cover the entire space.
- Then, begin laying the tiles out from the center point, starting the pattern at a 45-degree angle and alternating between horizontal and vertical tiles. Work your way outwards in both directions.
Step 4: Install the Tiles Using the Correct Adhesive and Techniques
Carpet tiles are an easy and popular way to achieve a classic or elegant look, but it's important to choose the right adhesive to ensure a long-lasting and professional-looking finish.
Two of the most popular adhesives for installing carpet tiles are heavy-duty adhesives such as contact cement, construction adhesive, or mastic and double-sided tape or adhesive strips.
Heavy-duty adhesives such as contact cement, form a strong bond between the tile and the floor, making it ideal for high-traffic areas and larger areas. However, it can be difficult to work with and requires careful application.
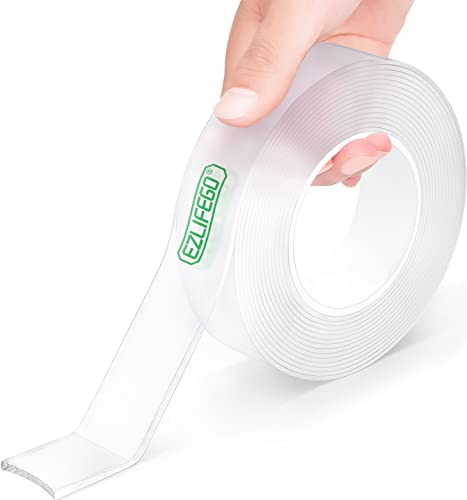

Get heavy-duty adhesive on Amazon.
Double-sided tape or adhesive strips are much easier to use, but they may not provide as strong of a hold, making them better suited for light traffic areas or small areas.
Be sure to follow the manufacturer's instructions when selecting and applying the adhesive, as an improper application can result in damage to the flooring. With the right adhesive, herringbone carpet tiles can provide years of beauty and function.
For some adhesives, you will need to apply them at the back of each tile and then place them in their proper position.
Ultimately, the best adhesive for your herringbone carpet tile installation and how to apply the adhesive will depend on your specific needs and preferences.
Step 5: Trim and Finish Your Installation for a Professional Look
Using a sharp knife or scissors, trim the edges of the carpet tile so that they are flush with the marked line. Be sure to work slowly and carefully so that you don't inadvertently damage the tile.
Once all of the edges are trimmed, use a hammer and finishing nails to secure the tile in place, if needed. Make sure that the nails are driven into the subfloor, not the face of the tile.
Next, is to use a putty knife or similar tool to apply pressure to the seams between tiles. You could also use a rolling pin, which will help them bond together. Secure the tiles in place and allow the adhesive to dry completely and create a seamless look.
Finally, use a handheld vacuum or broom to clean up any excess adhesive or fibers from the carpet.
How Can You Maintain Your Herringbone Carpet Tile?
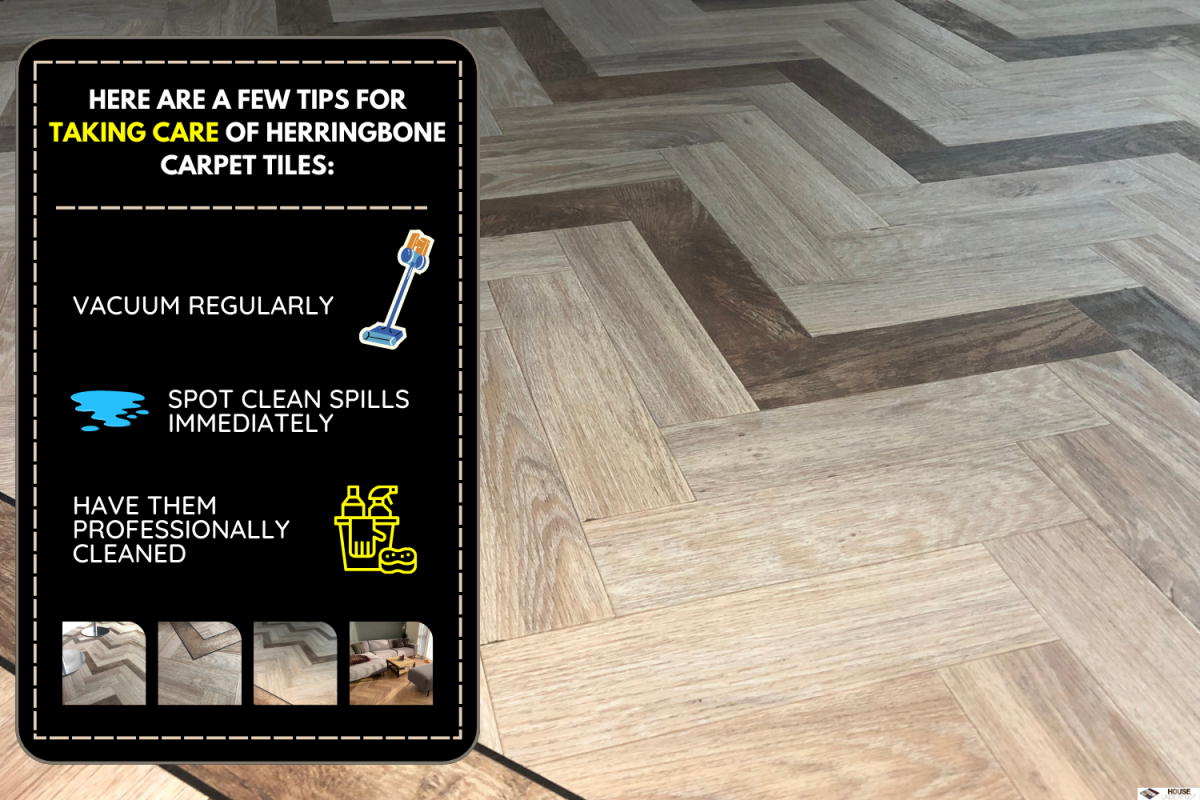
While herringbone carpet tiles are built to last, they still require some basic maintenance in order to keep them looking their best.
Here are a few tips for taking care of herringbone carpet tiles:
Vacuum Regularly
The best way to prevent dirt and debris from building up on herringbone carpet tiles is to vacuum them regularly. Use a soft brush attachment to avoid damaging the fibers.
Spot Clean Spills Immediately
As with any type of carpet, it's important to clean up spills right away. Otherwise, they may become permanent stains.
To spot clean herringbone carpet tiles, blot the area with a clean cloth or sponge and then use a mild detergent if necessary.
Have Them Professionally Cleaned
Over time, herringbone carpet tiles will start to look dull and may even develop an odor. To refresh them, have them professionally cleaned every 12-18 months. This will also help prolong their lifespan.
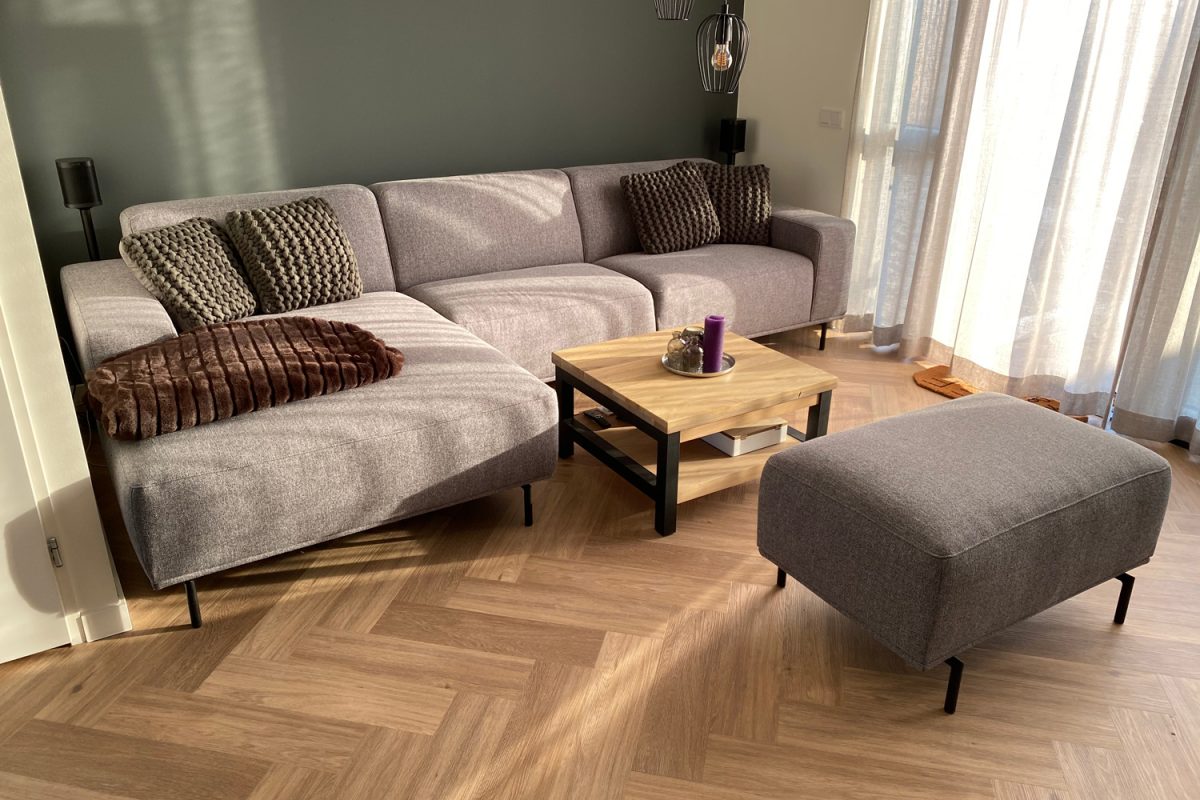
Final Thoughts
If you’re looking for an elegant flooring option that will add some visual interest and texture to your space, herringbone may be the perfect fit. And with our easy-to-follow installation guide, it’s a project you can easily tackle on your own.
To know more about floor designs kindly click the link below: