Do you have an uneven floorboard that is not resting on a floor joist? Or maybe you have a cut floorboard that is no longer supported by a joist on one end, and do you want to know how to fix both situations? You’ve come to the right place, for we have researched this question, and we have the answer for you.
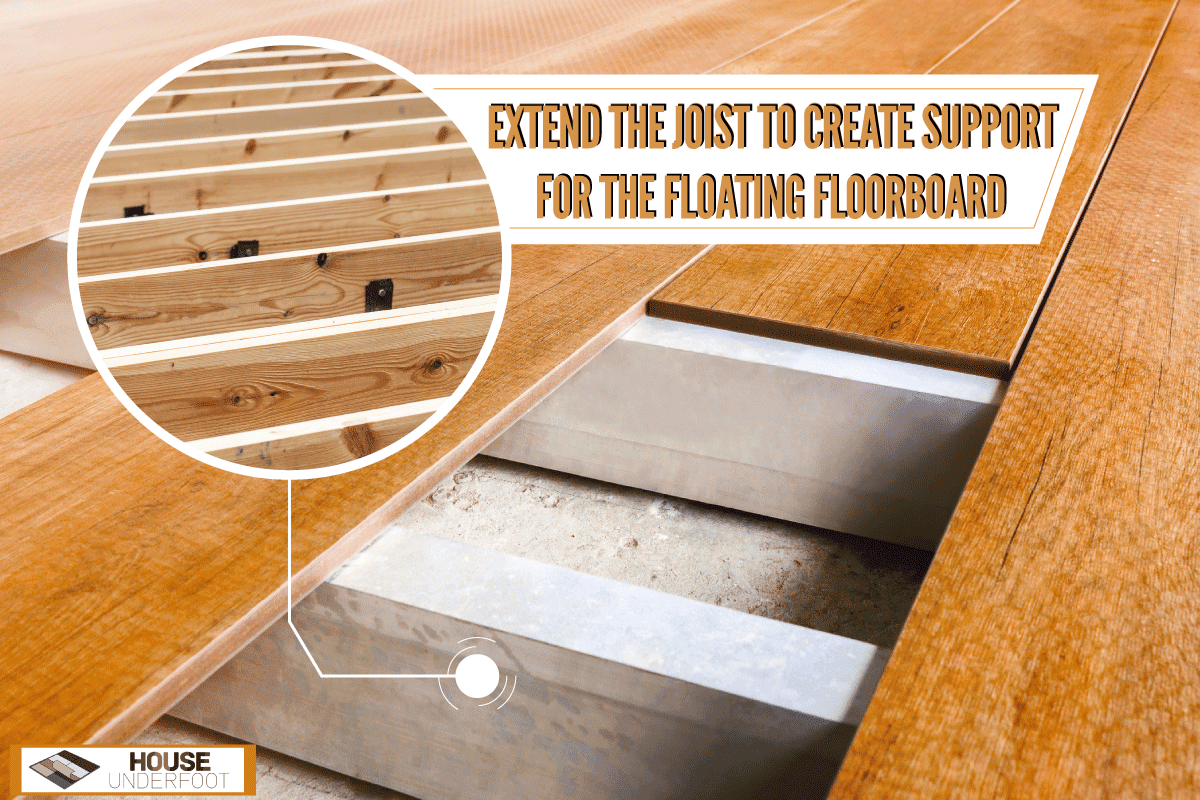
The best solution to both situations is to extend the joist to create support for the floating floorboard.
There are different ways to extend the joists depending on the floating floorboard that they will support. Learn about the most common ways in the succeeding sections.
Read on!
A Brief Look At How A Floor System Works
Let’s talk about the different parts of the floor system so that you will better understand the solution to this problem.
Sill Plates
The joists on your floor rest on a layer of sill plates. The sill plates are often made of solid timbers.
Sills rest horizontally on the foundation walls or piers. They are responsible for supporting the walls and the floor joists.
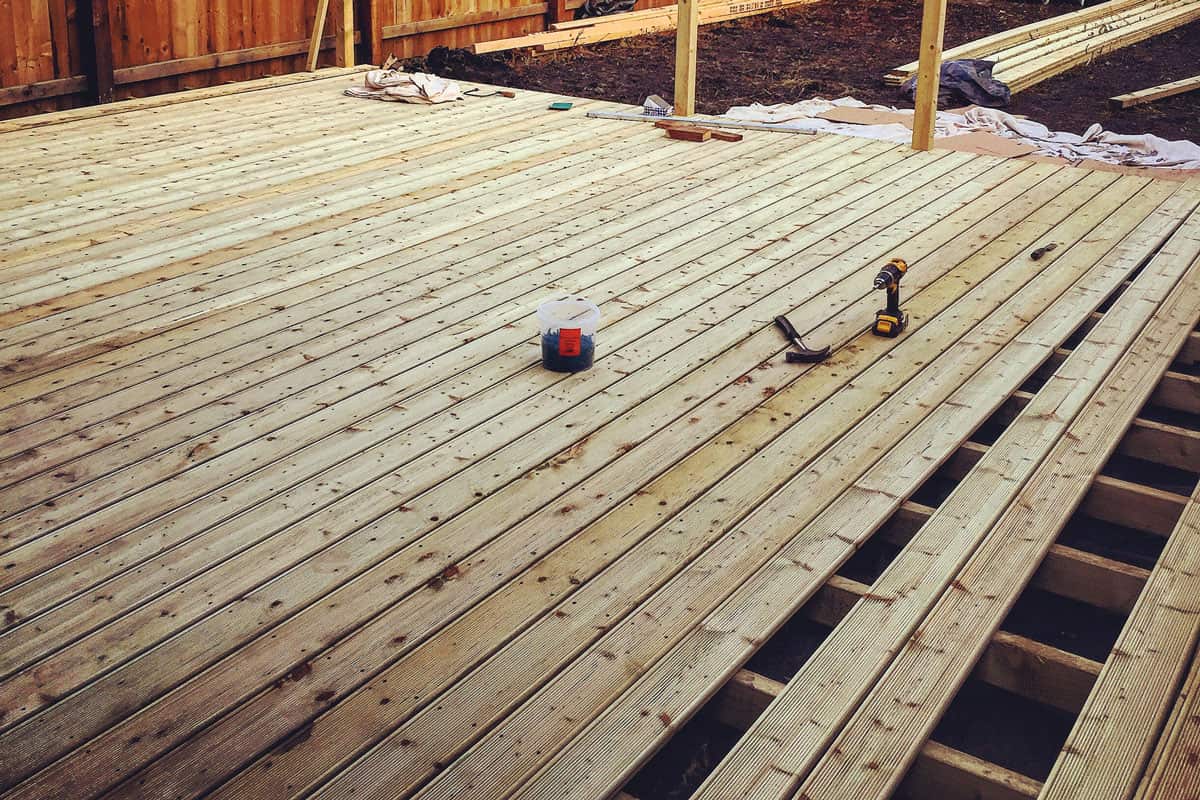
Floor Joists
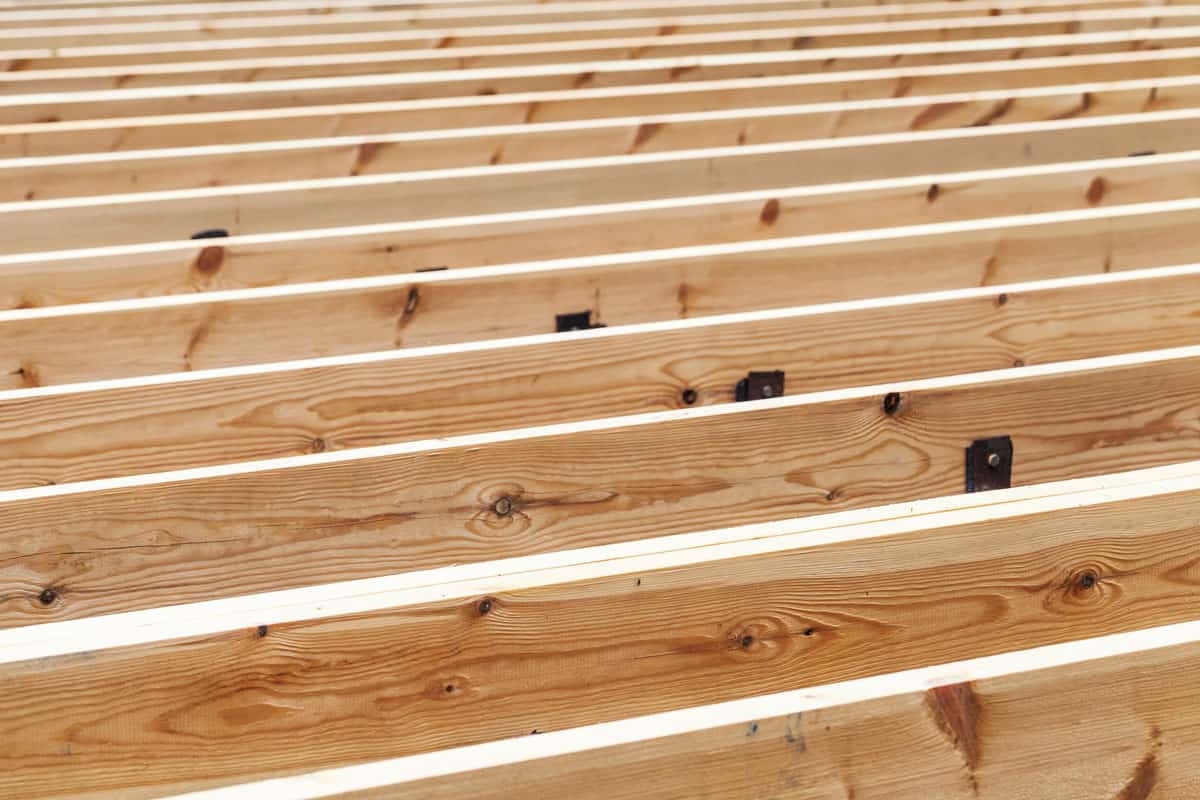
Floor joists are also often made of timber. They rest horizontally on sill plates on their sides.
Their flat sides face each other to provide better support.
Subfloor
The subfloor is installed on top of the joists. The subfloor can be OSB (oriented strand board) or plywood. Its purpose is to support the underlayment and the surface floor.
It is also responsible for protecting the floor joists from possible damage coming from the top floor.
Underlayment
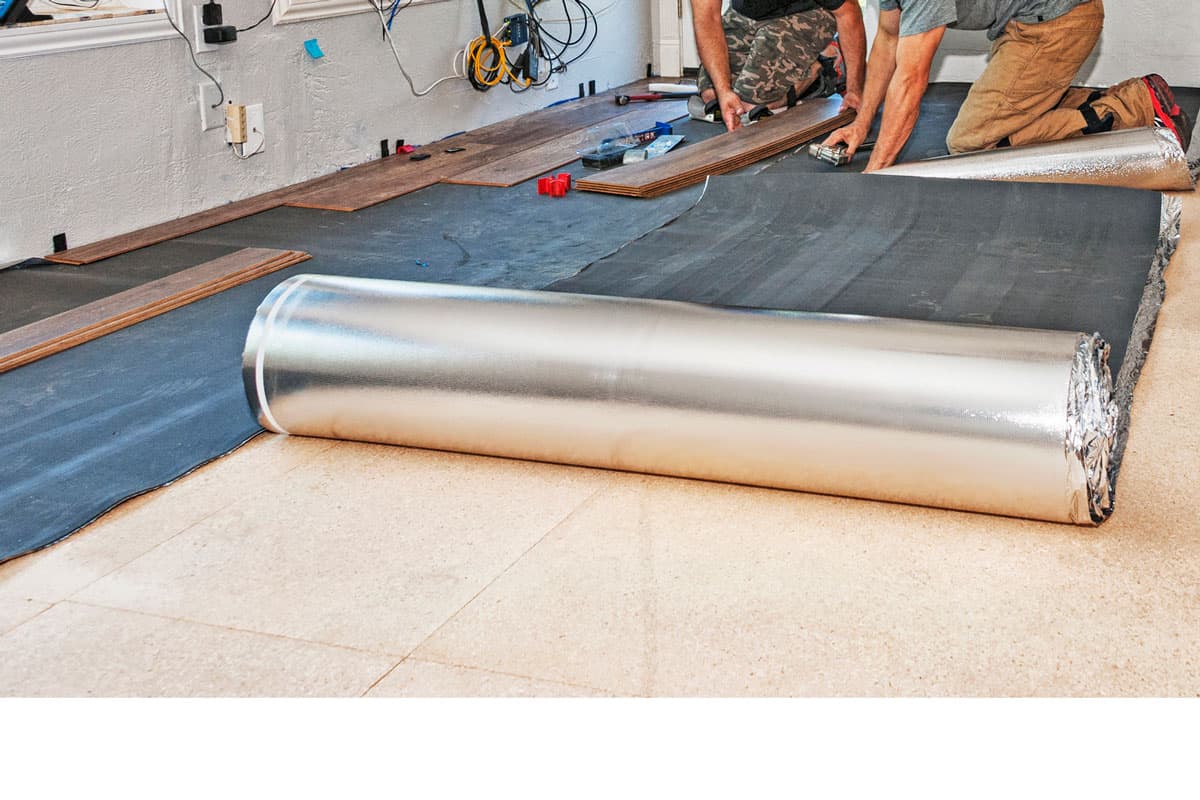
The underlayment is not always present in a floor system. It is the layer between the subfloor and the surface floor. It is a waterproof blanket that creates a smooth layer above the surface of the subfloor.
The waterproofing of the underlayment provides moisture protection for the subfloor.
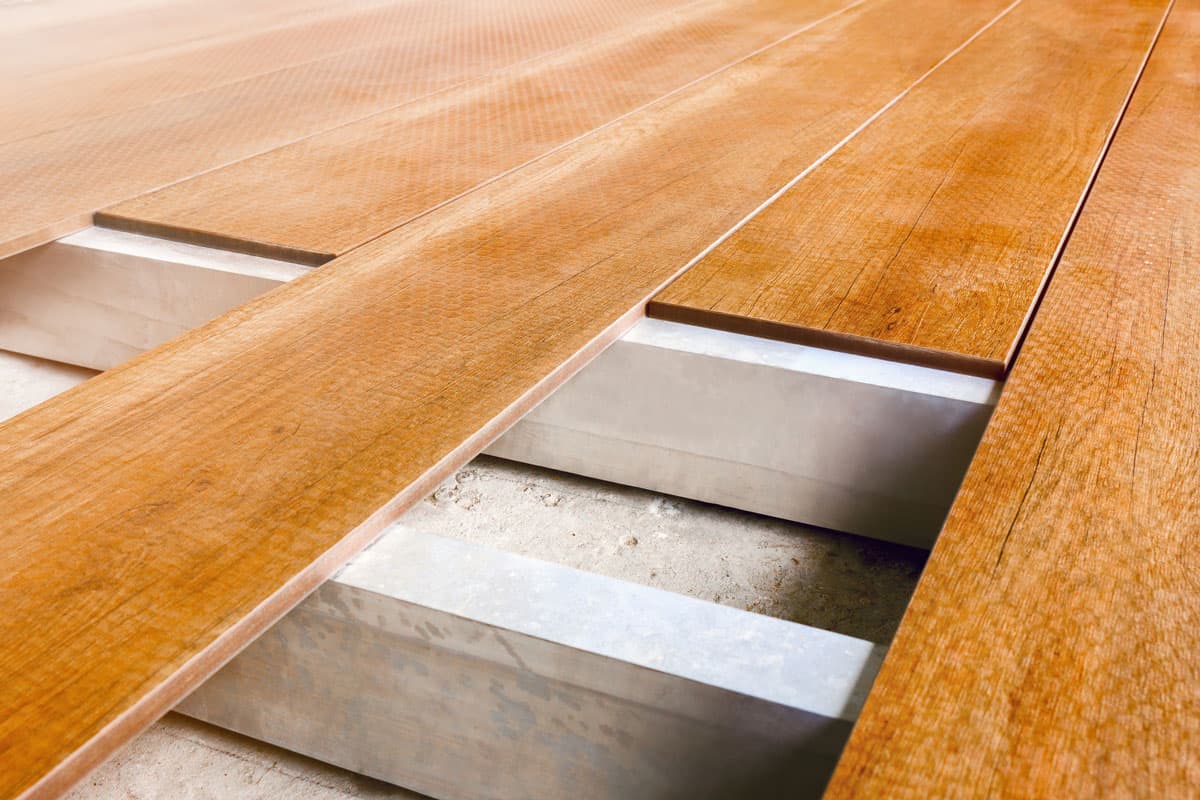
Surface Floor
The surface floor is where you install the topmost part of your floor. It is the part of the floor system where you walk on and what you see all the time.
This layer can be anything from tiles to hardwood to vinyl.
In older houses, the floorboards of the surface floor are installed directly on top of the floor joists. No subfloor protects the floor joists.
How to fix a floorboard not resting on a joist?
There are a few ways to support a floating floorboard without a floor joist under it. The methods below are the easiest to accomplish and are also the most effective in most situations.
Extending Joist Support
This method will allow you to extend support from nearby floor joists. This is ideal for joists that are close enough to each other. This is also an effective way of getting rid of the squeaking noise coming from floorboards that are not on floor joists.
Locating Floor Joists
- Locate the part of the floorboard that does not have floor joist support at the bottom. Mark this with an artist tape.
- Find the location of nearby floor joists with a stud finder. A stud finder is an instrument that detects changes in density to determine the location of joists or studs. Mark the location of nearby studs using artist tape. This will allow you to better visualize the area.
- Locate an area that is between two joists along the floorboard that does not have joist support. The ideal location is halfway to the second joist from the floorboard which doesn’t have joist support. For example, moving left from the part of the floorboard that doesn’t have joist support, you look for the next two floor joists. Mark the location between these two joists.


Tavool Stud Finder Sensor Wall Scanner is available on Amazon through this link.
Creating An Opening For Working
- Drill one to two holes in this area that is big enough for a jigsaw later.
- Use a jigsaw to cut the width of the problematic floorboard and at least two adjacent floorboards. This should give you enough space to work on the joists under them.
- Pry the floorboard from the joist or subfloor.
- If you have a subfloor, cut the subfloor along the opening that you’ve made with the floorboards.
Installing The Floor Joist Extensions
- Get two pieces of 2X2 that are long enough to cover the combined width of the floorboards that you took off. Get another two pieces of 2X2 for each floorboard that you removed. The length of these 2X2s should be enough to span the distance between two floor joists. If the area that you are repairing sees heavy traffic or it needs to support a heavy appliance, use 2X4 instead. Install the 2X4 with the narrow side facing the ground.
- Screw the first 2X2 on the joist with just enough space above it to support the two pieces of 2X2 that will span the distance between the two joists. Start with both ends of the 2X2 to keep it in place. Add additional screws in the middle to keep it stable. It is a good idea to place a screw under the middle of the width of the floorboard that you will install above it.
- Screw the second 2X2 on the opposite joist the way you installed the first 2X2.
- Get the 2X2 that can span the distance between two floor joists. Place it on top of the two supports and position it in the middle of the width of the floorboard that you will install above it later.
- Screw the 2X2 on the supports.
- Repeat the same steps for the other 2X2s until you’ve installed all the support 2X2. These 2X2 will be the extension of the joist support under your floorboards.
Reinstalling The Floor Layers
- If you have a subfloor, install the piece of the subfloor that you removed earlier.
- Apply waterproof wood sealant or liquid rubber along the area that you cut. Let the area dry naturally. Make sure that the area has enough ventilation if you’re going to use a solvent-based sealant.
- Install the underlayment if you have one. The underlayment is a floating layer. This means that you don’t need to fasten it to the subfloor. Just place the underlayment layer on top of the subfloor and continue with the next step.
- Reinstall the floorboards that you removed. You can now nail or screw the floorboards on the 2X2 supports. This will eliminate any squeaking noise when someone walks on these floors. When installing screws, let the screw dig a little into the wood. This will give you space to cover it with wood filler later.
- Apply wood filler that matches the color of the floorboards. This will conceal the areas that you cut and drilled.
- Let the surface cure and dry. Observe if there are any shrinkage or cracks. Apply more wood filler to cover any shrinkage or cracks. Let it dry naturally and look for signs of shrinking and cracks and repeat the process of applying wood filler as needed.
- Sand off any excess wood filler with a fine-grit sandpaper. Clean off any residue from the sanding process.
- Apply a layer of polyurethane coating to protect your hardwood floor.


Getting Support From Surrounding Floorboards
This method is best used when the floor joists are too far apart. It is also a good method to use for floor systems that have weak floor joists, like in older houses.
This is also an effective method to provide support to floorboards that you need to repair or patch, but the patch will not be on top of a floor joist.
Installing Floorboard Supports

- Follow the steps in the section “Creating An Opening For Working.”
- Get four pieces of 2X2. The length of the 2X2 should be at least four feet longer than the total width of the floorboards that you took off.
- Start by applying wood adhesive on the areas of the 2X2 that will go under the floorboards.
- Position one of the 2X2 under the area where you have a floorboard that doesn’t have joist support. Keep it in place by clamping it on the floorboards that are still in place.
- Screw the 2X2 in place. Sink the screw a little deeper so that you can cover it with wood filler later.
- Do the same thing for the other 2X2, making sure that you install them with even spacing so that the weight on top of the floorboards will be evenly distributed.
- Remove the clamps.
Installing The Floor Layers
Follow the steps in the section “Reinstalling The Floor Layers” to reinstall the different floor layers on top of the new floorboard support. The only thing that you need to do differently is to apply wood glue on the surface of the 2X2 before you reinstall the subfloor.
The purpose of the wood glue is to prevent squeaking once the area and the new support have aged.


Elmer’s Products, Inc Carpenters Wood Glue is available on Amazon through this link.
Conclusion
You can follow either of the two methods of providing joist support to your floorboards. They are also effective for getting rid of floorboard noise because of loose floorboards.