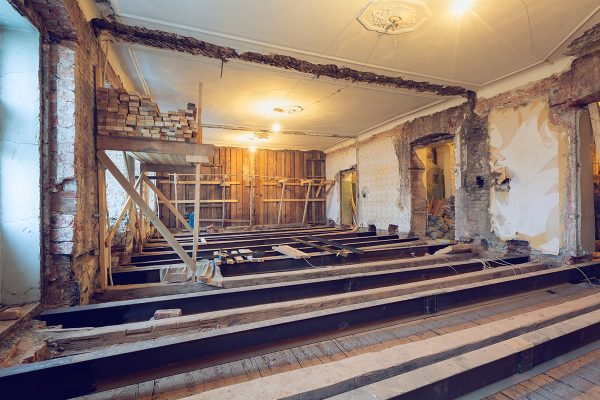
Framing a floor can be challenging if you’re installing the surface above a crawl space. Now, you’re wondering how you can complete this project. We researched and consulted with industry experts to give you the following answer.
First, ensure that you know your local residential building codes before you start framing the floor above the crawl space. Then, draft a floor plan to know the correct measurements. Once finished, continue this process by following these steps:
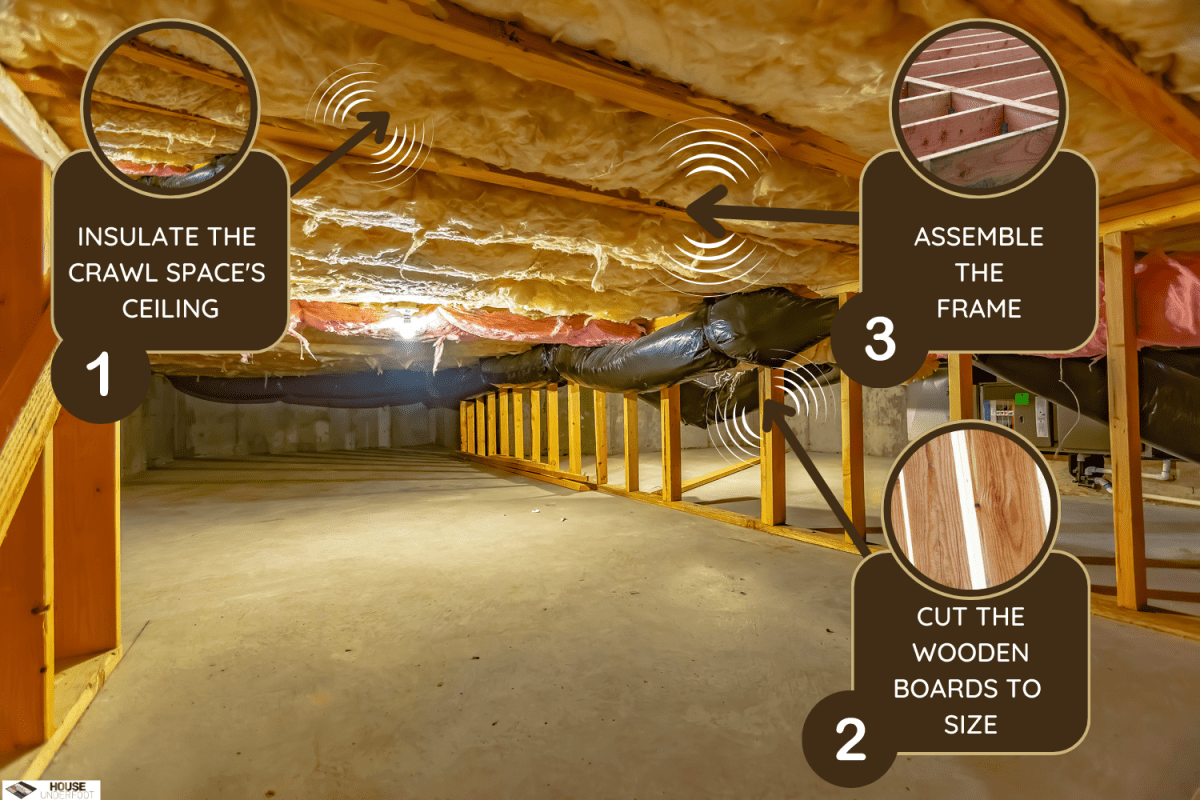
- Insulate the crawl space’s ceiling
- Cut the wooden boards to size
- Assemble the frame
This project might seem like a reasonably straightforward job. But it can be hazardous if you miss certain details. So continue reading as we talk about this floor-framing operation in greater detail.
How Do You Frame A Floor Over A Crawl Space?
Before you start relatively any home construction or renovation job, ensure that you’re going to follow proper safety protocols. Make sure that you prepare the area to prevent accidents and injuries, and increase the job’s success rate.
Some of the safety measures you should follow are:
- Wear appropriate gear, such as gloves, goggles, and long-sleeved clothing. Put on chemical-resistant equipment, such as special gloves and disposable coveralls, if handling harsh solutions.
- Notify people in your area that the area would become a safety hazard. Put up a visible warning sign to alert passersby of the risks involved in being around the work site.
- Don’t smoke or bring flammable objects to the job site, unless needed. Some building materials, such as oil-based paints, are generally at risk of catching fire when placed near hot objects.
- Clean the work area as much as possible. Provide a tidy and spotless place for all workers and nearby people to reduce the risks of accidents and injuries.
- Only use tools that are in good working condition. Replace any item that may endanger your well-being, along with the health and safety of nearby individuals.
After completing the safety measures, you can continue the floor framing project by following these steps:
What You’ll Need
- Foam insulation
- Tape
- Nail gun
- Lumber
- Circular saw
- Sawhorse
- Floor bridging
- Anchor bolts
Step-by-Step Guide
Step #1: Know And Adhere To Residential Building Codes
Ask your local government for all the building codes and standards that you need to follow for this construction project. Failure to adhere to these guidelines and rules may put you at risk of encountering expensive fines.
Take note that many building codes are standard practices throughout the nation. But certain codes may only exist in certain cities and states.
Step #2: Draw A Floor Plan
Never go through any home construction project without a concrete document of the procedure. So draw a floor plan that highlights the different important details of your floor's frame. Don't forget to include information about the crawl space for that region that can affect the measurements.
You can watch the video below if you need help conjuring up a floor plan:
Keep in mind that the details that you're going to put in the floor plan will be your guide throughout the entire construction project. So if you believe that you don't possess the confidence or skill in crafting the blueprints of the floor's frame above your crawl space, it might be best to hire a professional for this step.
If so, prepare to pay around $0.40 to $3 per square foot for a certified architect to draft a floor plan. Some industry experts may even charge up to $10 per drafted square foot.
Step #3: Insulate The Crawl Space’s Ceiling
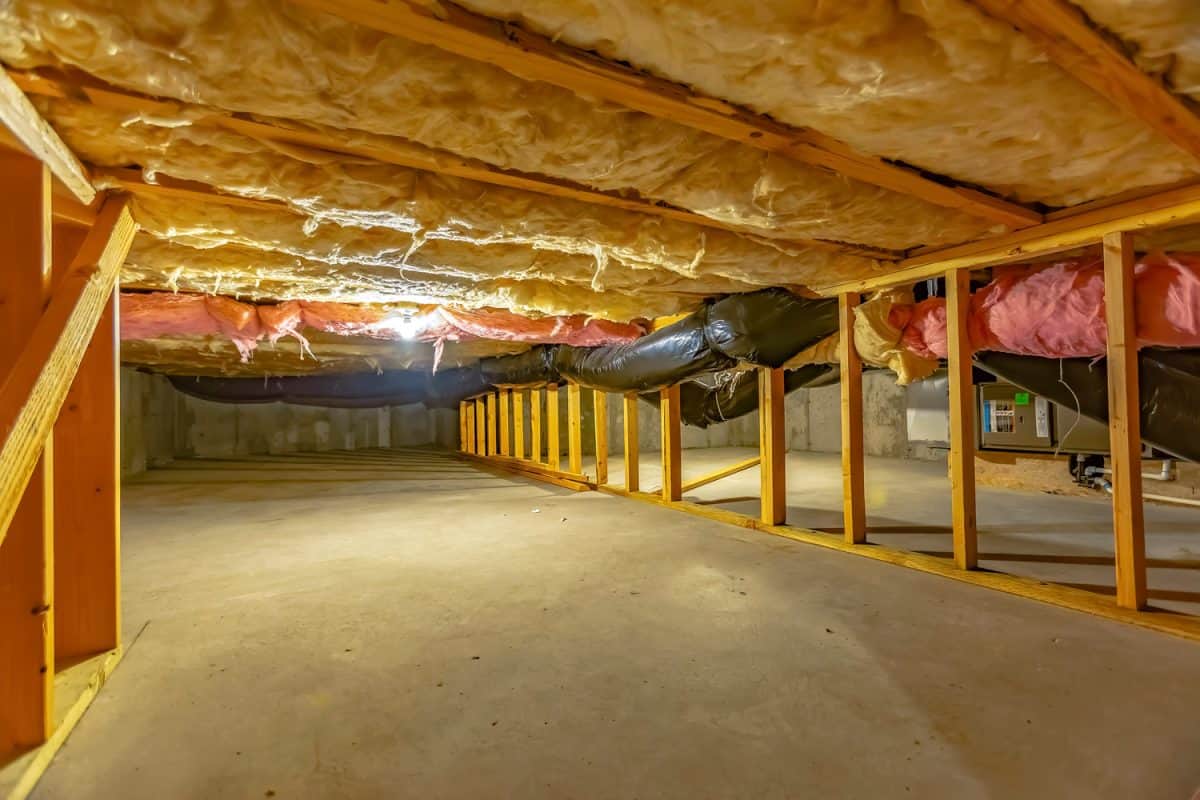
Remember, the crawl space’s ceiling will sit underneath the floor. So it’s ideal to have it insulated if it doesn’t have the proper insulation yet.
Here’s a quick guide to help you with this step:
- Install foam insulation between the crawl space's ceiling joists. Ensure that you're placing the insulating materials with their facing adjacent to the subfloor.
- Use tape to secure the insulation in place. Another option is to nail the material in place.
The clip below will also show you some additional insights into insulating the crawl space’s ceiling:
You may also skip this step and proceed with the next part of the procedure. But make sure to read our post on the pros and cons of insulating a crawl space to understand the benefits and shortcomings of increasing that area’s thermal resistance.
Step #4: Cut The Wooden Boards To Size
Place the wooden boards one at a time on your sawhorse or workbench. Then, use a circular saw to cut the lumber according to the measurements indicated in your floor plan.
If you want to skip this step, you could take advantage of lumber-cutting services from some home improvement centers. But take note that these services aren’t free. Also, make the following step easier than usual by labeling the cut pieces.
The video below also shows an alternate method on how to prepare the floor joists for the upcoming assembly:
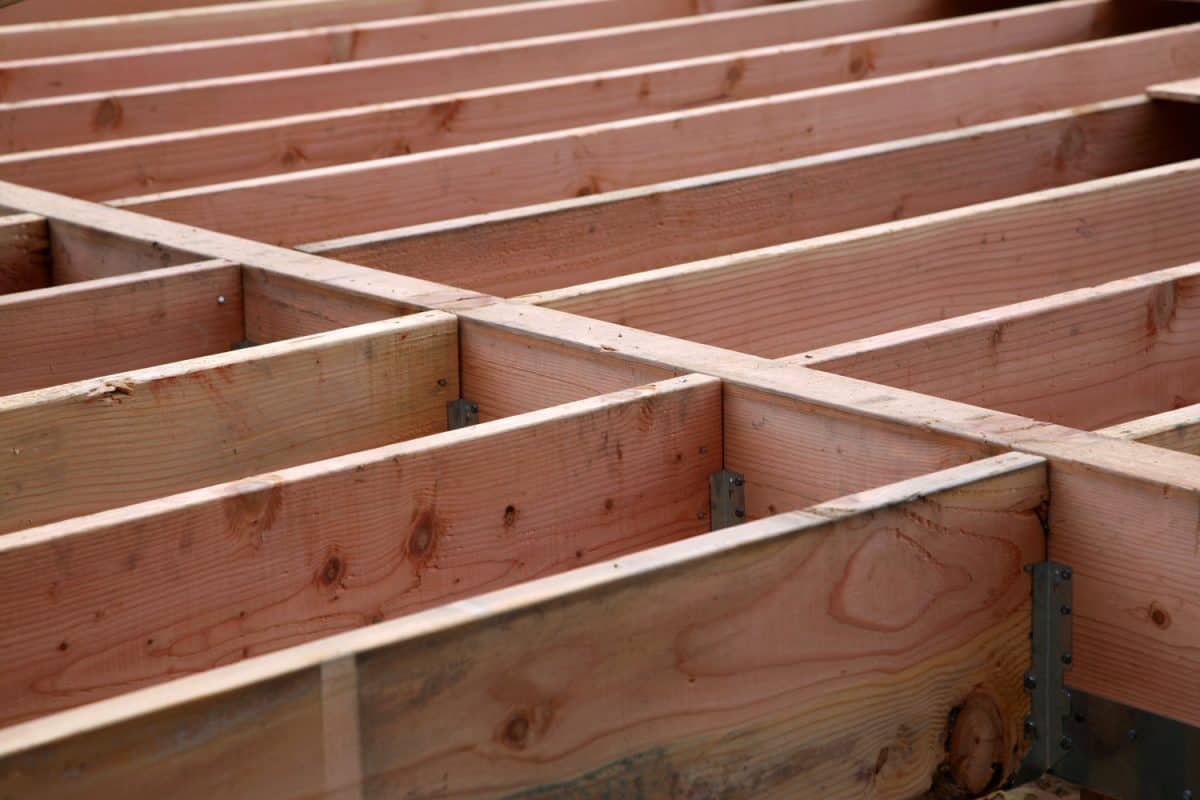
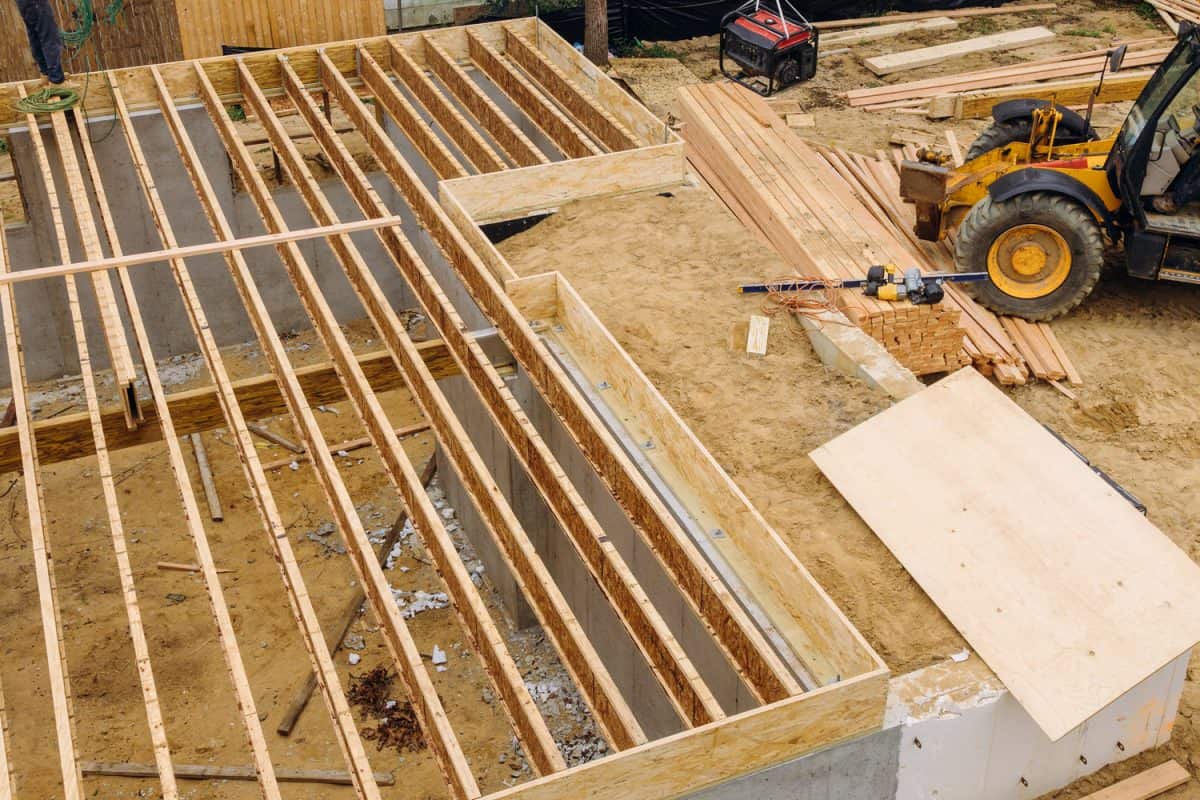
Step #5: Assemble The Frame
Start assembling the floor’s frame by placing the sill above the crawl space’s area. Also called the mudsill, this wooden piece attaches to your property’s foundation. It's also responsible for giving the floor's frame stability and security.
Each sill board should be flat and level against the foundation. If a piece of mudsill isn’t flush, repair any irregularities with the alignment before proceeding. Then, secure each sill plate with anchor bolts.
Next, place the rim joists around the mudsill’s perimeter. Secure these lumber pieces by driving nails onto them at 30-degree angles. You can install braces onto the rim joists if you believe that they need extra security.
With the rim joists in place, mark the areas for the other floor joists. Then, place the other lumber pieces onto the marked areas.
Secure this assembly by driving two to three nails onto each joist before installing the floor bridging. If you need help installing the floor bridging, watch this clip:


Check out this nail gun on Amazon.
If you want to look at a detailed visual guide of this procedure, check out the video below. But take note that this video is quite long but has many extra pieces of information that could assist you in completing this project with minimal risks of errors.
What Is The Most Common Floor Joist Spacing?
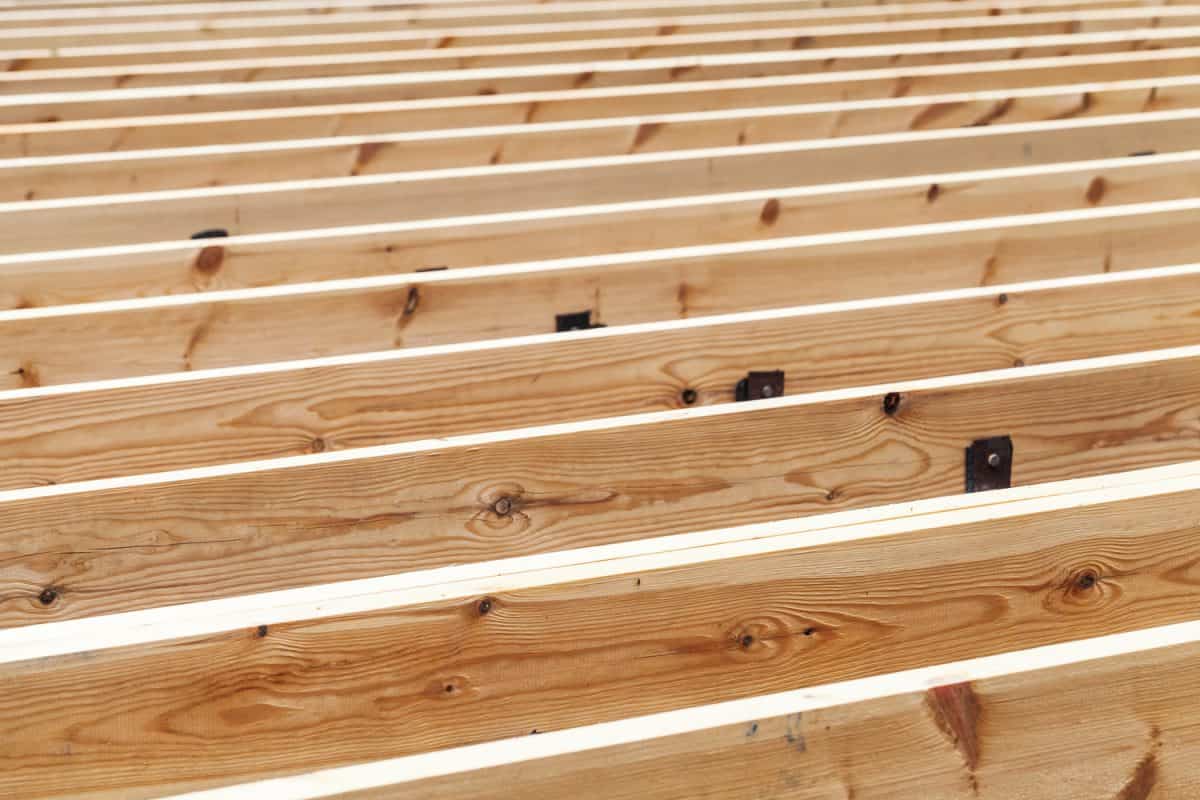
Generally, floor joist spacing is 16-inches apart from the center. However, the spacing requirements can differ depending on building codes and project requirements.
At this point, you might also be wondering if you can use 2x6s for floor joists. If so, read our post on that subject matter to know the answer.
How Much Does It Cost To Frame An Addition?
The overall costs to frame an extra space often depend on different factors, including the property's location. Still, the expenses should be around $150 to $250 per square foot, particularly if done with professional services. So expect to spend money that's approximately $3,000 to $5,000 to frame a 200-square-foot addition to your property.
Final Words
Don’t forget to identify and adhere to your local building codes to prevent accidents, injuries, and expensive fines from this project. Then, cut the wooden boards according to the measurements in your floor plan. If done correctly, the frame above your home’s crawl space should be stable and sturdy to support the rest of the residence.