You want to clean the floor with a vacuum cleaner. But what could you do if the Electrolux vacuum cleaner does not power up? What could be the problem? Don't worry! We've researched the answers to your questions.
It's quite inconvenient if the Electrolux vacuum cleaner suddenly doesn't work as you try to clean the house. Here are some steps to resolve this problem:
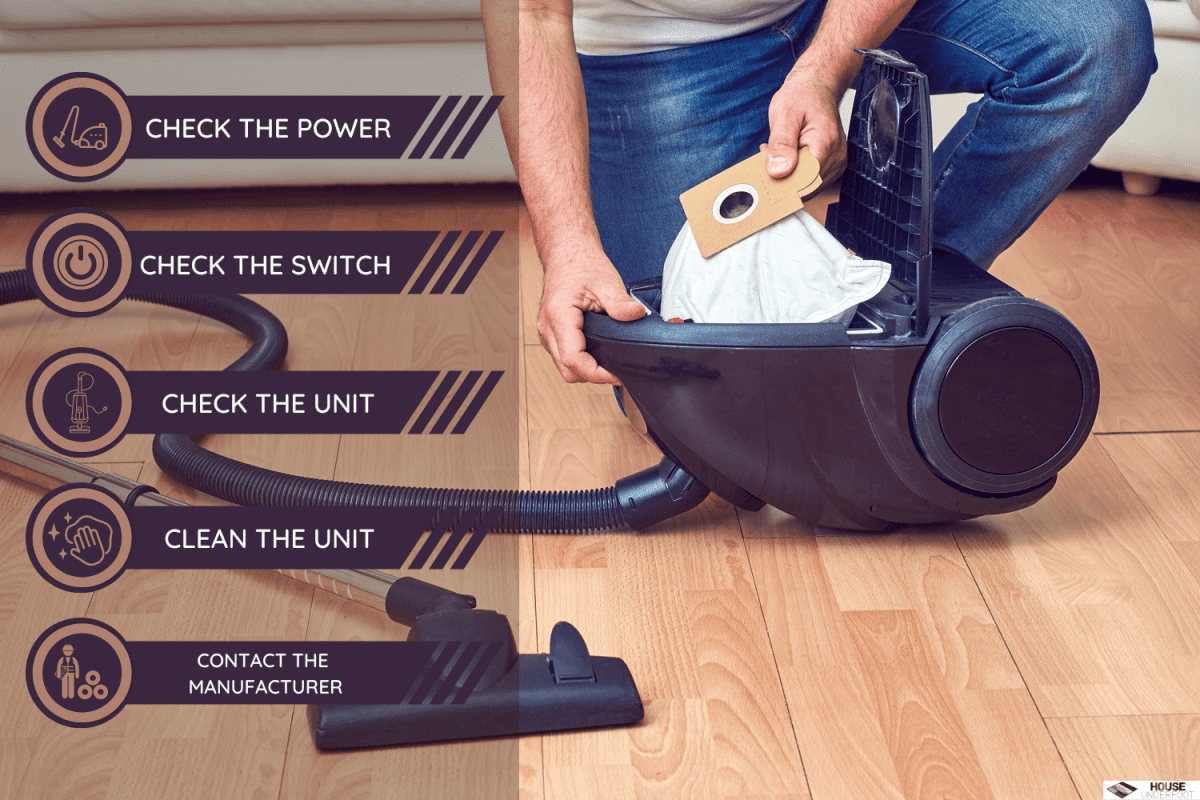
- Check the power outlet. Ensure that there's electricity running through the unit.
- Restart the unit and check the switch if it needs replacement. The switch might be loose, causing the electricity to not flow through the unit properly.
- Put the unit to rest for at least two hours. You can also charge it, depending on the model.
- Consider opening the brush roll cover. You should clean it to allow proper rotation while in use.
- Try to contact the manufacturer for further assessment.
With this article, we'll learn why an Electrolux vacuum cleaner won't turn on. We'll provide some troubleshooting techniques that may be helpful to you. You'll learn a lot with us today. So let's keep reading!
Electrolux Vacuum Power Button Not Working: Troubleshooting Steps to Follow
An Electrolux vacuum cleaner uses suction technology to help you eliminate dirt in the area. It's important to keep it in good condition to avoid inconveniences, such as motor malfunctions.
You can troubleshoot the unit with the detailed steps below.
1. Check the Power
Many Electrolux models require 220 to 240 volts of power. You should check the circuit breaker to ensure a sufficient amount of electricity.
It's best to consult an electrician, as the house's electrical capacity can differ. It's possible that the electrician would replace the circuit boards or fuses.
2. Check the Switch
Consider restarting the unit by turning it on and off. Check the switch and make sure it's not loose. However, you can replace the switch to let it function well.
Don't forget to read the manual for accurate replacement instructions. See the steps below:
- Open the canister by pressing down the release lever.
- Take the bumpers off of the canister with pliers. Avoid dislocating the motor.
- Detach the vacuum bag door from the hinge. You should find the lockout switch inside of it.
- Unscrew the switch with a screwdriver.
- Lift the housing up by twisting it to a 45-degree angle until it comes off.
- Using pliers, remove the rocker spring until the switch pops out.
- Put some petroleum jelly on the plastic side of the new switch to fit it in easily.
- Attach the bag casing to the canister by twisting it at a 45-degree angle.
- Put the bumpers back in place and ensure that the parts are aligned in their original positions.
- Close the canister, then try turning on the vacuum cleaner.
3. Charge the Unit
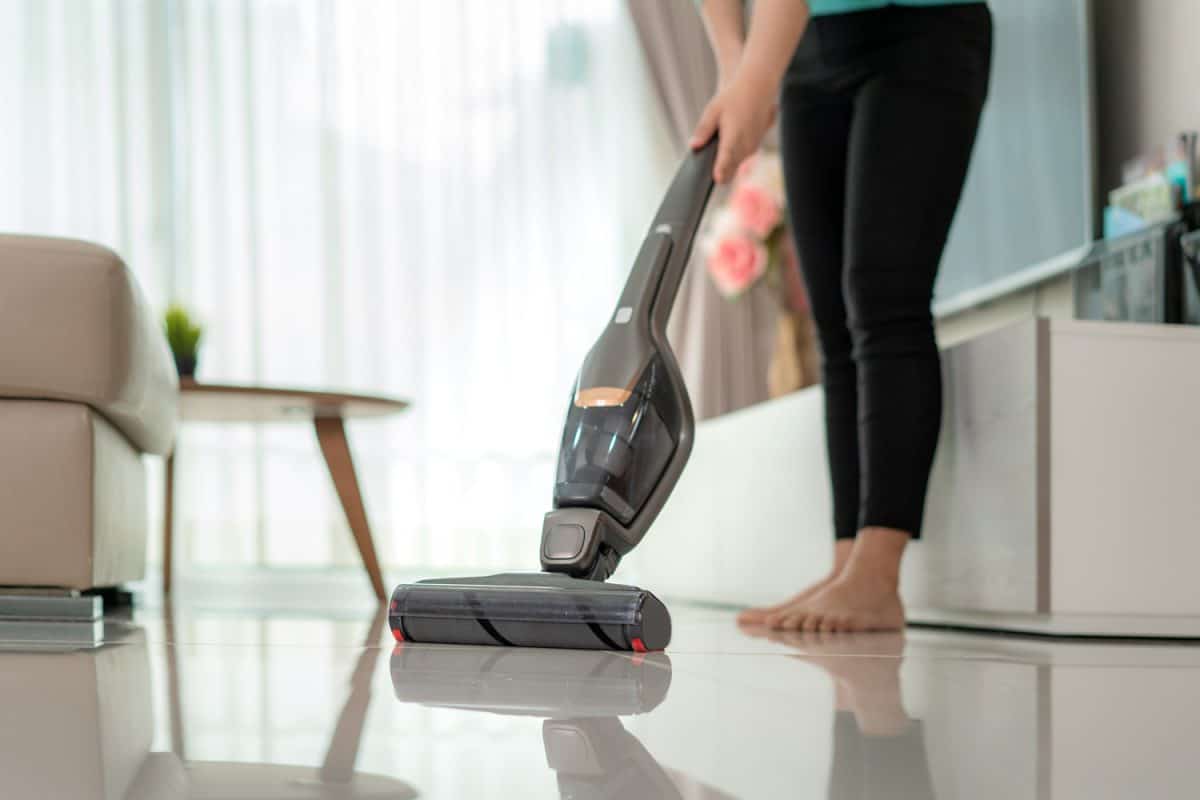
Some units of Electrolux vacuum cleaners are chargeable. For instance, an Electrolux Ergorapido allows you to maneuver the vacuum base at a 180-degree angle for easier cleaning. While its handheld unit is detachable to reach the corners conveniently.
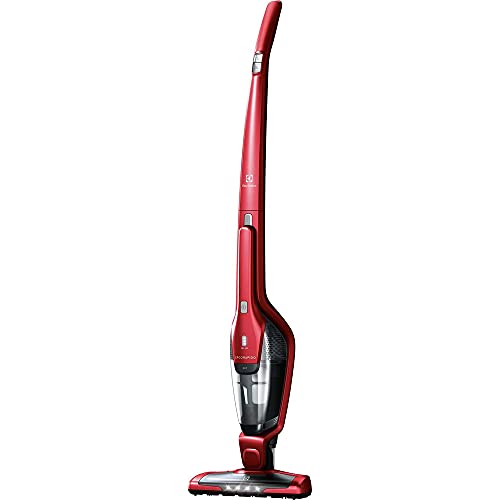
![]()
See this Electrolux Ergorapido on Amazon.
Simply follow the steps below on how to charge the Electrolux Ergorapido:
- Get the vacuum cleaner and unscrew the handle to feed the cable into it.
- Screw back the handle to lock it in place.
- Detach the handheld unit by pressing the release button.
- Remove the protective film, then put back the handheld unit.
- Set up the charging station by connecting it to the base, then plug the charger into the outlet.
- Attach the vacuum cleaner to the charging station. You should see the light blinking.
- You should charge it for at least four hours to ensure longer usage.
- When the vacuum cleaner is done charging, you can now turn it on to use it.
- Store the charging station back in the box.
- Allow at least two hours of rest for the unit after using it. This helps prevent overheating.
You can watch a video here for demonstration:
4. Clean the Unit
Cleaning your unit is a way to improve its performance. You should consider washing the HEPA filter every eight weeks or replacing it every six months, especially for upright vacuum models.
Refer to the instructions below:
- Detach the vacuum hose or nozzle, then wipe it with a damp cloth to eliminate the dust.
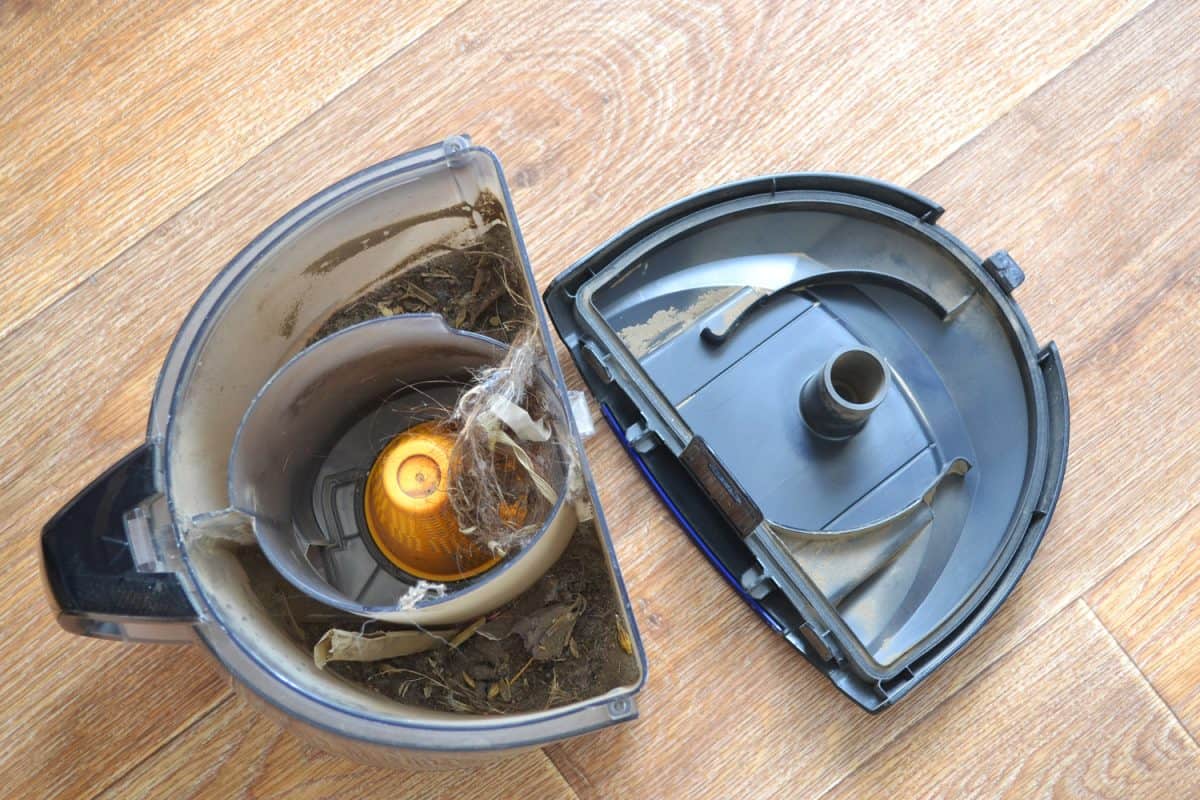
- Open the unit to access the motor. There might be hair or solid dirt inside. You can brush them off carefully.
- Unscrew the roller brush to remove the dirt. Check the rubber belt on its sides if there's damage. You may need to replace it.
- After each use, clean the vacuum tank. You can rinse it with water and mild soap, then let it dry before putting it back.
- For the bagless vacuum cleaners, you can clean them with a soft brush and cloth.
5. Contact the Manufacturer
If all of the options seem to not work, you can talk to the manufacturer to further assess the unit. There might be issues with the motor, or it could be a factory defect.
Why Vacuum Cleaner Vibrates?

Vacuum cleaners in general are vibrating due to suction technology. This is normal, unless the vibration is too intense and noisy, which can be a sign of an internal motor problem.
You can check the hose or nozzle for some blocked dirt. See the filter if it's dislocated, or there might be some loose screws that need tightening. It's also possible that the brush roll is broken.
The brush roll is so important that you need to ensure it's working well. It's best to refer to the user's manual for replacement or consult the manufacturer for repair.
How to Assemble an Electrolux Vacuum Cleaner

Assembling a vacuum cleaner is crucial, as this can affect the performance and quality of the unit. The steps may vary depending on the unit. However, see below the steps on how to assemble the Electrolux Igneo Z1550:
- Ensure that the dust bag is in the compartment by opening it.
- Insert the hose into the dust bag compartment.
- Attach the tube to the hose and to the floor nozzle.
- Adjust the tube's height by pushing the slide button upward.
- Twist the nozzle into the hose for further hold.
- Extend the cable until it reaches the power outlet.
- Press the "on/off" button to start vacuuming.
What are the Warranty Details?
The warranty depends on the model you have. For instance, canister and upright units have warranties ranging from five to seven years. while stick units typically have a two-year warranty. It still depends on the agreement with the manufacturer.
The warranty most likely covers the defects in parts and motors, as well as any faults in workmanship. However, it does not cover damage due to negligence and misuse of the unit. Also, some items such as dust bags, filters, bulbs, brush rolls, motor impellers, belts, and fans are not included in the warranty.
How Much Is An Electrolux Vacuum Cleaner?
If you think you need to purchase a new Electrolux vacuum cleaner, you can expect to spend anywhere from $300 to $700 or more. The price can change depending on availability, model, and shipping location.
It's best to buy from legitimate suppliers or manufacturers to ensure the optimal quality of the unit.
How Long Can a Vacuum Cleaner Last?
Most modern vacuum cleaners can last for eight years or longer. However, some factors such as proper use, durability, model, and manufacturer can affect the unit's lifespan.
Conclusion
We really learned a lot today. We saw some ways to troubleshoot an Electrolux vacuum cleaner if it doesn't turn on. Then we talked about some possible issues and how to fix them. Remember to assemble the unit properly for best results.
Are you ready for more useful articles from us? Then visit us here: