You might be planning to renovate your home and install a gas pipe. But can you run the gas pipe through the floor joists? How could you do it? Worry no more! We've researched the answers for you.
It's possible to run a gas pipe through a floor joist. It's crucial to all have an expert in doing this project for your safety, as there is a lot to consider before proceeding to installation. However, you can see below some factors to consider:
- Floor Joist Structure
- Electrical and Plumbing Safety
- Type of Gas Pipe
- Necessary Tools
- Installation Through Floor Joist
In this article, we'll figure out if you can run the gas pipe through floor joists. We'll share with you everything you need to know about this project. There's a lot to learn with us today. So let's keep reading!
Can You Run a Gas Pipe Through Floor Joists?
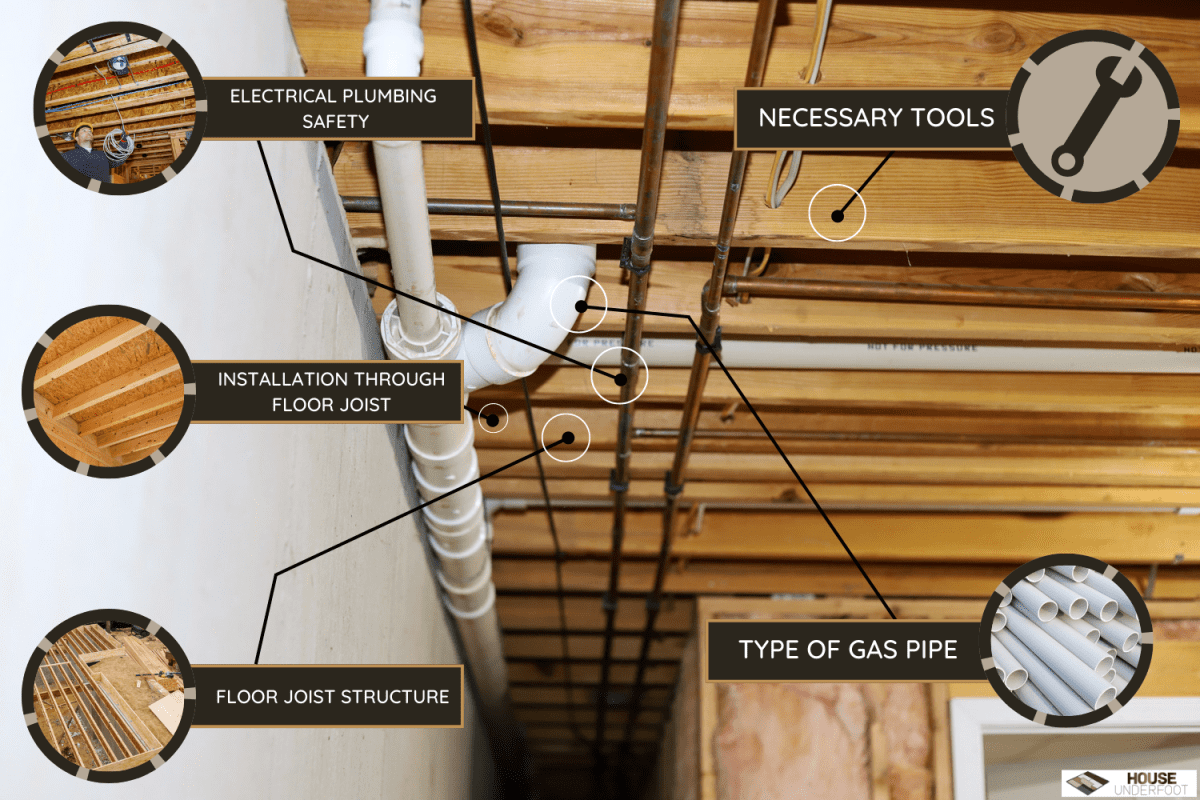
Running a gas pipe through a floor joist is quite difficult, as you need sufficient knowledge for this project. You can ask an expert to guide you from assessment to installation, as your house might need further renovations depending on its structure.
See below the things to consider.
1. Floor Joist Structure
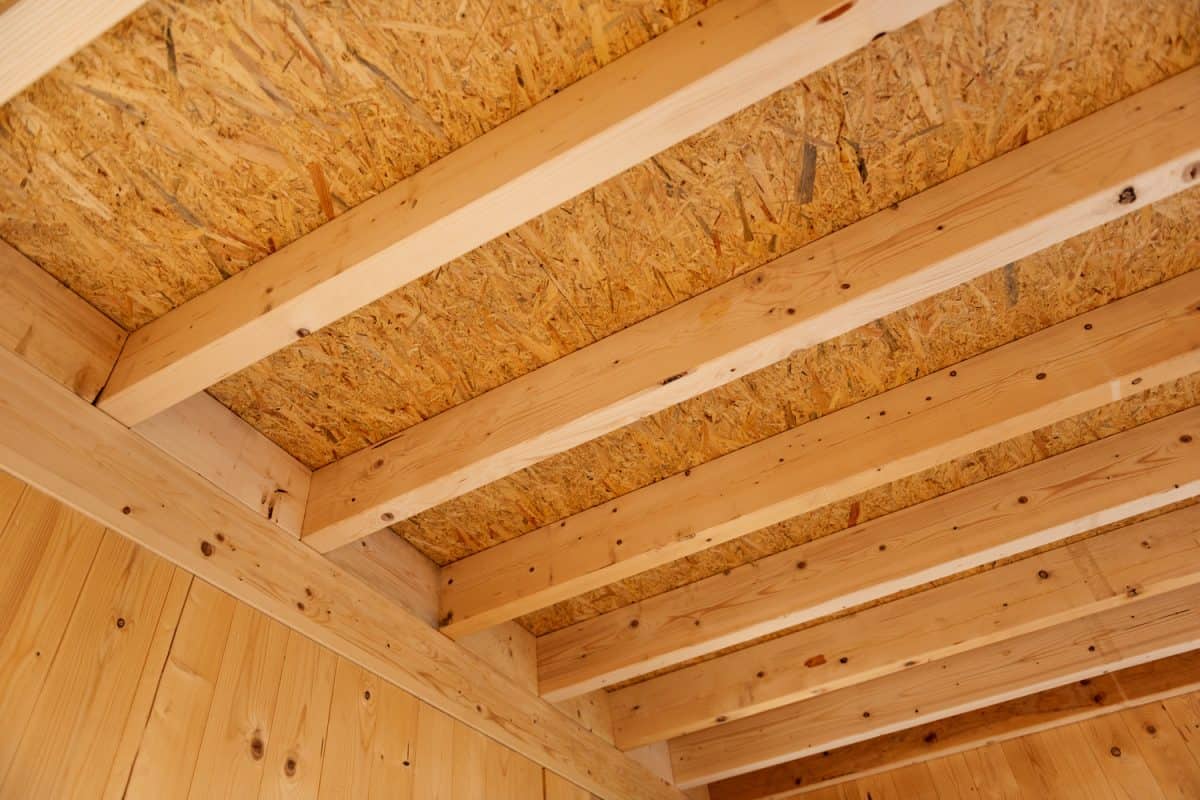
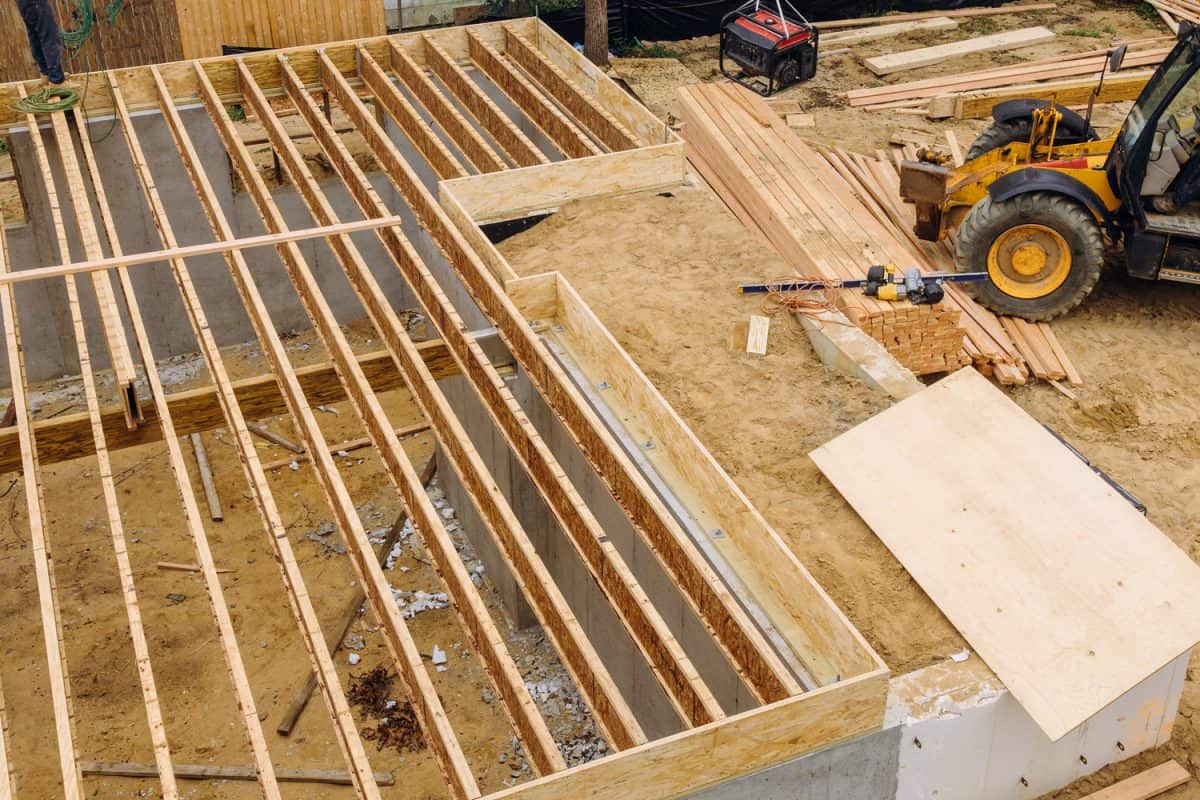
A floor joist is a structure that supports the flooring and runs horizontally across the area. It holds up the weight of furniture, appliances, and everything inside the room.
The floor joist keeps the slope even on all sides of the room. You should ensure that the floor joist is installed correctly and is in good condition.
Structural Issues
Check if there's a saggy part. Keep an eye for other issues, such as weak joists due to mold growth. Mold can damage the adjacent joists.
Another issue is insect infestation, which causes the joist corners to rot. Infestation poses a risk to the overall strength of the flooring, especially if it's made of wood.
Insects like bugs, ants, and even termites might destroy the joists and cause the floor to collapse. You don't want this to happen after installing the gas pipe. It's important to call a professional to help you stop the infestation.
However, you can resolve this issue with the steps below:
- Locate the infested joist and see how wide the damage is.
- If the joist is accessible from below, then go to the next step. Otherwise, proceed to the fifth step.
- Find a wood treatment solution that contains borate to kill the insects.
- Spray the solution on the infested area, then sweep off the dust and dead insects.
- Remove the infested joist with a pry bar. You can also use a woodcutter or a hammer's trail.
- Dispose of the infested wood immediately. You can burn the woods in an appropriate place. This way, the insects will not go back to infesting the joist.
- Apply paint, sealant, or any wood finisher products to the nearby joists where you removed the infested wood.
- Prepare the wood for replacement. Ensure that it's the same size.
- Apply a wood finisher on the new wood.
- Install the new wood adjacent to the nearby joists. You can use a nail gun for faster installation.
2. Electrical and Plumbing Safety
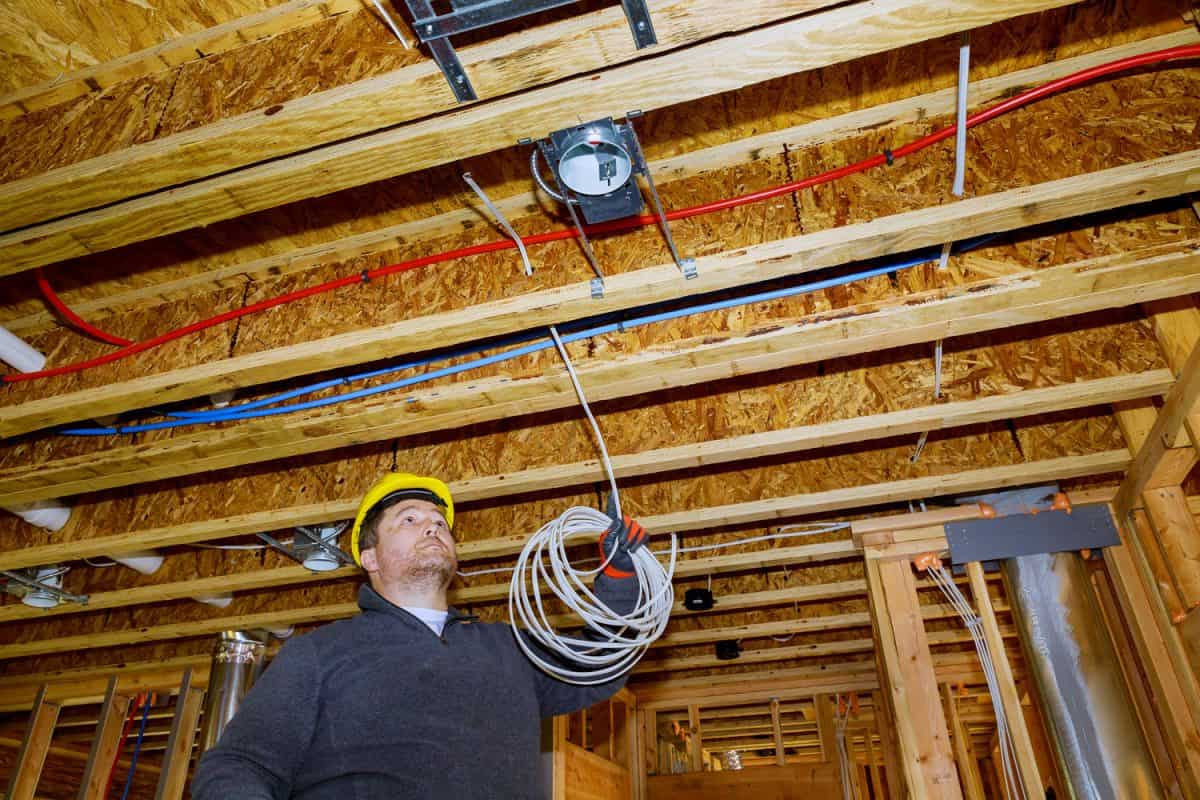
You should ensure that installing a gas pipe will not damage the electrical wires. Inspect and fix some issues like a loose wire, as it could cause an electrical fire when in contact with the gas. You can seek help from an electrician to identify the safest spot where to drill holes for the gas pipe.
Also, be sure that the plumbing pipes will not get into trouble. Don't drill holes near drainpipes as it can cause leaks.
3. Types of Gas Pipe
A gas pipe is what transports the gas from the supply tank to the heating system. The pipes will then distribute the gas through different utilities like showers and sinks. It's important to know some common types of gas pipes, as they may differ in recommended areas of installation.
You may ask the manufacturer to confirm if installing the gas pipe through the floor joist is safe. See types below:
HDPE Pipe
HDPE is also known as High Density Polyethylene pipe. It's flexible and suitable for underground use. It can resist corrosion, freezing, and is durable against impact. HDPE is common on building and industrial sites. However, it's also good for large houses with a centralized heating system.
Copper Pipe
Copper pipe is used as a gas line for HVAC units like air conditioners and heaters. It's a hard material that can last against corrosion and rust. However, a copper pipe has sub-types depending on where you'll use it. But most probably, you'll need a "type M" for residential areas.
Black Iron Pipe
This pipe is suitable for use both in exterior and interior applications. It's a strong, heat-resistant, and airtight pipe. However, black iron pipes can corrode over time. It's best to let a professional inspect it for maintenance.
PVC Pipe
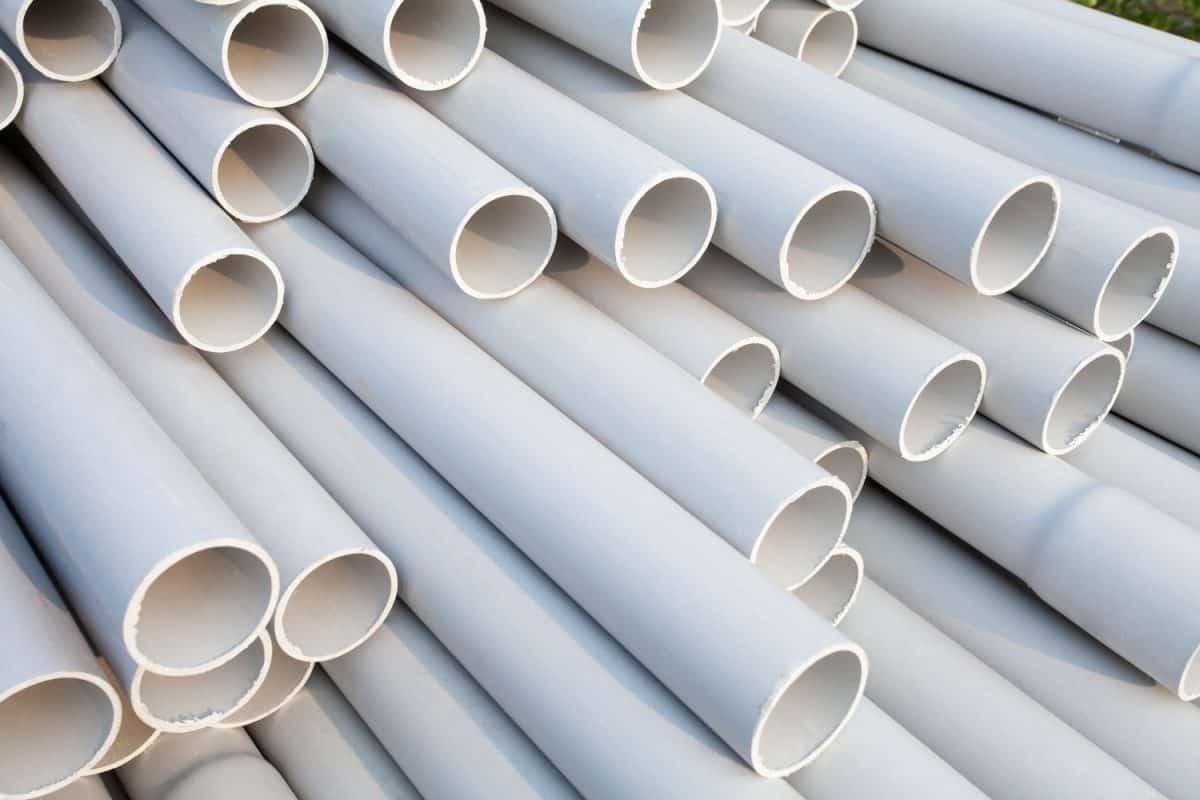
PVC pipe is harder than HDPE pipe. Also, PVC works well on underground exterior gas lines because of its durability. You'll need to add cement and an adhesive to connect PVC pipes. This is to ensure a firm hold and avoid breaking it with too much pressure.
Flexible Corrugated Steel Pipe
Imagine a garden hose that's made of stainless steel and can bend with its corrugated tube. Flexible corrugated steel pipe is good for transporting natural gas for commercial and residential use. It's sometimes covered with a yellow protective plastic to prevent breaking.
Galvanized Pipe
It's not advisable to use galvanized pipe for gas lines, as its coating may dissolve and clog the pipe. Instead, galvanized pipe is ideal for water lines. If this is the gas pipe you intend to use, then you would want to change it to another type.
4. Necessary Tools
It's important to prepare the necessary tools for this project. See below the list.
Pipe Set
Depending on what type of gas pipe you'll install, you should have a complete set of it. This may include elbow pipes, nipple pipes, and other parts recommended for installation.
Pipe Wrenches
Use them for tightening the pipes.
See this pipe wrench set on Amazon.
Teflon Tape
It's commonly used to prevent leaking, and the color yellow designates the tape being used for a gas line.
See this yellow tape on Amazon.
Pipe Sealant
Use it to seal the pipes.
See this pipe sealant on Amazon.
Plastic Strap
You can use it for holding the pipe but it's optional.
Drill
A tool for making holes and installing screws.
Circular Saw
It's a tool for cutting pipes.
See this circular saw on Amazon.
5. Installation Through Floor Joist
Keep in mind that you should consult an expert before installing the gas pipe through the floor joist for best results. The steps may differ in your case, but you can reveiw them below:
- Make a plan on where exactly you'll run the gas pipe.
- Clean the working area and dust off the joists.
- Start by wrapping yellow Teflon tape around the straight pipe to connect the elbow pipe for curves.
- Apply a pipe sealant around the straight pipe, then connect it with the elbow pipe.
- Using the pipe wrenches, twist and tighten up the pipes together.
- Drill holes to connect the pipes from the heating unit down to the joists.
- Install the strapping by screwing it against the joists to support the weight of the gas pipes.
- Continue connecting the pipes until you reached the other end. Remember to cut excess pipes for proper fittings.
- Before connecting the pipe to the heating unit, test the pressure by installing a gauge on it.
Set the gauge for 100PSI for the next 24 hours. This is to ensure that pipes can handle the pressure based on the heating unit's capacity. - As you wait, check the pipes to find if there's an air leak. Simply spray soapy water in every joint and see if it will bubble.
- If everything seems fine, you can now apply caulk around the holes to secure the pipes in place.
- Connect the pipe into the heating unit. Make sure to refer to the product's instructions for use.
You can watch a video of these steps in action here:
Conclusion
It's another useful article, isn't it? We realized that we could run the gas pipe through floor joists considering that we inspected the floor's condition and the type of pipe to use. Remember that it's best to consult an expert for this project.
Are you ready to learn more? Visit our articles here:


